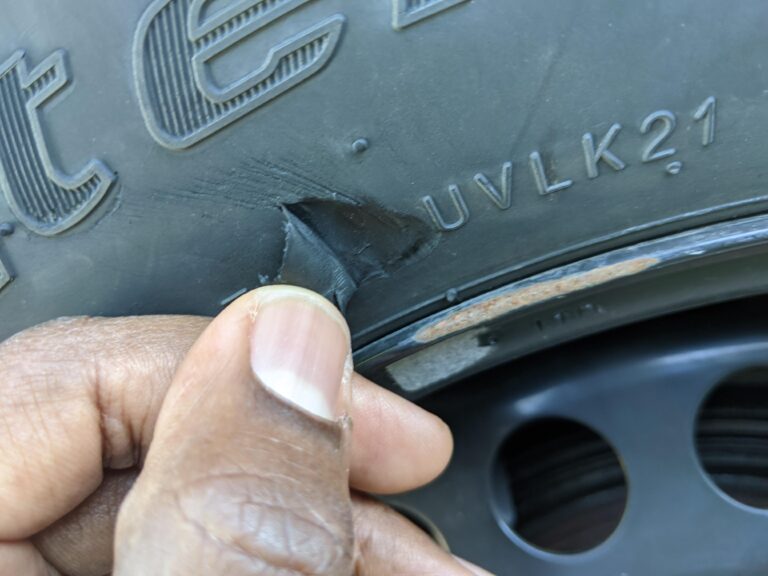
You can safely balance a car tire at home using simple tools and careful steps.
I’ve balanced tires at home for years, so I’ll walk you through clear, tested methods for how to balance a car tire at home. This guide explains why balancing matters, which tools to use, step-by-step methods for static and simple dynamic balancing, safety tips, troubleshooting, and when to see a pro. Expect friendly, practical advice you can apply right away.

Why balancing your tires matters
Balanced tires keep your car smooth and safe. An unbalanced wheel causes vibration, uneven tread wear, poor fuel economy, and stress on suspension parts. Learning how to balance a car tire at home helps you spot problems early and extend tire life.
I’ve felt the difference after balancing wheels: a car that used to hum and shake at highway speed became calm and quiet. That improvement is why balancing is worth learning.

Tools and materials you’ll need
You don’t need a pro shop to get started. For basic home balancing, gather these items:
- Car jack and jack stands for safe lifting.
- Lug wrench or impact wrench to remove wheels.
- Chalk or a marker to note heavy spots.
- Bubble balancer or inexpensive wheel balancer (recommended).
- Stick-on lead weights and weight pliers or adhesive weights.
- Torque wrench to tighten lug nuts to spec.
- Shop towels, gloves, and safety glasses.
Optional but helpful tools:
- Tire pressure gauge to ensure correct inflation.
- Dial indicator to check runout if you suspect a bent rim.
- Portable dynamic balancer for a more accurate job.
Knowing how to balance a car tire at home starts with having the right tools. A simple bubble balancer plus stick-on weights handles most small imbalances.

Basic concepts: static vs dynamic imbalance
Understanding the difference makes the work easier.
- Static imbalance causes a wheel to hop up and down. It shows as a single heavy spot on the tire and wheel assembly.
- Dynamic imbalance causes wobble side-to-side and needs weight on both the inner and outer faces of the wheel to fix.
When you learn how to balance a car tire at home, you’ll often correct static imbalance yourself. Dynamic imbalance is trickier but still possible with careful marking and weight placement.
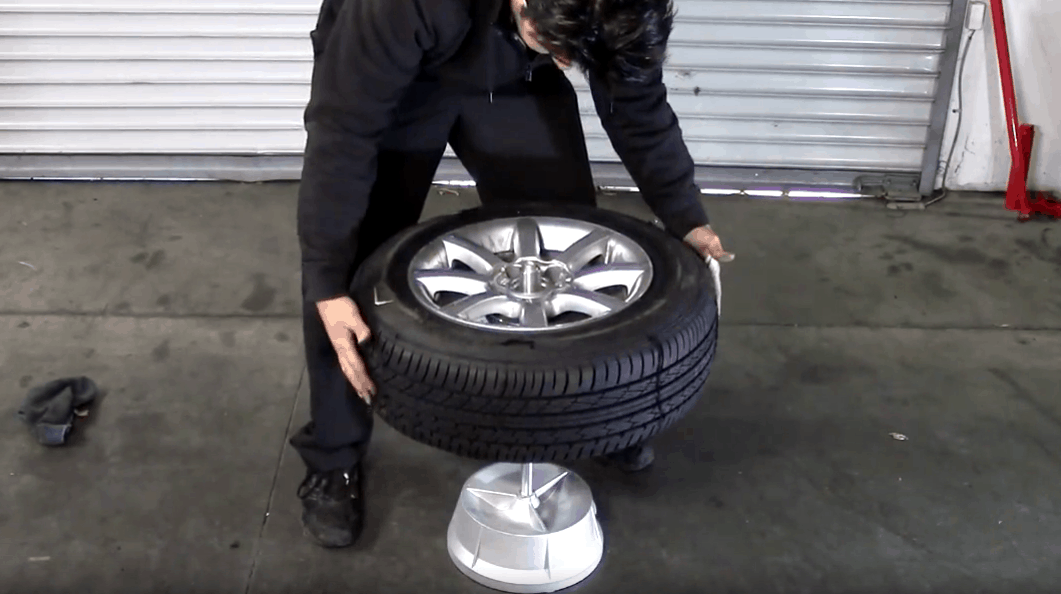
Step-by-step: static balancing with a bubble balancer
This is the simplest DIY method for how to balance a car tire at home.
- Remove the wheel from the car and clean the rim where weights will stick.
- Mount the wheel on a bubble balancer per the tool’s instructions.
- Let the wheel settle. The low point shows the heavy spot.
- Mark the heavy spot with chalk.
- Add a small stick-on weight opposite the heavy spot (directly across the center).
- Remount on the balancer and check. Repeat until the wheel stays level.
Tips from my experience:
- Start with small weights (5–10 grams) and work up. Too much weight wastes time.
- Clean the rim surface with alcohol for better adhesive hold.
- Weights on alloy wheels look better when placed behind spokes.

Step-by-step: simple dynamic balancing at home
For cars that feel shaky at speed, try this cautious method for how to balance a car tire at home. This is less precise than shop machines but can help.
- Jack the car and secure it on jack stands so a wheel spins freely on the hub.
- Remove the wheel and clean the mating surface and wheel center.
- Reinstall the wheel and lightly tighten lug nuts (do not torque fully).
- Spin the wheel by hand and let it stop naturally. Mark the lowest point with chalk.
- Rotate the wheel 180 degrees and check if the mark moves; this helps confirm the heavy side.
- Add small weights opposite the marked heavy point, then tighten lug nuts to spec.
- Test-drive at higher speeds and feel for vibration. Re-check if needed.
Safety notes:
- Never work under a car supported only by a jack.
- If vibration persists after adjustments, the problem may be a bent rim, tire defect, or suspension issue.

How to identify imbalance vs other causes of vibration
Not all vibration is from imbalance. Quick checks:
- Tire tread wear: uneven wear suggests balancing or alignment issues.
- Wheel runout: use a dial indicator to measure if the rim is warped.
- Wheel bearing play: grab the wheel at 12 and 6 o’clock to feel movement.
- Suspension components: worn bushings and shocks also vibrate.
If your tests point to anything other than simple imbalance, avoid repeated balancing attempts and consult a technician. Knowing how to balance a car tire at home helps you rule out easy fixes before calling for help.

Troubleshooting and common mistakes
Expect a learning curve. Here are common pitfalls and how to avoid them:
- Using too much weight: Start small. Excess weight shifts the problem.
- Dirty rim surface: Adhesive weights fail on grease or rust. Clean well.
- Wrong wheel mounting: Wheels off-center on the hub give bad results.
- Ignoring tire pressure: Low pressure changes balance feel and load points.
- Missing inner weights: On some wheels you must place weight on the inner lip as well.
I once spent an afternoon chasing a vibration only to find the hub had rust build-up and the wheel wasn’t seated. Cleaning the hub solved it—so always check hub mating surfaces.
When you should go to a professional
Some issues need shop tools and expertise. Visit a pro if you see any of these:
- Vibration remains after both static and simple dynamic balancing attempts.
- Tire or rim is visibly bent, cracked, or has internal damage.
- Tires show signs of internal belt separation or bubbles in the sidewall.
- You want precise electronic dynamic balancing for high-performance driving.
A professional machine is fast and precise. Use home balancing to handle small problems and to save money on minor corrections.
Cost, time, and benefits of balancing at home
Home balancing saves money and is satisfying. Consider this:
- Cost: Basic kit ranges from low-cost bubble balancers to mid-range portable machines.
- Time: Plan 30–90 minutes per wheel depending on your familiarity.
- Benefit: Smoother ride, longer tire life, better fuel economy, and fewer shop visits.
Balancing at home is best for small corrections. For major problems, the shop machine pays off in accuracy.
Safety checklist before you start
Never skip safety. Quick checklist:
- Park on level ground and apply the parking brake.
- Use quality jack stands—never rely on a jack alone.
- Wear eye protection and gloves.
- Keep bystanders clear while wheels are spinning.
- Torque lug nuts to the manufacturer’s spec after work.
Safety is one of the first lessons I learned. A careful setup protects you and your car.
Frequently Asked Questions of how to balance a car tire at home
How often should I balance my tires?
Balance tires when you install new tires, after a puncture repair, or if you feel vibration. Routine checks every 6,000 to 8,000 miles are a good rule of thumb.
Can I balance a tire without removing it from the car?
You can do a simple check by spinning the mounted wheel on jack stands, but full static balancing is best done with the wheel off. Removing the wheel gives the most accurate results.
Will balancing fix uneven tire wear?
Balancing helps reduce vibration-related wear but won’t correct wear from bad alignment or suspension problems. Address alignment and suspension issues separately.
Are stick-on weights as reliable as clip-on weights?
Stick-on weights work well on clean alloy rims and are less visible. Clip-on weights are better for steel rims and heavy corrections because they grip the rim edge.
How do I know if the rim is bent?
Look for wobble when spinning the wheel or use a dial indicator to measure runout. A bent rim often causes persistent vibration even after balancing.
Is it safe to use cheap adhesive weights?
Cheap weights can work but often have weaker adhesive and may fall off. Choose quality weights and clean the rim surface before applying.
Conclusion
Balancing your wheels at home is a practical skill that saves money and improves ride comfort. With a few tools, safe habits, and the steps above, you can handle most static imbalances and simple dynamic issues. Start small, work methodically, and use a pro when problems persist or when precision matters.
Try balancing one wheel today and note the difference on your next drive. If this guide helped, leave a comment or share your own balancing tips.