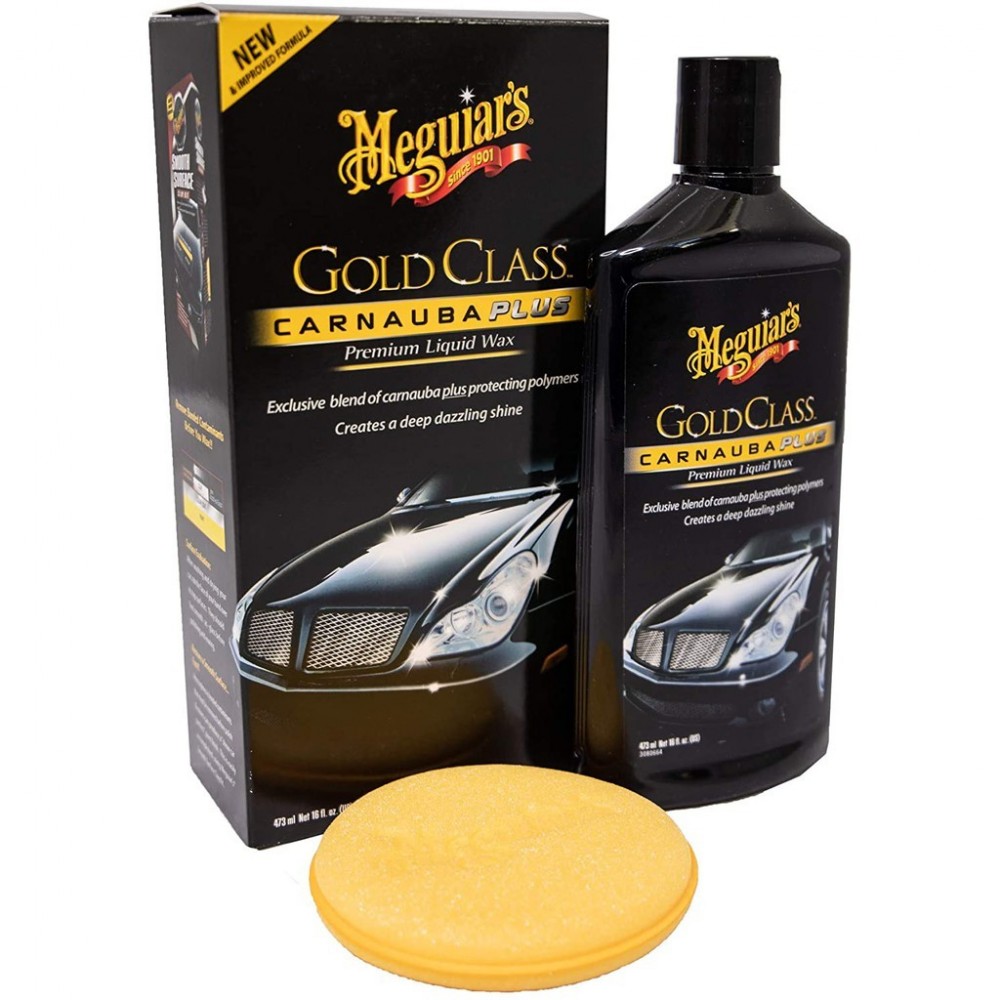
For most vehicles in the United States, the best way to apply Meguiar’s Gold Class Carnauba Plus is to wash and dry the car, work on a cool surface in the shade, spread a very thin coat, let it haze, and buff it off with a clean microfiber towel. Apply the wax by hand or with a dual-action polisher on a low setting.
Gold Class Carnauba Plus is a finishing wax. It can add gloss, depth, and water beading, but it will not remove deep scratches, repair peeling clear coat, or replace paint correction.
What You Need Before Applying the Wax
Gather the right tools before you start. A clean work area and fresh towels make the job easier and reduce the risk of adding new marks to the paint.
You will need:
- Meguiar’s Gold Class Carnauba Plus
- A clean foam or microfiber applicator pad
- Two or more clean microfiber towels
- A car wash soap
- A wash mitt
- A hose or rinse bucket
- A drying towel or drying aid
- Optional: a clay bar or synthetic clay mitt
- Optional: a dual-action polisher with a soft finishing pad
Use separate towels for drying and buffing. A towel that contains grit can leave fine scratches, especially on dark paint.
Check the product type
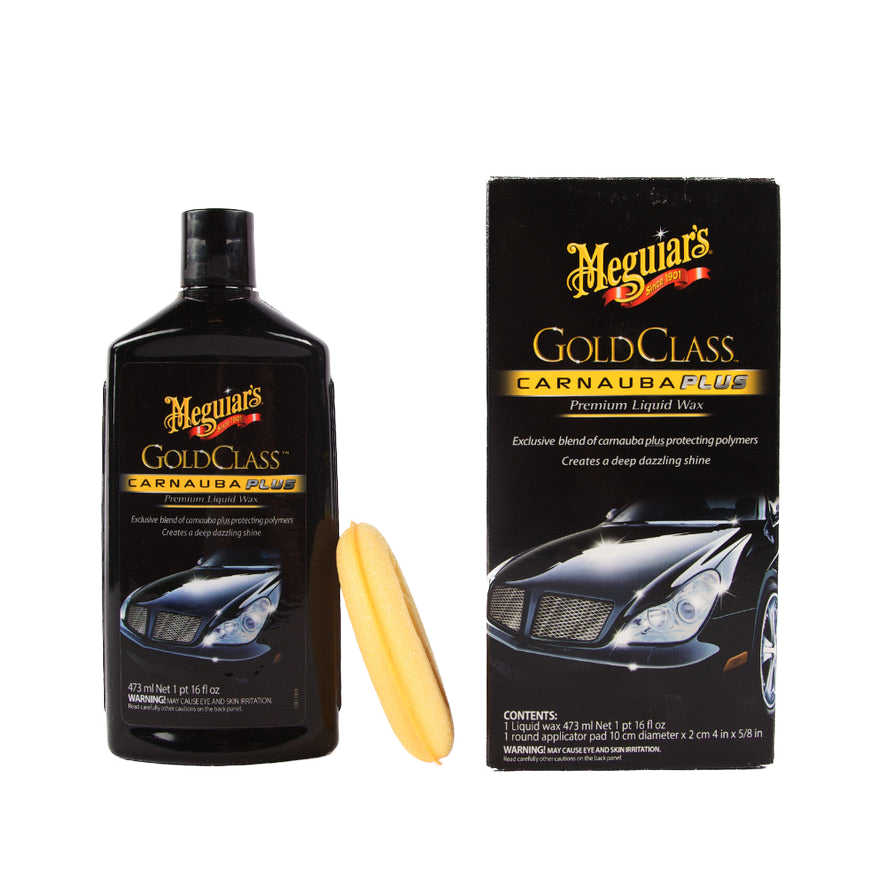
Meguiar’s Gold Class Carnauba Plus is commonly sold as a liquid wax and as a premium paste wax. The basic process is similar, but the amount and application method can differ.
Always follow the directions printed on your bottle or container if they differ from this guide. Product labels can change by package, market, or formula.
Check the weather and paint temperature
Apply the wax when:
- The paint is cool to the touch
- The car is out of direct sunlight
- The surface is dry
- Wind and dust are low
- Rain is not expected while you work
A hot panel can dry the wax too quickly. This may create streaks, smears, or difficult residue. Dust can also become trapped under the wax.
Do not apply wax to rubber trim, textured plastic, glass, tires, or matte paint unless the product label specifically says it is suitable for that surface.

How to Apply Meguiar’s Gold Class Carnauba Plus by Hand
Hand application is the safest and simplest method for most car owners. It gives you good control and makes it easier to use a thin coat.
1. Wash the vehicle
Rinse the car to remove loose dirt. Wash from the top down with car wash soap and a clean mitt.
Clean one section at a time. Rinse the mitt often so dirt does not move back onto the paint. Pay special attention to lower doors, rocker panels, wheel arches, and the rear of the vehicle.
Do not wax over road film, bird droppings, tree sap, or visible grit. These materials can interfere with the wax and may scratch the paint during application.
2. Dry the paint completely
Dry the vehicle with a clean microfiber drying towel. Check areas where water collects, such as:
- Side mirrors
- Door handles
- Emblems
- Trunk gaps
- Grilles
- License plate areas
Water that runs out during waxing can make the product streak. It can also dilute the wax and make removal less even.
3. Inspect the paint
run your clean hand over the dry paint inside a thin plastic bag. If the surface feels rough, bonded contamination may remain after washing.
You can use a clay bar or synthetic clay product if needed. Follow that product’s instructions and use enough lubricant. Claying is not always required, but it can help the wax sit more evenly on a clean surface.
Avoid claying paint that is already loose, peeling, or severely damaged. Wax will not repair those problems.
4. Prepare the applicator
Use a clean, slightly damp foam or microfiber applicator if the product instructions allow it. Add a small amount of Gold Class Carnauba Plus to the pad.
Start with less product than you think you need. A thick layer does not create better protection. It usually creates more residue and makes buffing harder.
5. Apply a thin, even coat
Work on one panel or a small section at a time. Spread the wax with light pressure using overlapping strokes.
You can use straight lines or small overlapping circles. The direction matters less than even coverage and light pressure.
Keep the coat thin. The paint should look lightly covered, not wet with a heavy layer of product. Avoid letting wax build up around:
- Emblems
- Panel gaps
- Door handles
- Black plastic trim
- Badges
- Raised body lines
If wax gets on trim, wipe it away before it dries.
6. Let the wax haze
Allow the wax to dry according to the product label. In many cases, the surface is ready when the product turns into a light haze and no longer looks wet.
You can perform a small swipe test. Wipe a clean finger across a thin area of wax. If the residue clears without smearing, the section may be ready for removal. If it smears, wait longer. If it feels very dry and difficult to remove, you may have applied too much or allowed it to sit too long.
Drying time changes with temperature, humidity, product thickness, and airflow. Do not rely on a fixed time in every condition.
7. Buff off the residue
Use a clean, dry microfiber towel. Fold the towel into quarters and wipe the hazed wax with light pressure.
Turn the towel often. When one side becomes loaded with residue, use a fresh side. Follow with a second clean towel if the first towel leaves a light film.
Use short, controlled passes rather than pressing hard. Heavy pressure can create friction and may move dirt across the paint.
8. Inspect the panel
View the paint from several angles. Look for:
- Hazy patches
- Streaks
- Missed areas
- Wax on trim
- Heavy residue near panel edges
Remove leftover residue before moving to the next panel. A soft detailing brush or folded microfiber towel can help clean tight gaps.

Applying Gold Class Carnauba Plus With a Dual-Action Polisher
A dual-action polisher can spread wax faster and more evenly, but it does not remove the need for clean paint and light pressure.
Use a soft finishing pad. Do not use a cutting pad for wax application. A cutting pad is designed for correction work and may create unwanted marks when used with the wrong product or technique.
Recommended process
- Attach a clean, soft finishing pad.
- Add a small amount of wax to the pad.
- Place the pad against the paint before turning on the machine.
- Use a low speed and light pressure.
- Work one section at a time.
- Spread a thin, uniform coat.
- Remove the wax by hand with a clean microfiber towel.
A polisher is useful for large SUVs, trucks, and full-size vehicles. It can also reduce hand fatigue. However, it can spread too much product if the pad is overloaded.
Do not use a rotary polisher unless you understand rotary polishing. A rotary machine can create heat and damage paint more quickly than a dual-action machine.
If you are new to machine polishing, practice on a small, less visible area first.
How Much Wax Should You Use?
Use enough product to leave a thin film. The exact amount depends on the vehicle, paint condition, pad type, and product format.
As a practical guide:
| Situation | Better approach |
|---|---|
| Small sedan | Use a small amount on the pad and reload only when coverage becomes thin |
| Large SUV or truck | Work panel by panel instead of covering the whole vehicle at once |
| Paste wax | Touch the applicator lightly into the wax; avoid packing the pad |
| Liquid wax | Use a few small drops or a thin line on the applicator |
| Dark paint | Use very thin coats and inspect under more than one light source |
| Porous black trim nearby | Mask or avoid the trim |
The main goal is coverage, not thickness. A thin coat is usually easier to remove and less likely to leave residue.

Should You Apply a Second Coat?
A second coat may improve coverage, but more wax does not automatically mean twice the protection or gloss.
If you want to apply another coat, first remove the visible residue from the first coat. Follow the label for any recommended waiting period. Applying a second coat while the first layer is still wet can move or remove the first application.
A second coat is most useful when:
- You missed small areas
- The first coat was uneven
- You want more even coverage
- The product label permits another application
Do not keep layering wax indefinitely. Once the surface is evenly covered, additional product often adds residue rather than a clear benefit.

What Results Should You Expect?
A successful application should leave the paint:
- Clear and glossy
- Smooth to the touch
- Free of visible haze
- Free of streaks
- Free of wax residue on trim
- More resistant to water sticking to the surface
Carnauba wax can give paint a warm, rich appearance. This effect may be especially noticeable on black, red, blue, and other dark colors.
The wax does not permanently protect the vehicle. Washing, weather, road film, sunlight, and driving conditions gradually reduce the effect. The useful life of the application depends on those conditions and how the vehicle is washed.
Water beading is also not a complete measure of protection. A surface can bead water and still have dirt or contamination on it. Clean the vehicle regularly and inspect the paint instead of relying on beading alone.

Common Problems and How to Fix Them
The wax is difficult to remove
The most common causes are a coat that is too thick, a hot panel, or excessive drying time.
Try this:
- Use a clean microfiber towel.
- Wipe with light pressure.
- Turn the towel to a clean side.
- If residue remains, apply a very small amount of fresh wax to the area.
- Wipe it away while it is still workable.
Do not use aggressive pressure. If the residue remains, wash the panel with a suitable car wash soap and begin again after the surface is cool and clean.
The finish looks streaky
Streaks may result from:
- Uneven application
- Wax applied in direct sun
- Moisture on the paint
- A dirty towel
- Too much product
- Residue left around panel edges
Use a fresh microfiber towel and check the panel under different lighting. If the streaks do not clear, clean the panel and reapply a very thin coat.
White residue is stuck on black trim
Wax residue can leave pale marks on textured plastic. Remove it as soon as possible with a clean towel and a product designed for that trim, following the trim product’s directions.
Avoid spreading the residue farther across the plastic. Tape off sensitive trim before the next application.
The paint still looks dull
Wax can improve gloss, but it cannot correct every paint problem. Dullness may come from:
- Oxidation
- Heavy contamination
- Swirl marks
- Scratches
- Clear-coat failure
- Uneven previous repairs
Gold Class Carnauba Plus is not a substitute for a compound, polish, or professional paint correction. If the clear coat is peeling or failing, polishing may make the damage worse. Seek advice from a qualified automotive refinishing professional.
Dust sticks to the car after waxing
Wax does not prevent dust from landing on a vehicle. Do not dry-wipe dusty paint with a towel, since that can create fine scratches.
Rinse or wash the vehicle first. Use a clean, paint-safe drying method.

Washing a Car After Applying the Wax
Use a pH-balanced car wash soap and a clean wash mitt. Avoid household dish soap because it may remove protective products faster than a vehicle-specific soap.
Wash from the top down, rinse the mitt often, and dry with a clean towel. Do not scrub the paint to force away stuck dirt.
Automatic car washes with abrasive brushes can create marks regardless of the wax used. A touchless wash reduces brush contact but may use stronger cleaners. Choose the wash method based on the vehicle’s condition and your maintenance needs.

Gold Class Carnauba Plus Compared With Other Protection
Gold Class Carnauba Plus is a traditional wax. It is best suited to drivers who want a warm gloss and a straightforward hand-application process.
| Product type | Main strength | Main limitation |
|---|---|---|
| Carnauba wax | Warm appearance and simple application | Needs regular renewal |
| Synthetic sealant | Often chosen for longer-lasting protection | May look different from traditional wax |
| Ceramic coating | Long-term system when correctly prepared and installed | Requires more preparation and careful maintenance |
| Spray wax | Fast maintenance and gloss boost | Usually used as a lighter maintenance product |
These categories are not identical. A wax, sealant, and ceramic coating have different preparation needs, durability expectations, and maintenance routines.
Do not apply a new product over an unknown coating without checking compatibility. When the existing protection is unclear, clean a test area first.

Key Takeaways
- Wash and dry the vehicle before waxing.
- Work in the shade on cool paint.
- Apply Gold Class Carnauba Plus in a very thin layer.
- Let it haze according to the label and use a swipe test.
- Buff with a clean microfiber towel.
- Keep wax off glass, tires, rubber, and textured plastic.
- Use a dual-action polisher only with a soft finishing pad and low speed.
- Wax will improve gloss but will not repair deep paint defects.
Frequently Asked Questions
Can I apply Meguiar’s Gold Class Carnauba Plus in direct sunlight?
It is better to work in the shade on cool paint. Direct sun can dry the wax too quickly and make it harder to spread or remove evenly.
Do I need to polish my car before applying the wax?
No. You can apply the wax after washing and drying the car. Polishing is optional and is useful only when the paint needs gloss improvement or minor defect removal.
Can I use Gold Class Carnauba Plus on glass?
Do not apply it to glass unless the product label specifically approves that use. Use a dedicated automotive glass product instead.
How often should I reapply the wax?
Reapply when the finish no longer meets your needs for gloss or water behavior. Weather, parking conditions, washing methods, and mileage all affect how long the application lasts.
Can I wax a car with ceramic coating?
Check the coating maker’s care instructions first. Some products may be compatible, while others can change the coating’s appearance or maintenance behavior.
Can I apply the wax over scratches?
You can wax a vehicle that has light scratches, but wax will not remove or repair them. Deep scratches, exposed primer, peeling clear coat, and rust need a different repair process.
Conclusion
The correct way to apply Meguiar’s Gold Class Carnauba Plus is to start with clean, cool paint and use a very thin coat. Give the wax time to haze, then remove it with a clean microfiber towel using light pressure.
For the best result, work one section at a time and inspect the paint before the residue becomes difficult to remove. If the surface remains dull after waxing, the issue may require decontamination, polishing, or professional paint repair rather than more wax.