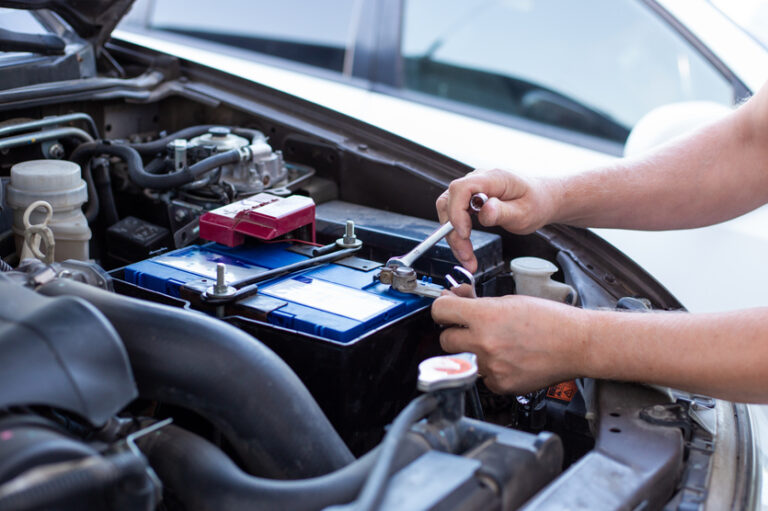
To use a car battery charger, connect it safely, select the right mode, charge fully, and disconnect it in the correct order.
Learning how to use a car battery charger can save you a service call, protect your battery, and get your car moving again. The process is simple once you understand battery types, charger settings, safety steps, and the signs of a full charge. This guide explains each step in plain language, with practical tips that help prevent sparks, damage, and common charging mistakes.
What a Car Battery Charger Does
A car battery charger sends controlled electrical current into a weak or discharged battery. It slowly restores the chemical reaction that lets the battery store energy and start the engine.
A charger is different from a jump starter. A jump starter gives the car a quick burst of power for starting. A battery charger provides power over time and can bring the battery back to a useful charge level.
Most 12-volt car batteries use lead-acid technology. Some newer vehicles use absorbed glass mat, or AGM, batteries. Electric cars also use large high-voltage battery packs, which require special equipment and should not be charged with a standard 12-volt car battery charger.
A charger may help when:
• Your headlights were left on
• The car has been parked for several weeks
• The battery is weak during cold weather
• The vehicle has a small electrical drain
• You want to maintain a seasonal or rarely used vehicle
A charger cannot repair every battery. If the battery has a cracked case, a shorted cell, severe corrosion, or internal damage, charging may be unsafe or ineffective.
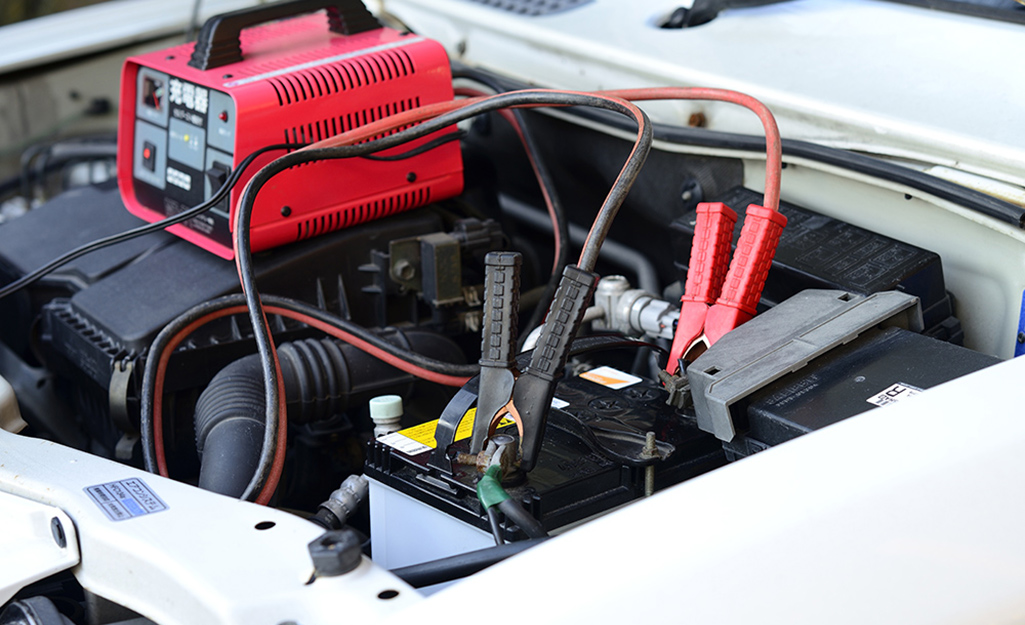
Choose the Right Car Battery Charger
Before learning how to use a car battery charger, check the battery label and the charger specifications. Using the wrong voltage or charging mode can damage the battery or create a safety risk.
Check the battery voltage
Most cars use a 12-volt battery. Motorcycles, lawn tractors, and some small vehicles may use 6-volt batteries. Never guess the voltage.
Look for information on the battery label, owner’s manual, or vehicle service guide. A 12-volt charger should not be used on a 6-volt battery unless the charger specifically supports both systems.
Select the correct charger type
Common charger types include:
• Trickle charger: Delivers a very low current for long-term maintenance.
• Battery maintainer: Monitors battery voltage and turns charging on or off as needed.
• Manual charger: Requires you to monitor the charging process and disconnect it yourself.
• Automatic charger: Adjusts the current as the battery fills and often stops or switches to maintenance mode.
• Smart charger: Uses sensors and programmed stages to improve charging control.
For most drivers, an automatic or smart charger is the easiest choice. A charger rated around 2 amps works well for slow charging. A 6-amp or 10-amp charger can charge faster, but higher current creates more heat and requires closer attention.
Match the battery chemistry
Some chargers offer modes for:
• Standard flooded lead-acid batteries
• AGM batteries
• Gel batteries
• Lithium iron phosphate batteries
Use the setting that matches your battery. An AGM battery may need a different charging profile from a conventional flooded battery. A lithium battery requires a charger designed for that chemistry.
The battery label usually identifies the type. If you are unsure, check the owner’s manual or ask a qualified technician.
Prepare for Safe Battery Charging
Safety is the most important part of learning how to use a car battery charger. A car battery contains acid and can release hydrogen gas, especially while charging. Hydrogen is highly flammable.
Charge the battery in a well-ventilated area. A garage door should be open, and the charger should stay away from flames, cigarettes, heaters, and anything that may create a spark.
Before connecting the charger:
• Park on a stable, level surface.
• Turn off the vehicle and remove the key.
• Switch off the charger and unplug it.
• Remove jewelry, watches, and loose metal items.
• Wear safety glasses and protective gloves.
• Keep children and pets away from the work area.
• Inspect the battery for cracks, leaks, swelling, or severe damage.
Do not charge a battery that is frozen. A frozen battery may crack or release dangerous gas as it warms. Let it thaw in a safe place, then inspect it before charging.
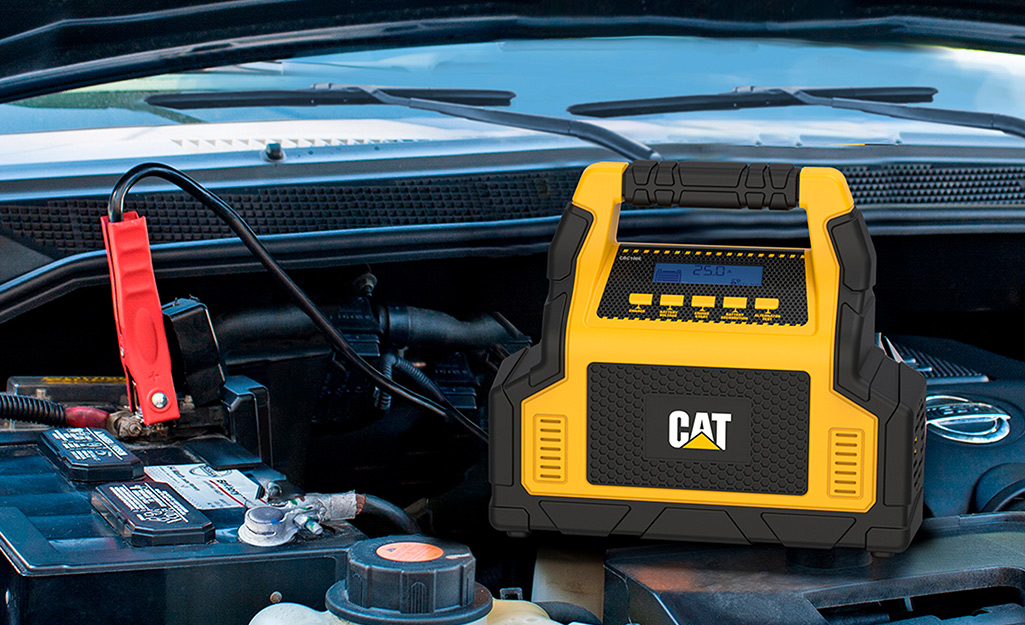
Avoid placing the charger directly on top of the battery. Set it on a dry, stable surface where the vents remain clear. Also, never use a damaged charger, frayed cable, or loose clamp.
A practical safety lesson is simple: electricity rewards patience. Most problems occur when someone rushes the connection or disconnects the clamps while the charger is still powered.

How to Use a Car Battery Charger Step by Step
The exact controls vary by brand, but the basic process is similar for most 12-volt chargers.
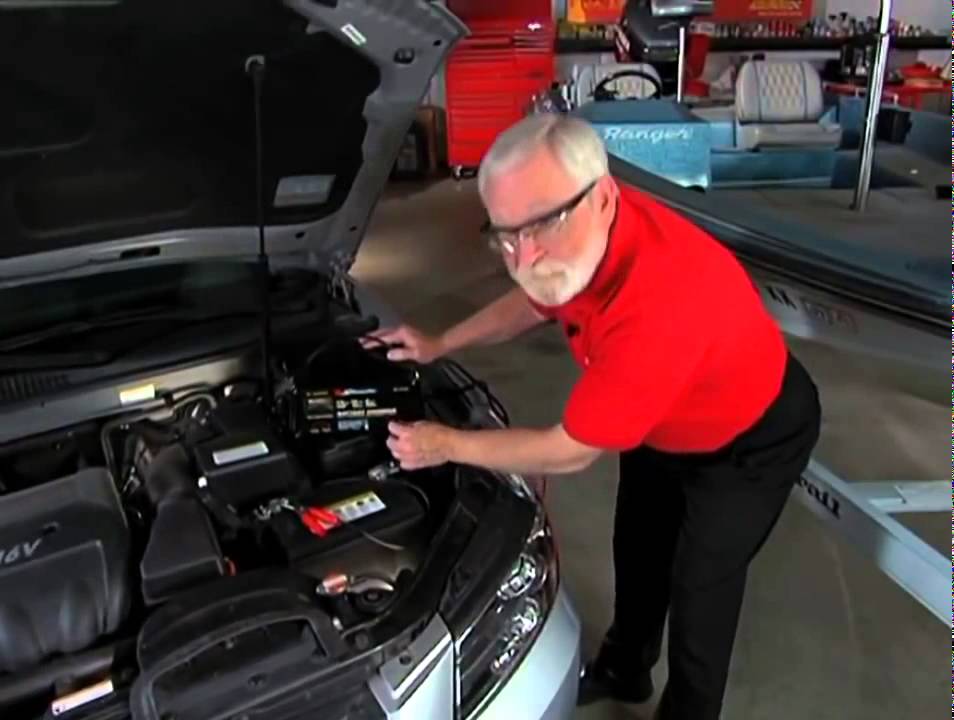
1. Locate the battery
Find the battery under the hood or in another approved location. Some vehicles place the battery in the trunk or under a seat. If the battery is not easy to reach, the vehicle may have designated charging posts under the hood.
Check the owner’s manual before connecting to remote terminals. Some modern vehicles have battery monitoring systems that require a specific connection point.
2. Inspect the battery terminals
Look at the positive and negative terminals. The positive terminal usually has a plus sign and may have a red cover. The negative terminal has a minus sign and is often connected to a black cable.
If the terminals have light surface corrosion, clean them with a battery terminal brush. Do not touch your eyes after handling corrosion, and wash your hands afterward.
3. Connect the positive clamp
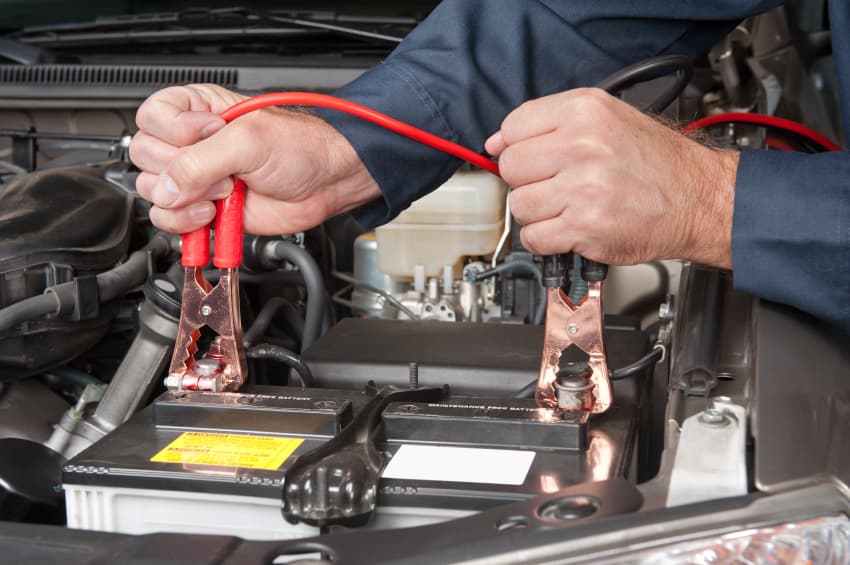
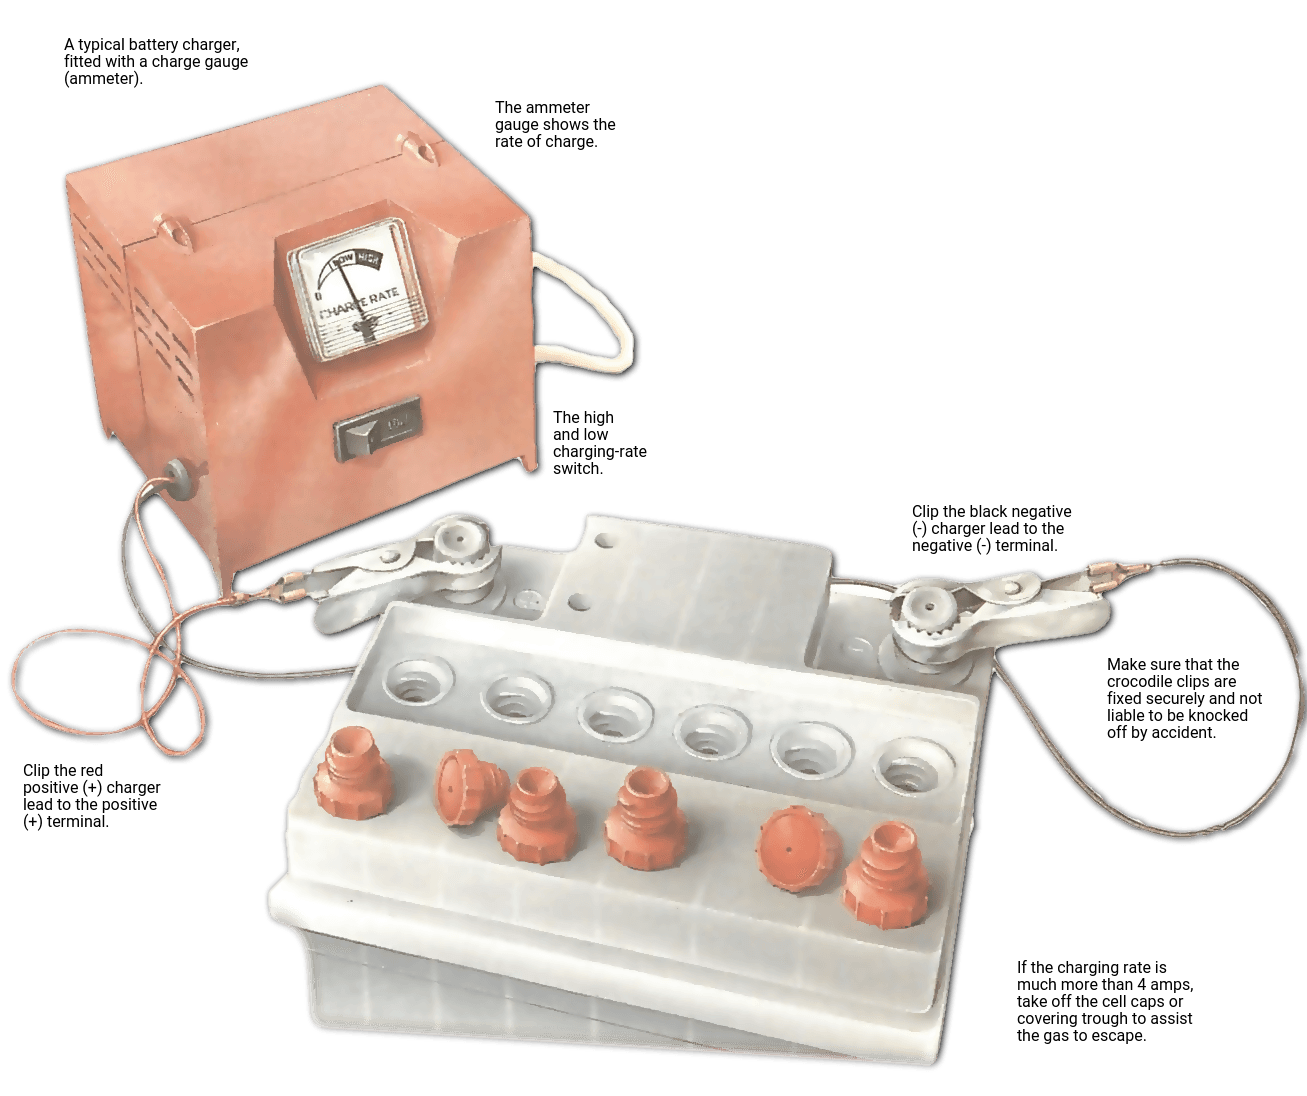
Make sure the charger is off and unplugged. Attach the red or positive clamp to the battery’s positive terminal.
The clamp should grip clean metal. A loose connection can cause heat, sparks, or an error message.
4. Connect the negative clamp
Attach the black or negative clamp to the negative battery terminal if the vehicle manual allows it.
For many vehicles, connecting the negative clamp to a clean, unpainted metal point on the engine block or chassis is preferred. This can reduce the chance of a spark near the battery. Always follow the vehicle and charger instructions because connection methods can vary.
5. Set the charger
Choose the correct:
• Battery voltage
• Battery type
• Charging mode
• Charging current
For a deeply discharged battery, a low-current setting is often safer. A 2-amp setting may take many hours, while a 10-amp setting may charge it faster. Slow charging is usually gentler and gives you more time to monitor the battery.
6. Start the charging process
Plug the charger into the wall outlet, then turn it on if the model has a power switch. Confirm that the display or indicator shows normal charging.
If the charger reports a reverse connection, poor connection, or battery fault, switch it off and check the clamps. Never force a connection or ignore a warning.
7. Monitor the battery
Check the charger and battery from time to time. The battery should not become very hot, swell, hiss loudly, or produce a strong rotten-egg smell.
Stop charging and unplug the unit if you notice:
• Smoke
• Excessive heat
• Strong sulfur odor
• Leaking fluid
• A bulging battery case
• Repeated charger fault messages
8. Confirm the charge is complete
Many smart chargers show “full,” “charged,” or “maintenance.” A basic charger may show a voltage or current reading instead.
A fully charged 12-volt lead-acid battery often measures about 12.6 to 12.8 volts after resting with no charger connected. The exact reading can vary with battery design, temperature, and battery health.
9. Turn off and disconnect the charger
When charging is complete, turn off the charger and unplug it from the wall. Then remove the negative clamp first, followed by the positive clamp.
Keep the clamps from touching each other or nearby metal. Store the charger in a dry place and close the hood only after all tools and cables are clear.
This order matters because it helps reduce sparks near the battery. It is one of the most important details in how to use a car battery charger safely.
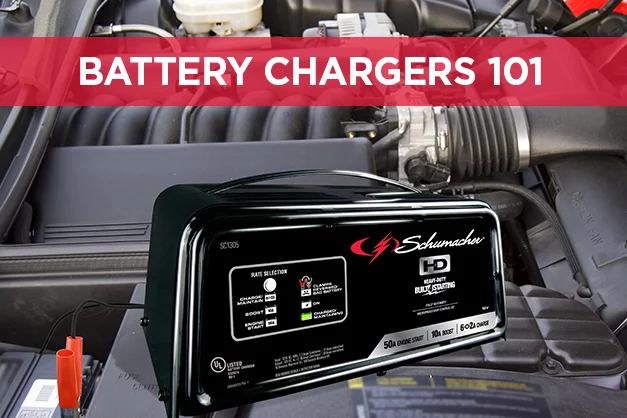
How Long Does a Car Battery Take to Charge?
Charging time depends on the battery capacity, its current charge level, the charger’s output, and the battery’s condition.
A rough estimate uses this simple idea:
Charging time equals amp-hours that need to be replaced divided by charger amps, with extra time for charging losses.
For example, a 60 amp-hour battery that is about half empty may need roughly 30 amp-hours restored. A 2-amp charger could take more than 15 hours, while a 10-amp charger may take several hours.
These are estimates, not guarantees. A weak battery may accept power slowly or fail to reach full charge. Cold temperatures also slow charging.
Typical time ranges include:
• Trickle charging: 24 hours or longer
• Low-current charging: 8 to 20 hours
• Medium-current charging: 4 to 10 hours
• High-current charging: 1 to 4 hours
Do not choose a high-current setting only to save time. Fast charging can create more heat and may shorten battery life if used too often. The best charging rate is the one recommended by the battery or charger maker.
How to Know When the Battery Is Fully Charged
A smart charger usually provides the clearest answer. It may show a full-charge message or change from charging mode to float or maintenance mode.
You can also check the battery with a digital multimeter. First, turn off the charger. Let the battery rest for several hours, then measure the voltage across the terminals.
General readings for a resting 12-volt lead-acid battery are:
• About 12.6 to 12.8 volts: Fully charged
• About 12.4 volts: Partly charged
• About 12.2 volts: Around half charged
• About 12.0 volts or lower: Very low charge
Voltage alone does not prove that a battery is healthy. A worn battery can show a normal voltage shortly after charging but still fail under the load of starting an engine.
If the battery reaches full voltage but quickly drops again, have it tested. The problem may be an aging battery, a faulty alternator, or an electrical drain in the vehicle.
Common Mistakes to Avoid
Knowing what not to do is just as useful as knowing how to use a car battery charger.
• Connecting the clamps backward: Reverse polarity can damage the charger, vehicle electronics, or battery.
• Charging in a closed room: Poor ventilation allows explosive gas to build up.
• Using the wrong voltage: A 12-volt charger is not suitable for a 6-volt battery.
• Selecting the wrong battery mode: AGM, gel, flooded, and lithium batteries may require different charging profiles.
• Charging a damaged battery: Cracks, leaks, swelling, and severe heat are warning signs.
• Starting the car while the charger is connected: Some chargers are not designed to support engine starting. Use a start-assist feature only if the charger manual permits it.
• Leaving a manual charger unattended: Manual units may continue charging after the battery is full.
• Placing the charger on the engine: Heat, vibration, and moving parts can damage the charger or cables.
• Cleaning corrosion with bare hands: Battery residue can irritate skin and eyes.
• Assuming a charged battery is a healthy battery: Charging restores energy, but it does not repair worn internal plates.
One common mistake is choosing the highest amp setting every time. That may seem efficient, but gentle charging is often better for battery life, especially when the battery is only mildly low.
What to Do If the Charger Will Not Start
A charger may refuse to start when the battery voltage is extremely low. Some smart chargers need to detect a minimum voltage before they begin charging.
Try these checks:
• Confirm that the wall outlet works.
• Make sure the charger is set to 12 volts.
• Check that the positive and negative clamps are secure.
• Clean heavy corrosion from the terminals.
• Confirm that the battery type setting is correct.
• Read the charger display for a fault code.
If the battery is below the charger’s detection threshold, a professional battery shop may be able to test it. Do not bypass the charger’s safety system with improvised wires or another battery unless the manufacturer specifically allows that method.
Stop using the battery if it becomes hot, swells, leaks, or smells strongly of sulfur. Those signs can point to internal failure.
Can You Charge a Battery Without Removing It?
In many vehicles, yes. A battery can often be charged while installed, provided the vehicle maker allows it and the charger is compatible.
Charging in place is convenient, but modern vehicles may have sensitive electronics, battery sensors, and multiple grounding points. Always use the recommended positive and negative connection points from the owner’s manual.
Removing the battery may be better when:
• The battery is leaking
• The battery is in a poorly ventilated area
• The vehicle has special charging instructions
• You need to clean the battery tray or terminals
• The battery requires testing outside the vehicle
Never disconnect a battery from a running vehicle. Doing so may create voltage spikes that damage electronic systems.

How a Charger Differs From a Jump Start
A jump start may get the engine running, but it does not fully charge the battery. The alternator can restore some energy during driving, yet a deeply discharged battery may need many hours of driving or a proper charger.
A charger is the better choice when:
• The car will not be driven right away
• The battery has been deeply discharged
• You want a complete, controlled charge
• The vehicle is stored for a long period
• You are maintaining a classic car or seasonal vehicle
After a jump start, drive only when it is safe and necessary. Then test the battery and charging system. Repeated jump starts often point to a deeper issue.
Tips for Maintaining a Car Battery
Good maintenance reduces the need to use a car battery charger.
• Drive the vehicle regularly, especially if it normally sits for weeks.
• Keep the battery terminals clean and tight.
• Inspect the battery case for swelling or cracks.
• Use a battery maintainer for seasonal vehicles.
• Turn off lights, climate controls, and accessories before leaving the car.
• Test the battery before extreme winter or summer weather.
• Check the alternator if the battery keeps losing power.
Most automotive batteries last about three to five years, although climate, driving habits, vibration, and maintenance can change that range. Very hot weather can speed up battery wear, while cold weather makes a weak battery harder to start.
A vehicle that only takes short trips may not run long enough to replace the energy used during starting. In that case, occasional charging can help, but it should not replace proper diagnosis.
Frequently Asked Questions About How to Use a Car Battery Charger
Should I connect the red or black clamp first?
Connect the positive, or red, clamp first. Then connect the negative, or black, clamp to the approved negative terminal or grounding point.
Can I leave a car battery charger on overnight?
You can usually leave an automatic smart charger connected overnight if the charger and battery are in good condition and the manufacturer permits it. Do not leave a manual charger unattended because it may overcharge the battery.
How do I use a car battery charger on an AGM battery?
Select the AGM mode if your charger has one. Use the voltage and charging settings listed in the battery or vehicle manual, and stop if the battery becomes hot, swollen, or damaged.
Can a charger fix a dead car battery?
A charger may restore a deeply discharged battery if the battery is still healthy. It cannot repair a battery with internal damage, a shorted cell, a cracked case, or severe sulfation.
Should I disconnect the car battery before charging it?
Not always. Many vehicles allow in-place charging, but you should follow the vehicle manual and use the recommended charging terminals.
How long should I charge a dead car battery?
Charging may take several hours or overnight, depending on the battery size, charger output, and battery condition. A low-current charger takes longer but is often gentler.
Can I use a car battery charger while the engine is running?
Usually, no. Most chargers are designed for a stationary engine-off vehicle. Use an engine-start or boost mode only when the charger instructions clearly support it.
Conclusion
Learning how to use a car battery charger is mostly about choosing the right equipment, making safe connections, selecting the correct mode, and allowing enough time for a complete charge. Always charge in a ventilated space, watch for heat or damage, and disconnect the charger in the proper order.
A charger can restore a healthy weak battery, but repeated power loss may signal a bad battery, alternator problem, or electrical drain. Use these steps the next time your battery is low, and consult your vehicle manual or a qualified technician when the battery shows warning signs. Share this guide with another driver who may need a safe, reliable way to recharge a car battery.