Most backup camera failures are due to simple power, connection, or signal issues that are repairable.
As someone who has diagnosed dozens of roadside electronics problems, I’ll walk you through why your backup camera not working can happen, how to diagnose it, and step-by-step fixes you can try today. This guide uses clear steps, real-world tips from hands-on experience, and straightforward advice so you can get your backup camera working again or know when to seek professional help.

What a backup camera does and common signs it’s failing
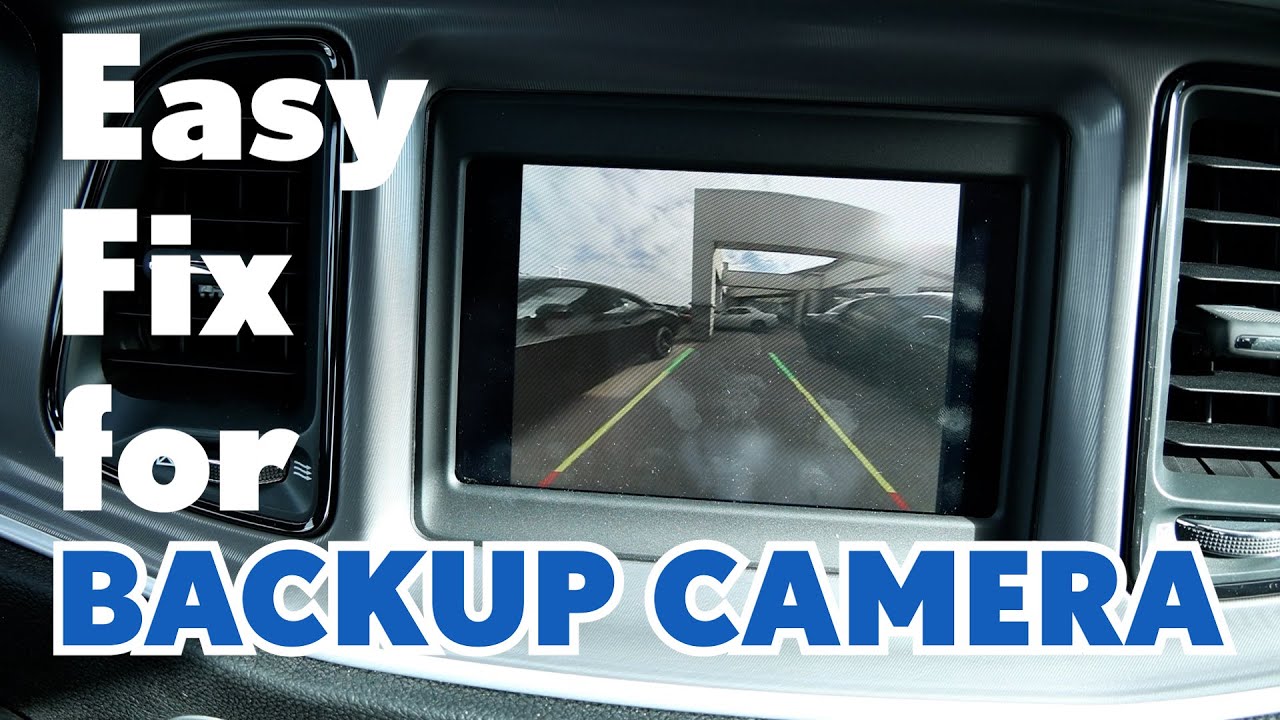
A backup camera helps you see behind the vehicle while reversing. It improves safety and reduces blind spots. When your backup camera not working, symptoms include a black screen, static, flicker, distorted image, or a “no signal” message. Noticing these signs early can save time and money on repairs.

Common causes of backup camera not working
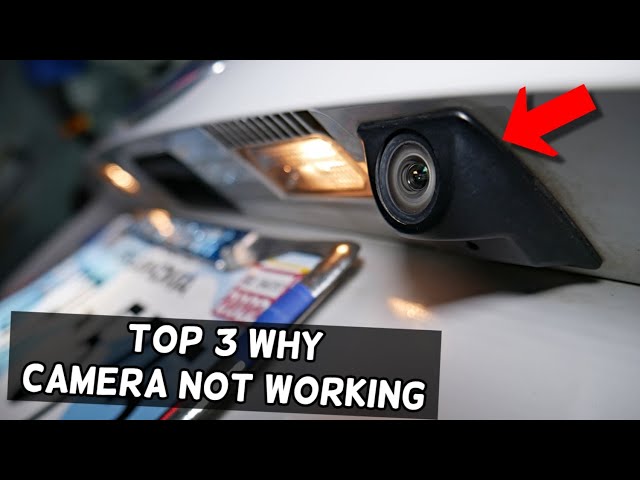
Below are the usual reasons a backup camera not working, broken down simply.
- Power issues. A blown fuse, bad reverse light power feed, or drained battery can cut power to the camera.
- Loose or damaged connections. Worn wiring, pulled connectors, or corrosion will interrupt the signal.
- Faulty camera module. The camera itself may fail from water intrusion or wear.
- Display or head unit problems. The in-dash screen or software can be the cause, not the camera.
- Signal interference. Aftermarket systems and wireless setups can suffer from radio or electrical noise.
- Software or settings. A menu setting, firmware bug, or need for a system reset can stop the picture.
- Physical damage. Rocks, road spray, and car washes can harm the lens or housing over time.

How to diagnose a backup camera not working
Follow these simple steps to find the likely cause. Work from easiest checks to harder ones.
- Check the display. Turn on the car and put it in reverse to see if the screen shows any message. If the screen is dead, the issue may be the head unit.
- Inspect fuses. Locate the fuse box and check the fuse for the rear camera or backup system. Replace a blown fuse with the correct rating.
- Test reverse lights. If reverse lights do not come on, the camera may not get power. Fixing the lights often fixes the camera.
- Look at connections. Open the trunk or rear bumper access and check the camera connector for dirt, corrosion, or a loose plug. Tighten and clean as needed.
- Try a reset. If you have an infotainment system, perform a soft reset or disconnect the battery briefly to reset electronics.
- Swap the monitor. If possible, test the camera on another display or plug a working camera into your monitor to isolate the fault.
- Use a multimeter. Measure voltage at the camera connector when in reverse. No voltage points to wiring or power source issues.
- Inspect the camera for water or physical damage. Moisture inside the lens or cracks often mean the camera must be replaced.
PAA-style mini-questions and quick answers
– Why is my backup camera black? A black display often means a loss of power, a blown fuse, or a dead camera.
- Why does my backup camera show static? Static usually indicates a loose connection, interference, or damaged cable.
- Why does the image cut in and out? Intermittent power or a failing camera module can cause a picture that flickers or drops.
Step-by-step fixes you can try at home
These fixes solve most common backup camera not working problems. Take your time and use basic tools.
- Replace a blown fuse. Find the correct fuse and swap it. This is quick and inexpensive.
- Clean and reconnect. Disconnect the camera plug, clean contacts with electrical contact cleaner, and reconnect firmly.
- Secure wiring. Zip-tie loose wires away from moving parts and heat sources. Replace visibly damaged wire.
- Test the reverse power feed. Use a multimeter to confirm 12V appears at the connector while in reverse. Trace back to the fuse or bulb feed if missing.
- Update or reset the head unit. Check your vehicle manual for reset steps or update options to clear software bugs.
- Replace the camera. If the camera shows internal fogging, cracked housing, or no voltage change after testing, a replacement camera is often the final step.
- Check wireless modules. For wireless backup systems, ensure the transmitter and receiver are paired and receive proper power.
Tools and parts you may need
- Multimeter for voltage checks.
- Screwdrivers and trim tools to access the camera.
- Electrical contact cleaner and dielectric grease.
- Replacement fuses, connectors, or camera module.
- Zip ties and electrical tape for securing repairs.

When to call a professional
If you’re uncomfortable with electrical testing, lack access to the right tools, or the issue is inside the head unit, call a professional. Complex wiring harnesses, proprietary connectors, and factory camera integration can be tricky. If the camera is integrated with vehicle safety systems, a certified technician will ensure proper calibration and system safety.
Personal note: early in my career I tried replacing a camera on a car with complex wiring. I accidentally unplugged an unrelated safety sensor and spent hours tracking the error. That experience taught me to label connectors and work methodically or get a pro for complex systems.

Cost, replacement options, and expected lifespan
Costs vary widely depending on vehicle and camera type. Basic aftermarket cameras may cost $30 to $150. OEM integrated units can cost $200 to $600 or more. Labor varies by shop. Camera lifespan often ranges from 3 to 10 years depending on exposure to moisture and road salt. Choosing a camera with an IP67 or higher rating improves durability.

Preventive maintenance to avoid future failures
Small steps keep a backup camera working longer.
- Clean the lens regularly with mild soap and water.
- Inspect camera boots and seals for tears after winter or off-road use.
- Check connectors annually for corrosion.
- Avoid high-pressure car washes directly at the camera housing.
- Keep software and head unit firmware updated as recommended.
Related concepts and things to know
Understanding related components helps troubleshooting.
- Head unit vs camera. A working camera needs both a healthy camera and a functioning head unit.
- Wired vs wireless systems. Wired systems tend to be more reliable and less prone to interference.
- Reverse light feed. Many cameras use the reverse light circuit for power. A burnt bulb or wiring issue can affect the camera.
- Image processors and CAN bus. Advanced cars may route camera signals through a vehicle network. Faults here often require dealer tools.
Frequently Asked Questions of backup camera not working
Why is my backup camera black when I shift to reverse?
A black screen usually means no power or a failed camera. Check fuses, reverse lights, and the camera connector first.
Can a blown fuse cause the backup camera not working?
Yes. Many cameras are powered through a fuse linked to the reverse circuit. Replacing the correct fuse often fixes the problem.
Will disconnecting the battery fix camera issues?
A soft reset by disconnecting the battery can clear software glitches in the head unit. It will not fix wiring or a physically damaged camera.
How long does it take to replace a backup camera?
A simple replacement can take 30 to 60 minutes for an aftermarket camera. Integrated OEM replacements and recalibration can take longer.
Is a wireless backup camera less reliable than a wired one?
Wireless cameras can be convenient but are more prone to interference and signal loss. Wired systems are generally more reliable.
Can car washes damage my backup camera?
High-pressure sprays can force water into seals or damage mounts, which may lead to failure. Hand washing or avoiding direct spray reduces risk.
Do I need a professional for camera calibration?
If your vehicle requires camera calibration tied to safety systems, a professional with the right tools should handle it to ensure correct operation.
Conclusion
If your backup camera not working, start with simple checks: fuses, reverse lights, and plugs. Many problems are fixable with basic tools and a little time. When issues involve deep wiring, head units, or vehicle safety systems, seek professional help to avoid bigger problems. Take action now by doing the easy tests, protecting the camera from moisture, and scheduling a technician if needed. Share your experience, ask questions, or subscribe for more practical vehicle tech tips.
