Replace it yourself: remove the old holder, fit a new unit, and secure with basic tools.
I have years of hands-on experience fixing interior trim and accessories. This guide shows exactly how to replace a broken car cup holder with clear steps, tools, and tips. Read on to learn practical methods, parts choices, and common pitfalls so you can finish the job fast and right. Whether you want a quick DIY swap or advice before paying a shop, this article covers how to replace a broken car cup holder from start to finish.
Tools and parts you’ll need
Start with the right tools. That saves time and avoids damage.
- Tools
- Trim pry tool set
- Phillips and flat screwdrivers
- Socket set (common sizes: 7mm–10mm)
- Needle-nose pliers
- Flashlight or headlamp
- Clean cloth and rubbing alcohol
- Parts
- Replacement cup holder (OEM or aftermarket)
- Mounting clips or screws (if not included)
- Foam or rubber inserts, if needed
Check vehicle manuals or online parts listings for exact part numbers. Having the right part makes the job much easier.

How to assess the damage
A quick assessment tells you whether to repair or replace.
- Inspect the holder
- Look for broken plastic tabs, cracked base, or bent mounting points.
- Check if the cup insert is missing or if the latch is stripped.
- Check surrounding trim
- Damage to the console or fasteners may require extra work.
- Note if wiring or electronics are nearby.
- Decide repair vs replace
- Small cracks or loose inserts can sometimes be glued or reinforced.
- Major breaks, missing mounting hardware, or warped frames mean replace.
I once tried gluing a cracked cup holder. It worked two weeks, then failed. That taught me to replace if the mounting is compromised.
Step-by-step: How to replace a broken car cup holder
Follow these clear steps. Read them first, then work slowly.
- Prepare the car
- Park on a flat surface. Turn off the engine and remove keys.
- Clear the console and keep small containers for screws.
- Remove trim around the holder
- Use a trim pry tool to lift surrounding panels gently.
- Work along edges until clips pop free. Take photos to help reassembly.
- Remove the old cup holder
- Unscrew visible screws or unclip the unit from mounts.
- Pull the holder out slowly. Watch for wiring or sensors.
- If adhesive is used, cut or pry carefully to avoid bending metal.
- Clean the mounting area
- Remove debris and old adhesive. Wipe with rubbing alcohol.
- Check that mounting points are intact. Replace damaged clips.
- Test-fit the replacement
- Place the new cup holder into the opening to confirm fit.
- Make minor adjustments to mounting brackets if needed.
- Secure the new unit
- Attach screws or clips. Use the same torque as factory parts.
- If adhesive is recommended, follow the product cure time.
- Reinstall trim and test
- Snap trim back into place. Test cup stability and any springs or latches.
- Take a short drive and re-check tightness after a day of use.
Safety tip: avoid overtightening screws. Plastic threads strip easily. Keep screws snug, not rock-solid.

Source: youtube.com
DIY vs professional repair
Decide based on time, skill, and warranty.
- DIY pros
- Lower cost. You control parts and timeline.
- Good for simple replacements and clean work areas.
- DIY cons
- Risk of breaking trim or misaligning components.
- Electrical or heated cup holders may complicate the job.
- Professional pros
- Faster if you lack tools or confidence.
- Warranty and parts knowledge; shops can source hard-to-find parts.
- Professional cons
- Higher cost. Wait time for parts or shop schedule.
If the cup holder is part of an airbag cover, heated circuit, or complicated trim, choose a shop.
Cost, parts, and where to buy
Know your options before buying.
- Cost breakdown
- Aftermarket holder: $10–$40.
- OEM replacement: $30–$150 depending on vehicle.
- Labor: $50–$150 at a shop for simple swap.
- Where to buy
- Dealer parts counter for OEM.
- Online retailers and marketplaces for aftermarket.
- Salvage yards for used, low-cost options.
- Choosing parts
- Match mounting style and dimensions.
- Prefer parts with mounting hardware included.
- Read reviews for fit and finish.
I saved $25 using a quality aftermarket part once. It fit well. I still checked the mounting points before final install.

Source: reddit.com
Maintenance tips to avoid future breaks
Small habits extend the life of your cup holder.
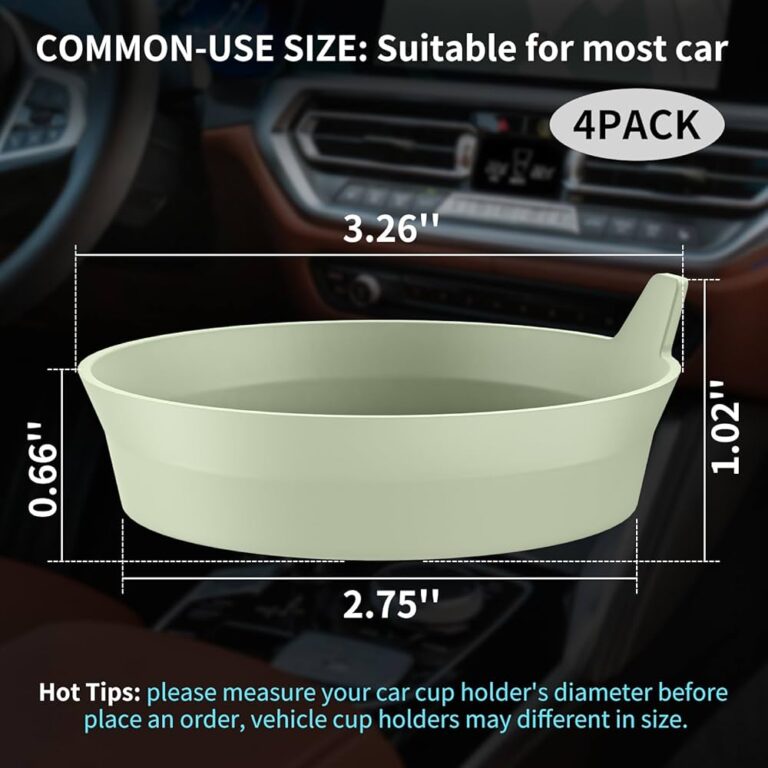
- Use silicone coasters
- They cushion cups and reduce stress on plastic.
- Avoid heavy loads
- Don’t store heavy items in the holder when driving on rough roads.
- Clean gently
- Wipe spills quickly. Use mild soap and a soft cloth.
- Replace worn clips early
- Loose fit increases stress and leads to breakage.
Treat the cup holder like a small piece of the interior. Little care goes a long way.
Common problems and quick fixes
Here are issues you will see and how to handle them.
- Broken latch or spring
- Replace the small part or fit a new unit.
- Loose fit in the console
- Replace broken clips or add foam shims for a snug seat.
- Stuck or jammed holder
- Clean debris, lubricate lightly, and test operation.
- Cosmetic cracks
- Use plastic epoxy for non-load areas. Replace if mounting is affected.

Source: reddit.com
Frequently Asked Questions of How to replace a broken car cup holder
How do I remove a cup holder without breaking clips?
Use a trim pry tool and work evenly around the edge. Take pictures and pause if resistance feels uneven.
Can I replace only the cup insert and not the whole unit?
Yes. Many models have removable inserts sold separately. Replace the insert if the mounting base is intact.
Are OEM parts always better than aftermarket?
OEM parts match factory fit and finish. Good aftermarket parts can match function at lower cost. Choose by fit, not just brand.
What if the cup holder has heating or sensors?
Disconnect the battery first. If you are unsure, let a professional handle wiring and sensors.
How do I find the correct replacement part number?
Check the owner’s manual, dealer parts catalog, or the old part for stamped numbers. Photos help parts reps identify the right item.
Conclusion
You can replace a broken car cup holder with basic tools, a proper replacement part, and careful steps. Start by assessing damage, then remove trim gently, test-fit the new holder, and secure it without overtightening. If wiring or complex trim is involved, consider a professional. Try the steps on a weekend and save money while gaining a small but satisfying repair skill. If this guide helped, leave a comment, share your experience, or subscribe for more DIY car tips.