Use the correct valve, a good pump, and set PSI by tire width and terrain.
I’ve worked on bikes and ridden trails for years, and I’ll show you exactly how to inflate a mountain bike tire with clear, step-by-step instructions. This guide explains valves, tools, safe pressures, tubeless tips, and common problems. Read on and you’ll be ready to inflate, tweak, and maintain tires confidently before your next ride.

What you need before you start
Know the gear first. Use the right tools to avoid damage and wasted time.
- Pump with gauge or a digital gauge. A floor pump is best for accurate pressure.
- Valve adapter set. Includes Presta and Schrader adapters.
- Mini pump or CO2 inflator for rides.
- Tire pressure gauge if your pump lacks one.
- Cloth and soapy water for tubeless bead checks.
- Patch kit and spare tube in case of flats.
How you prepare matters. I learned to always check for small cuts before inflating. That saved me from a blown tire once.

Valve types and how they change the process
Knowing the valve type is the first step in how to inflate a mountain bike tire.
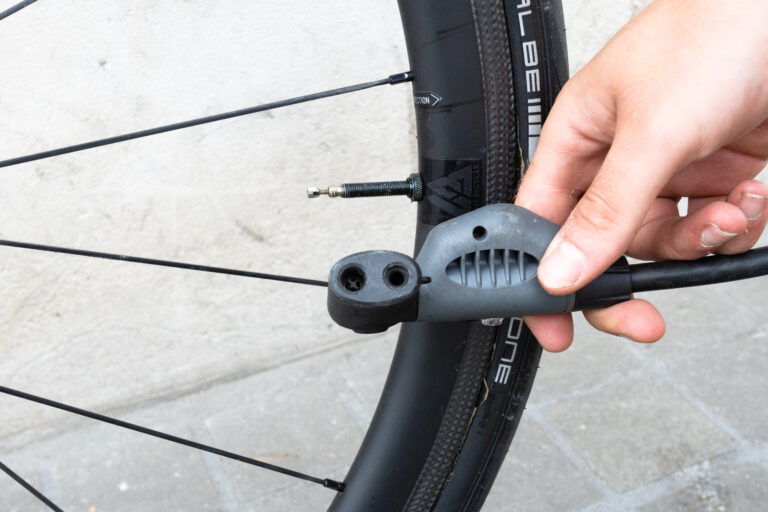
- Presta valves are slim and common on MTB wheels. Unscrew the small top and press briefly to release air before attaching the pump.
- Schrader valves look like car valves. Remove the cap and press the pump head on like a car tire.
- Tubeless valves have removable cores. You may need to remove the core for fast seating or to add sealant.
Match pump head to valve. Many pumps switch between Presta and Schrader. If the pump head won’t seal, switch modes or use an adapter. Proper valve handling prevents damage and slow leaks when learning how to inflate a mountain bike tire.
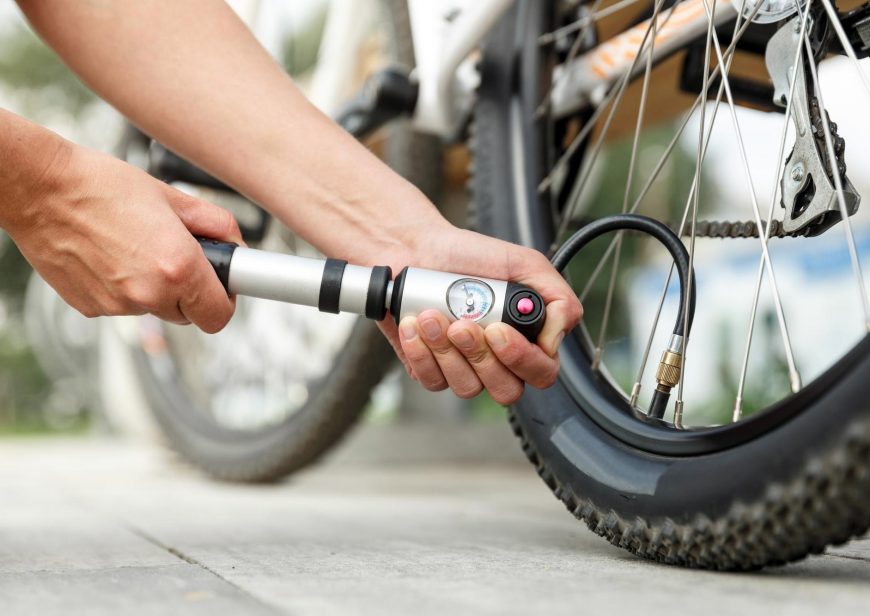
Step-by-step: how to inflate a mountain bike tire safely
Follow these simple steps to get the job done fast and right.
- Inspect the tire and rim for cuts, debris, or a displaced bead. Replace damaged parts first.
- Identify the valve type and remove its cap. Open the Presta valve by unscrewing the tip.
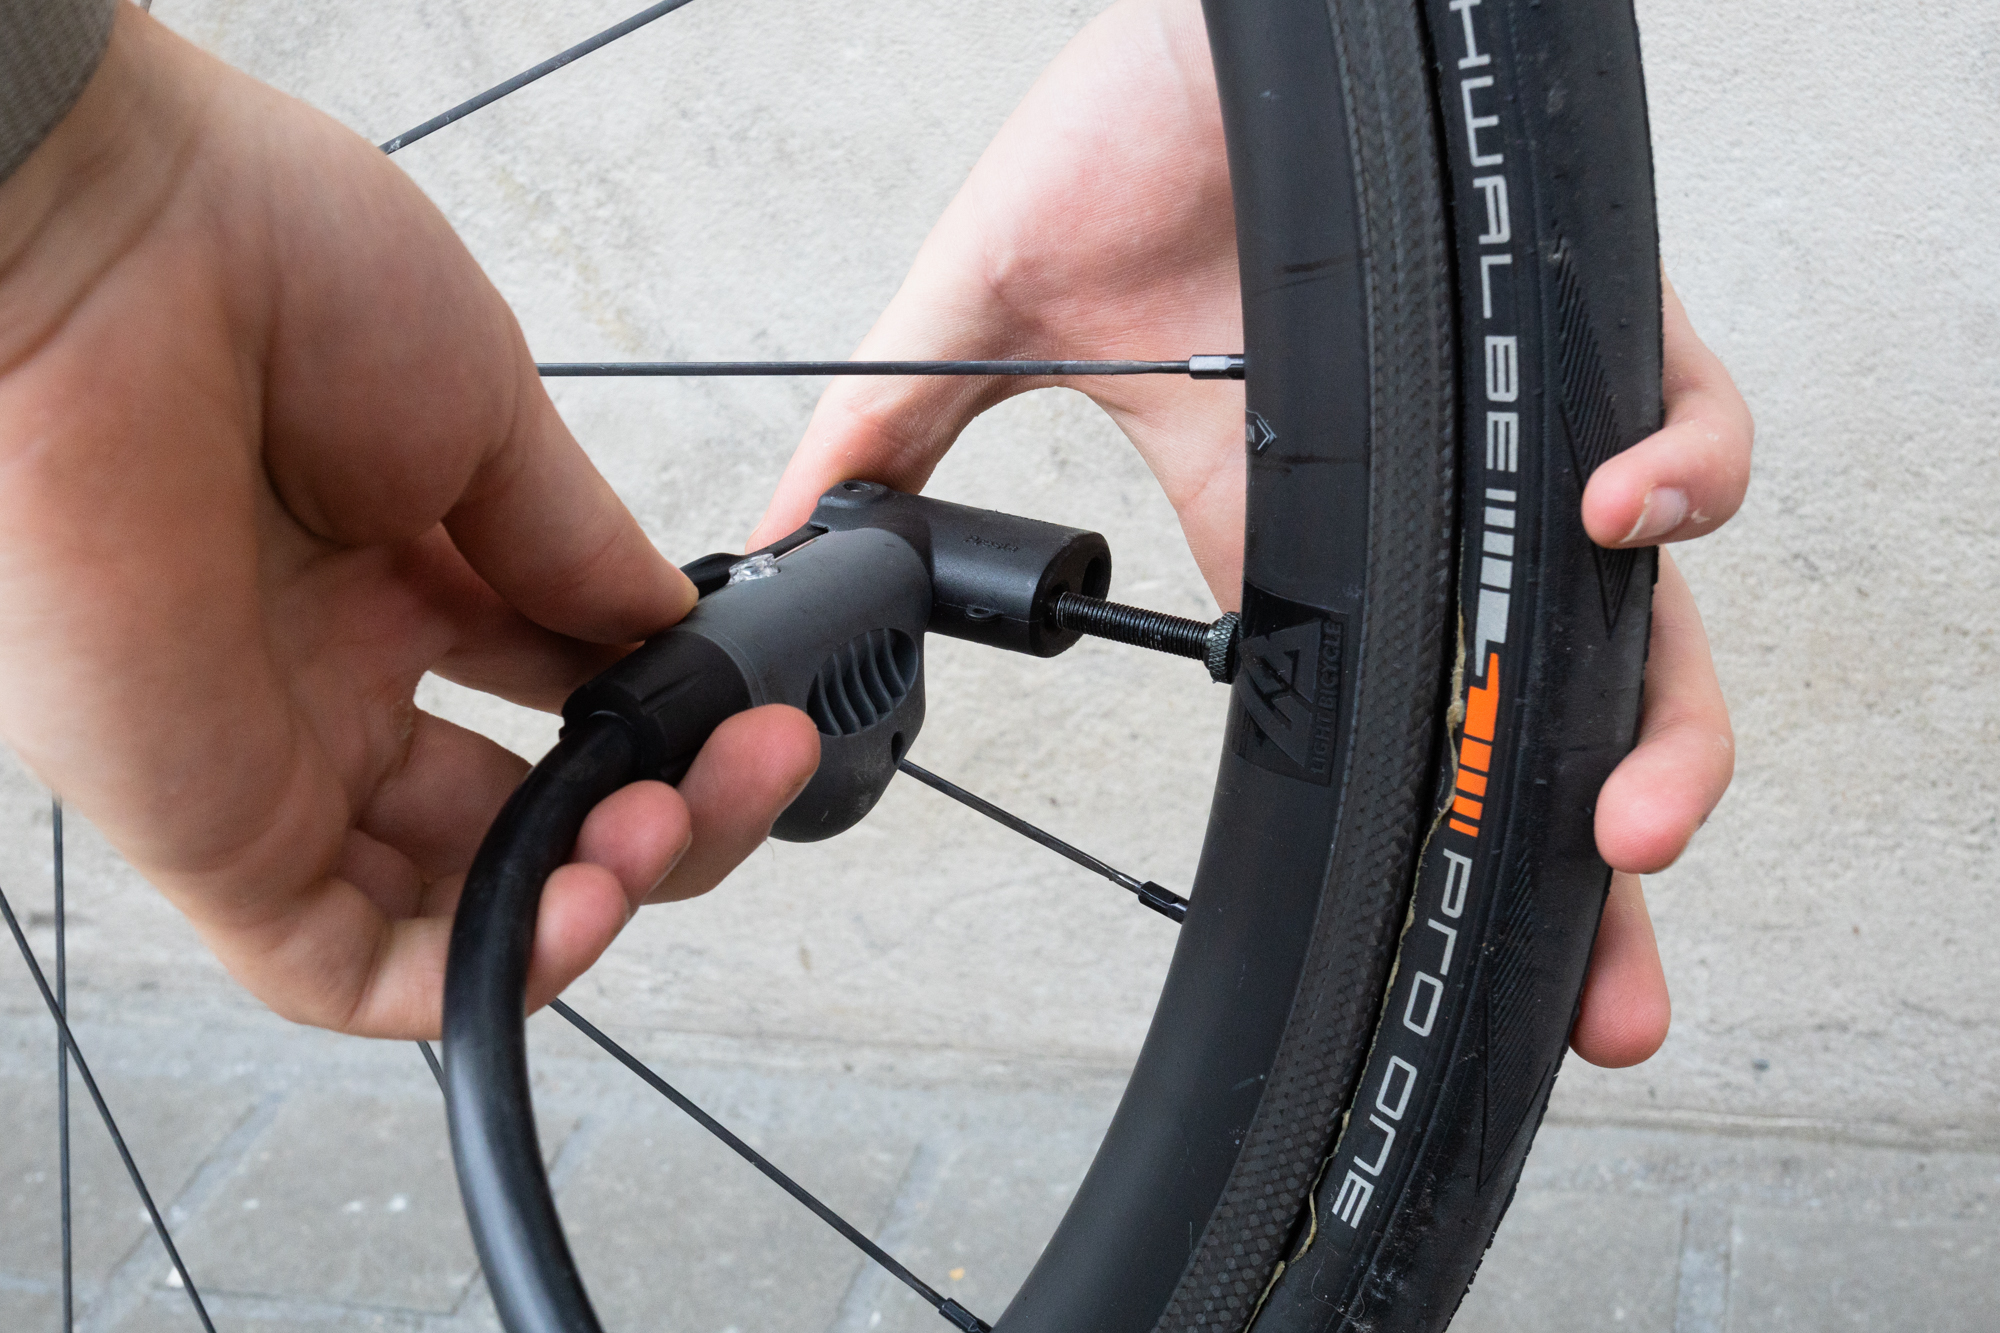
- Attach the pump head. For lever-style heads, flip the lever to lock the head in place.
- Pump to the desired pressure. Use the pump gauge or separate gauge for accuracy.
- Remove the pump head carefully. For Presta valves, tighten the tip and replace the cap.
- Check the bead on tubeless tires. Use soapy water around the rim to spot leaks.
- Test-ride and recheck pressure after a short ride.
When I first learned how to inflate a mountain bike tire, I overinflated twice. Now I target pressure and test-ride to fine-tune feel and traction. Small adjustments make big differences on the trail.

How much pressure to use: ranges and factors
Pressure affects grip, comfort, and puncture resistance. Here’s how to choose.
- Tire width 2.0–2.25 inches: 30–45 psi ideal for cross-country and light hardpack.
- Tire width 2.3–2.6 inches: 20–35 psi works well for trail and mixed surfaces.
- Plus tires 2.8+ inches: 12–25 psi for maximum traction and float.
Factors that change pressure:
- Rider weight: heavier riders need more psi.
- Trail type: loose, technical trails favor lower pressure for grip.
- Rim width: wider rims support lower pressures.
PAA-style question:
What pressure should I use for tubeless tires?
Start lower than tube setups. Tubeless allows 3–10 psi less than tubes, depending on rim and tire width. Always watch for burping or rim strikes.
Use a gauge. Guessing pressure often leads to bad rides or valve damage. Learning how to inflate a mountain bike tire properly begins with choosing the right psi for you.
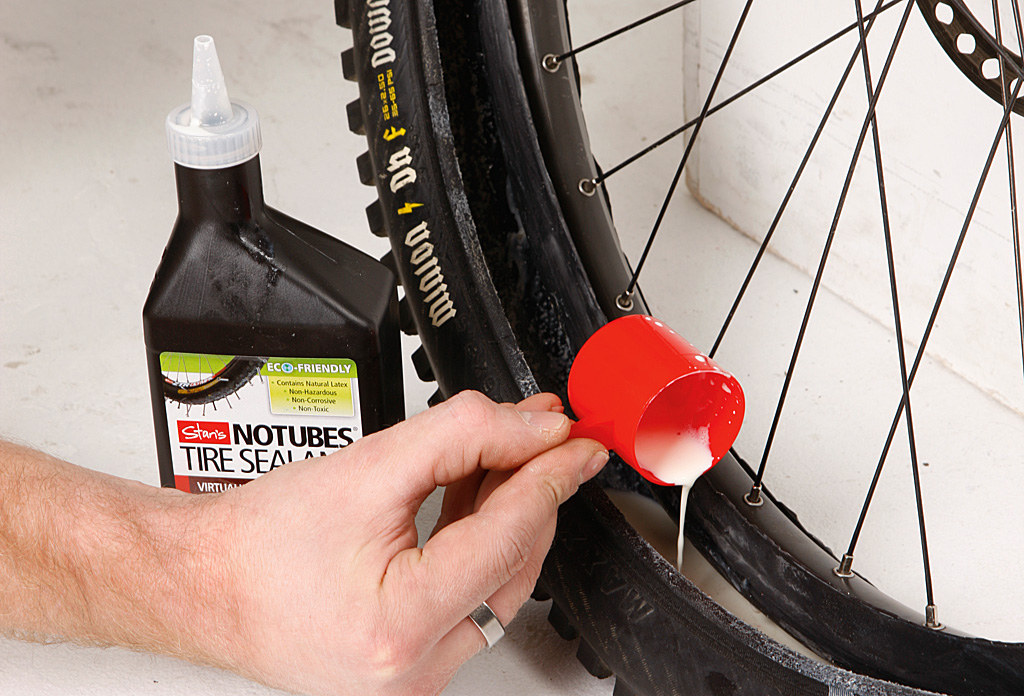
Tubeless specifics: seating beads and adding sealant
Tubeless setups add complexity but improve puncture resistance.
- Check that rim tape is intact and valve core is tight.
- To seat a bead, use a high-volume pump or a compressor for a fast blast of air.
- If bead won’t seat, remove valve core and pump air quickly with a compressor or booster.
- Add sealant through the valve core if removable, then rotate the wheel to spread it.
I once spent an hour failing to seat a bead until I removed the valve core and used a short CO2 blast. That trick works well when learning how to inflate a mountain bike tire tubeless-style.

Troubleshooting common problems
Small issues crop up. Here are quick fixes when inflating tires.
- Pump won’t lock on: check pump head orientation or use the right adapter.
- Air leaks at valve: tighten the Presta tip or replace a damaged valve stem.
- Bead won’t seat: remove valve core and use a booster or compressor.
- Overinflation: let air out slowly using the valve tip or bleed screw if present.
- Underinflation after a ride: inspect for slow punctures or rim leaks and reseat the bead.
If you see foam or bubbles with soapy water, you’ve found a leak. I always carry a mini pump and a small tube. That kit saved three rides from ending early. Knowing how to inflate a mountain bike tire also means knowing how to handle failures fast.
Maintenance tips and best practices
Keep your tires healthy and inflation process smooth.
- Check pressure before every ride. Temperatures change pressure.
- Replace worm-eaten or cut tires promptly.
- Use a trusted pump with a gauge for consistent results.
- Carry a mini pump, spare tube, and patch kit when riding.
- Refill tubeless sealant every 3–6 months or per manufacturer advice.
From my experience, checking pressure at home with a floor pump is faster than adjusting on the trail. Small pre-ride checks prevent most flats and failures. Learning how to inflate a mountain bike tire well is part knowledge and part habit.

Frequently Asked Questions
How do I know if I have a Presta or Schrader valve?
Presta valves are thin and have a threaded tip with a small nut. Schrader valves look like car tire valves and are wider with a spring-loaded pin.
Can I use a car pump on my mountain bike tire?
You can use a car pump on Schrader valves. For Presta valves, use an adapter or a pump that fits Presta. Be careful with pressure accuracy.
How often should I check my tire pressure?
Check before every ride or at least once a week if stored. Pressure drops slowly and with temperature changes.
Is lower pressure always better for traction?
Lower pressure increases traction but raises the risk of rim strikes and pinch flats. Balance traction with protection.
Can CO2 cartridges damage tubeless sealant?
CO2 is fine for emergency inflation, but it can temporarily reduce sealant effectiveness. Reinflate with a pump and top up sealant after use.
Conclusion
You now know how to inflate a mountain bike tire with the right tools, steps, and pressure choices. Start by identifying your valve, using a quality pump, and aiming for the right psi for your tire and terrain. Practice at home, carry basic tools, and learn to troubleshoot simple problems. Try the steps on your next ride and you'll gain confidence fast. If this guide helped, leave a comment or subscribe for more bike tips and maintenance advice.