Brake noise only in reverse is usually caused by loose brake hardware, rotor edge wear (rust lip), or a bent dust shield making contact.
Because brake components shift differently when a car moves backward, certain issues only appear while reversing. The good news: most causes are easy to diagnose and inexpensive to fix if caught early.
If your brakes squeak in reverse, car makes noise when backing up, or you hear a grinding sound when reversing, this guide will walk you through exact causes, step-by-step diagnosis, and repair costs.
If your car also makes noise while stopping, you may want to check this guide on brake noise when stopping for a full comparison.
Why Your Brakes Make Noise Only in Reverse
When your car moves backward, brake forces shift direction, causing parts like pads, clips, and calipers to move slightly differently.
This can lead to:
- Contact points that don’t occur when moving forward
- Vibrations from loose hardware
- Scraping from rotor edges or shields
That’s why reverse braking noise is often a very specific diagnostic clue, not a general brake failure.
10 Common Causes of Brake Noise When Reversing
1. Pad Backing Plate Contact
The metal backing plate may rub against the rotor edge when reversing.
2. Worn or Missing Brake Hardware
Loose clips, shims, or pins can cause brake squeal when backing up.
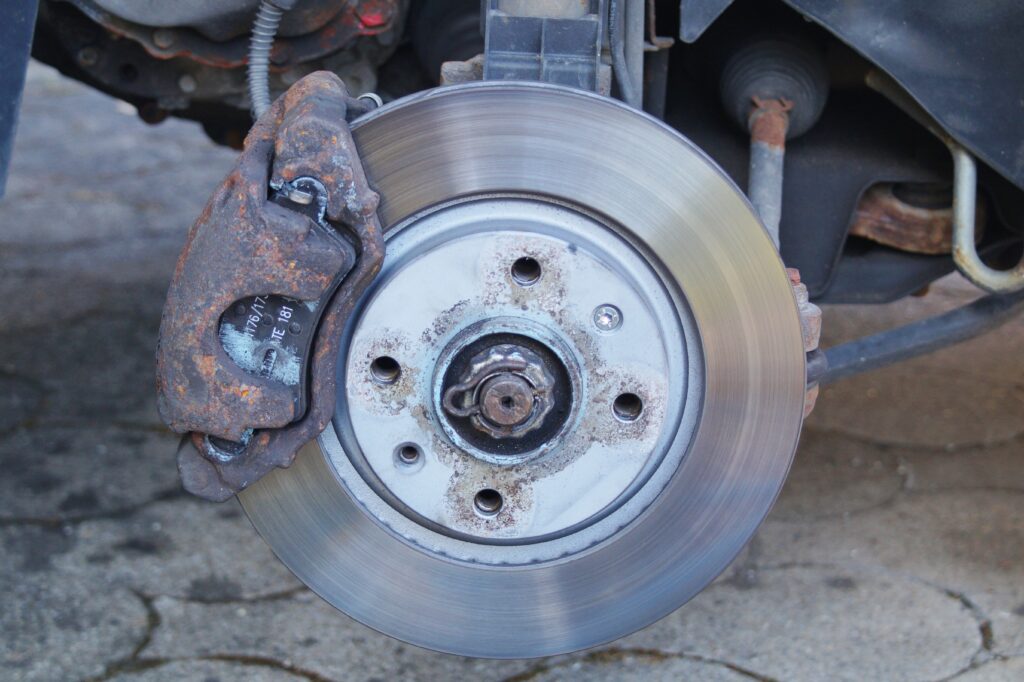
3. Rust Lip on Rotor Edge
A corroded edge forms over time and scrapes pads in reverse.
4. Bent Dust Shield
A slightly bent shield can touch the rotor only when spinning backward.
5. Sticking Caliper Slide Pins
Uneven pad positioning causes noise in one direction.
6. Uneven or Worn Brake Pads
Pads may sit crooked and rub differently in reverse.
7. Drum Brake Issues
Brake shoes or adjusters can create noise when backing up slowly.
8. Glazed Brake Pads
Smooth surfaces can chirp when reversing.
9. Parking Brake Drag
Partial engagement causes reverse-only scraping or squeaking.
10. Debris Stuck in Brakes
Small stones trapped between rotor and shield are a very common cause.
Uneven or worn brake pads can shift slightly and create noise only when reversing. If you plan to fix it yourself, follow this step-by-step guide on how to replace brake pads yourself
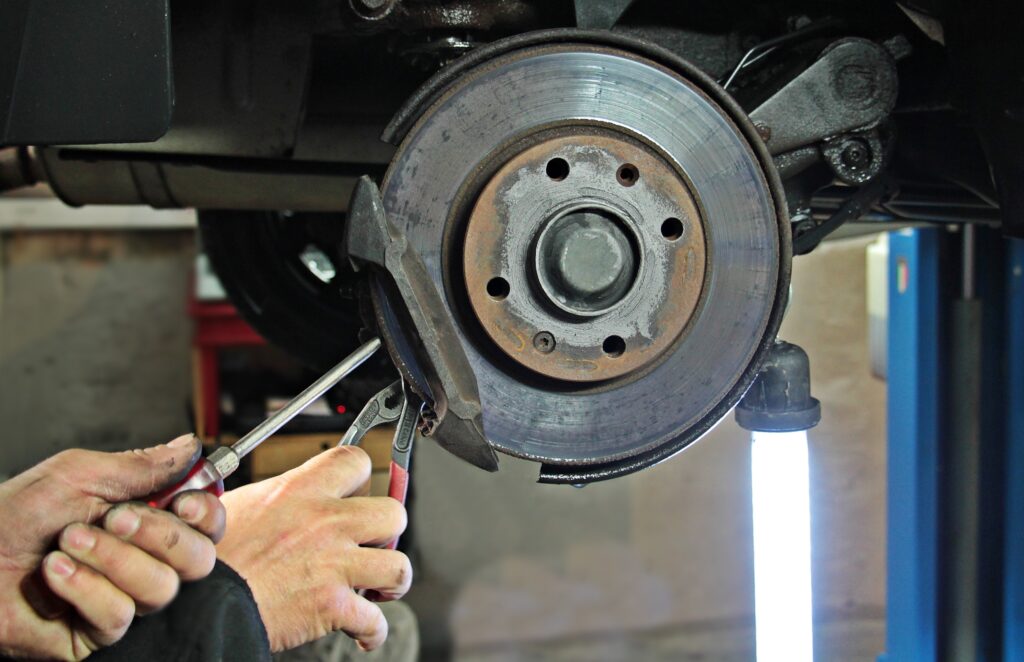
Image by NoName_13 from Pixabay
How to diagnose brake noise only in reverse
Follow this simple process:
1. Visual Inspection
Check rotors, pads, and dust shields for visible contact or damage.
2. Test Forward vs Reverse
Drive slowly (5–10 feet):
- Forward → quiet?
- Reverse → noise?
This confirms direction-specific issues.
3. Lift and Spin the Wheel
Safely jack up the car:
- Spin forward and backward
- Listen for scraping or rubbing
4. Check Brake Hardware
Look for:
- Loose clips
- Missing shims
- Uneven pad movement
5. Inspect Rotor Condition
Look for:
- Rust lip
- Scoring
- Uneven wear
6. Test Caliper Function
Ensure:
- Slide pins move freely
- Piston retracts smoothly
7. Eliminate Cheap Causes First
Start with:
- Dust shield adjustment
- Clip replacement
- Cleaning debris
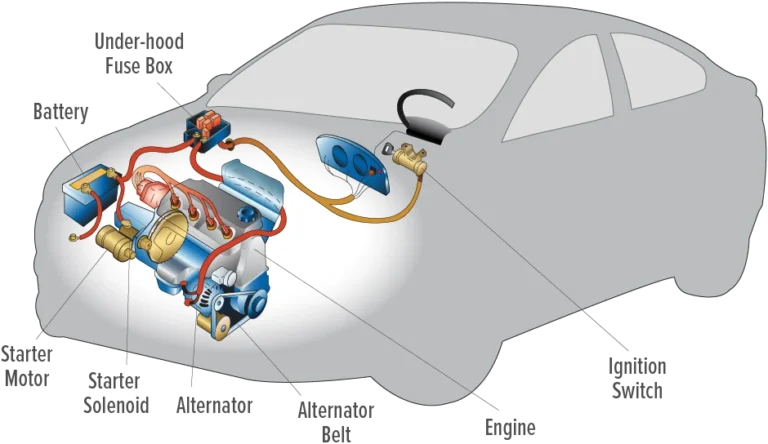
This avoids unnecessarily expensive repairs. Understanding how brake components work can make diagnosis easier, as explained by How a Car Works.
Brake Noise Repair Cost (2026 Estimates)
| Problem | Noise Type | Typical Cost |
|---|---|---|
| Dust shield contact | Scraping | $0–$50 |
| Loose clips/shims | Rattle/squeak | $50–$150 |
| Rotor resurfacing | Grinding | $100–$250 |
| Pads + rotors replacement | Squeal/grind | $200–$600 |
| Caliper replacement | Dragging noise | $150–$400 |
| Drum brake repair | Reverse squeak | $100–$300 |
Tip: Always fix low-cost issues first before replacing major parts.
Source: youtube.com
How to Fix Brake Noise When Reversing
Most common fixes include:
- Adjust or bend dust shield away from rotor
- Replace anti-rattle clips and shims
- Clean debris from brake assembly
- Replace worn brake pads
- Resurface or replace rotors
- Lubricate caliper slide pins
In many cases, a $10 clip or 5-minute adjustment solves the problem.
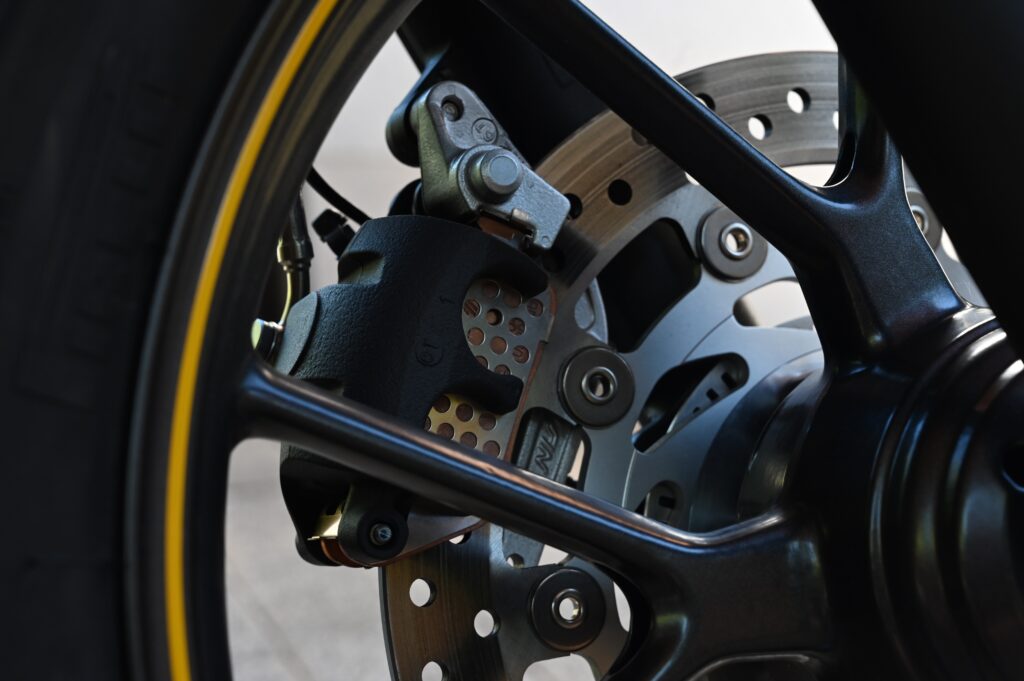
Image by Paul Henri Degrande from Pixabay
Brake Noise in Reverse vs Forward (Key Difference)
| Direction | Common Cause |
|---|---|
| Forward braking | Worn pads, glazing |
| Reverse braking | Hardware shift, rotor edge, shield contact |
Reverse-only noise is usually mechanical alignment, not a major failure.
Maintenance Tips to Prevent Reverse Brake Noise
- Inspect brakes every 10,000–15,000 miles
- Replace hardware when changing pads
- Lubricate caliper pins regularly
- Clean rust buildup on rotors
- Fix small noises early before they worsen
When to See a Mechanic
Get professional help if you notice:
- Grinding metal sounds
- Strong vibration when braking
- Reduced braking performance
- Noise getting worse quickly
These may indicate serious safety issues.
Personal experience and lessons learned
I once diagnosed a persistent chirp that happened only in reverse on an older sedan. A quick lift and spin revealed a slight rotor lip and a missing anti-rattle clip. Replacing the clip and dressing the rotor edge fixed it in under an hour and cost less than $30.
From that job I learned to always look for simple hardware issues first when brake noise only appears in reverse. Small parts often cause big headaches, and cheap fixes are common.

Image by Gerald Oswald from Pixabay
Frequently Asked Questions of brake noise only in reverse
What causes brakes to squeak only in reverse?
Usually loose hardware, rotor edge rust, or dust shield contact that only occurs when moving backward.
Is brake noise in reverse dangerous?
Not always, but grinding or vibration should be checked immediately.
Can new brakes make noise in reverse?
Yes, especially if hardware wasn’t replaced or installed correctly.
Why does my car make noise when backing up slowly?
Often due to debris, rust buildup, or minor misalignment in brake components.
Will replacing brake pads fix reverse noise?
Sometimes, but replacing clips and inspecting rotors is equally important.
Conclusion
Brake noise only in reverse is a valuable diagnostic clue, not just an annoyance.
Most cases are caused by:
- Loose hardware
- Rotor edge wear
- Dust shield interference
Start with basic inspection and low-cost fixes before replacing major components. Acting early can save money and prevent bigger problems.
Last updated: May 2026