Replace brake pads yourself in under two hours using basic tools, safety gear, and clear steps.
I have replaced brake pads dozens of times on different cars, and this guide walks you through how to replace brake pads yourself with clear steps, safety checks, and practical tips.
You’ll learn what tools and parts to buy, how to remove the old pads and reinstall new ones, how to bed in new brake pads, and how to spot and fix common problems. Read on to replace brake pads yourself confidently and safely.
How to replace brake pads yourself: Tools and parts
Before you start, gather the right tools and parts. Doing this saves time and prevents mistakes when you replace brake pads yourself.
Tools you will need
- Floor jack and jack stands for safe support
- Lug wrench or impact wrench to remove wheels
- C-clamp or brake caliper piston tool to retract the caliper piston
- Socket set, ratchet, and torque wrench for bolts
- Flat screwdriver or pry bar to remove clips and pads
- Brake cleaner and rags for cleanup
- Wire brush to clean hardware
Parts and consumables
- New brake pads (correct model for your car)
- Brake hardware kit (shims, clips, pins) when recommended
- Brake grease or anti-squeal compound
- New rotor or rotor resurfacing if needed
When you replace brake pads yourself, use OEM or high-quality aftermarket pads and match the hardware. Check your vehicle manual for torque specs and any model-specific notes.
Safety first before you replace brake pads yourself
Safety is the top priority. A small mistake can be dangerous while working on brakes, so take time to prepare.
- Park on a flat surface and block the wheels to prevent rolling.
- Loosen lug nuts slightly before jacking the car.
- Use jack stands; never rely on the jack alone while you replace brake pads yourself.
- Wear eye protection and gloves. Brake dust may contain particles you should avoid breathing.
- Work on one wheel at a time so you can use the good side as a reference.
I learned the hard way to always double-check jack stand placement. A correct support point keeps the job safe and quick when you replace brake pads yourself.

Step-by-step: How to replace brake pads yourself
Follow these steps to replace brake pads yourself. Read all steps first, then do them slowly and carefully.
Prepare the car
- Park, engage parking brake, and block rear wheels (if working on front).
- Loosen the lug nuts but do not remove them.
- Jack the car and secure with jack stands.
- Remove the wheel.
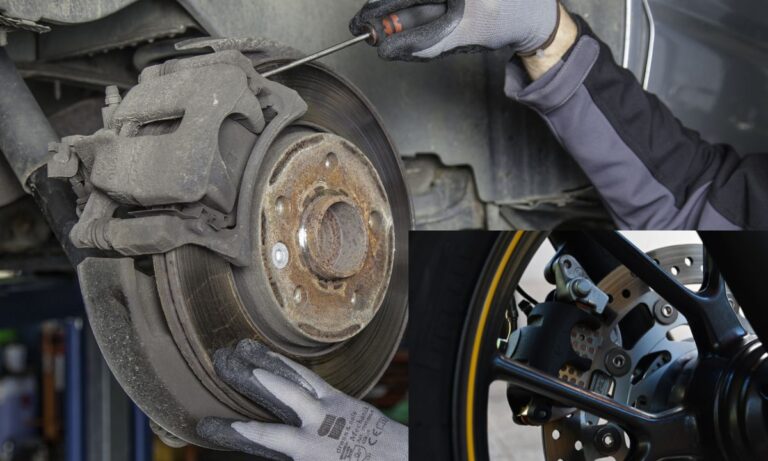
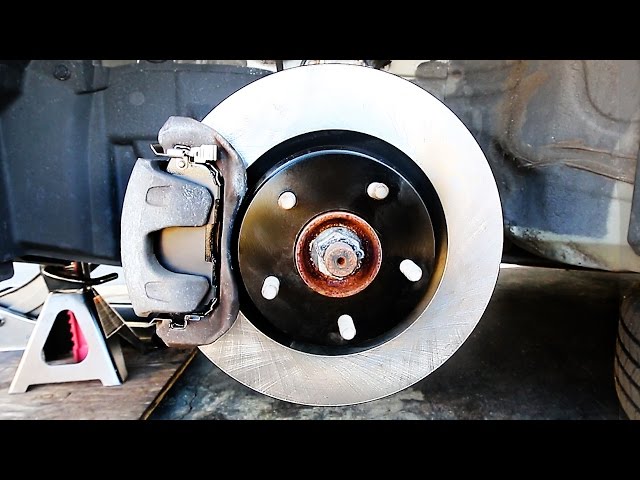
Inspect the brake assembly
- Check rotor condition for grooves, warping, or uneven wear.
- Look at caliper condition and brake lines for leaks.
- If rotors are too thin or damaged, replace or resurface them before you replace brake pads yourself.
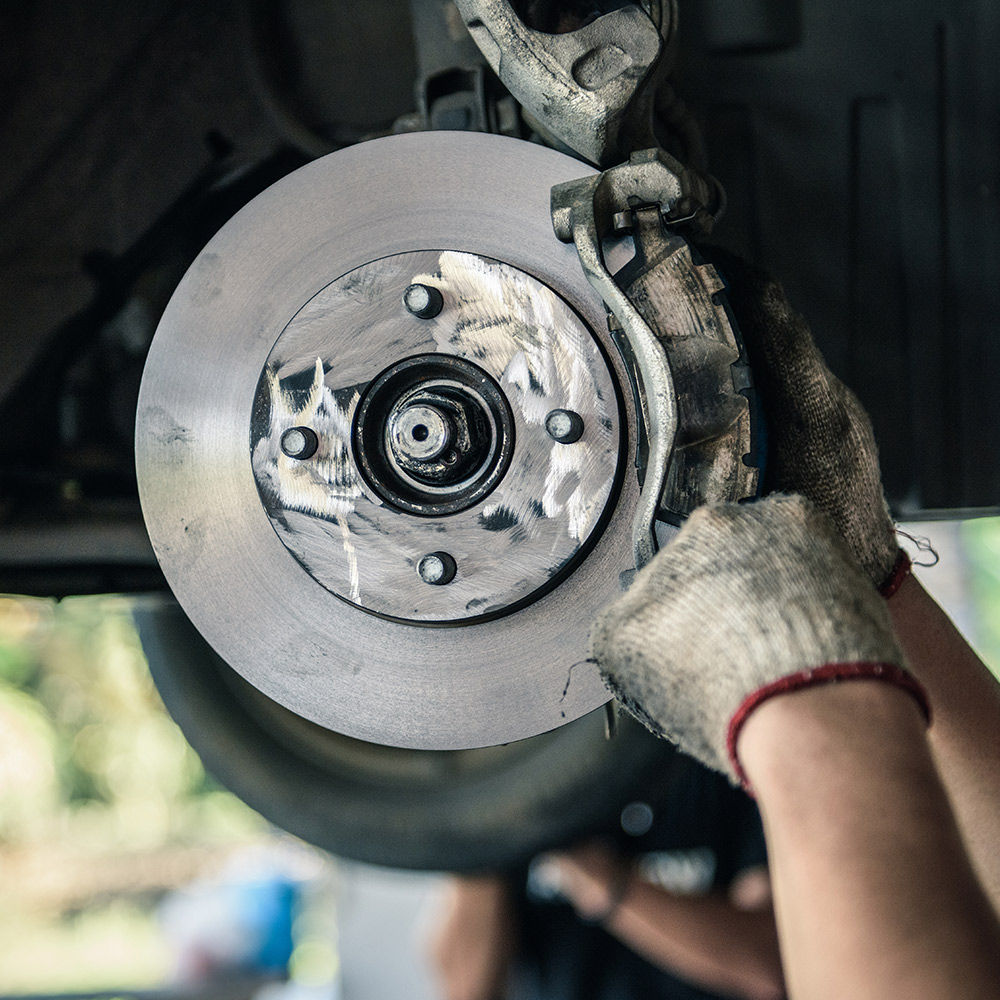
Remove the caliper
- Find and remove caliper bolts or pins.
- Carefully slide the caliper off the rotor; do not let it hang by the brake line.
- Support the caliper with a hanger or rest it on the suspension.
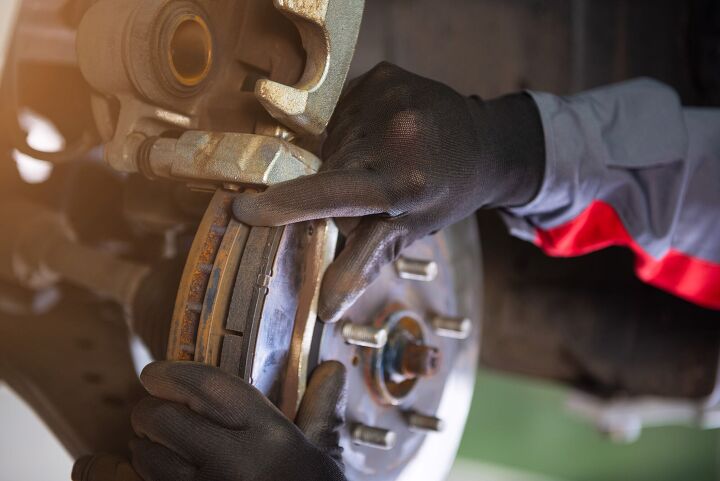
Remove old pads and hardware
- Pull out the old pads and note how clips and shims sit.
- Remove and replace any worn hardware; clean the bracket with a wire brush.
- Apply thin brake grease where metal contacts metal, avoiding pad friction surfaces.
Retract the caliper piston
- Use a C-clamp or piston tool to push the piston back into its bore slowly.
- Open the brake fluid reservoir cap if needed to allow fluid to flow back.
- Do not force the piston; if it is stuck, inspect caliper or replace it before you replace brake pads yourself.
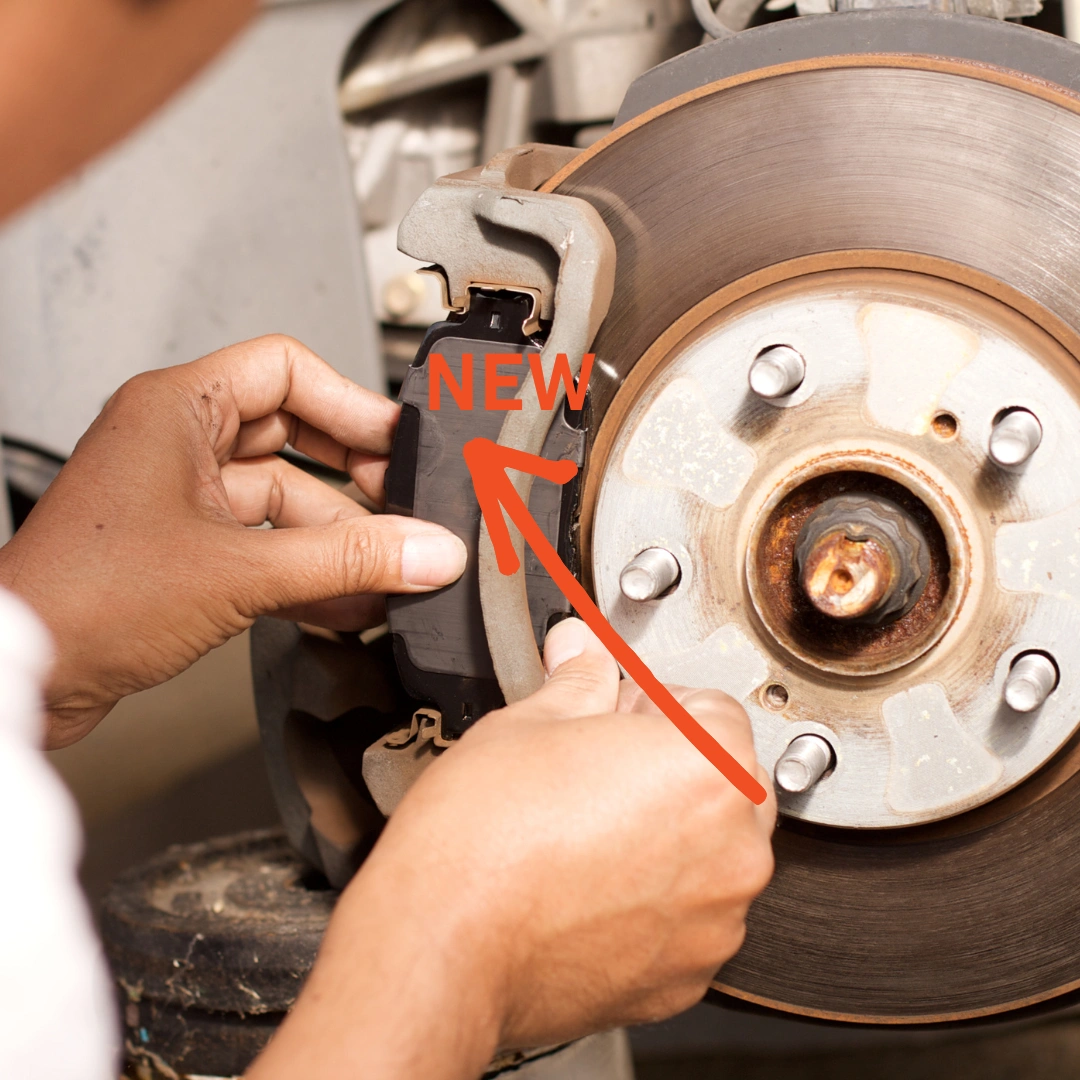
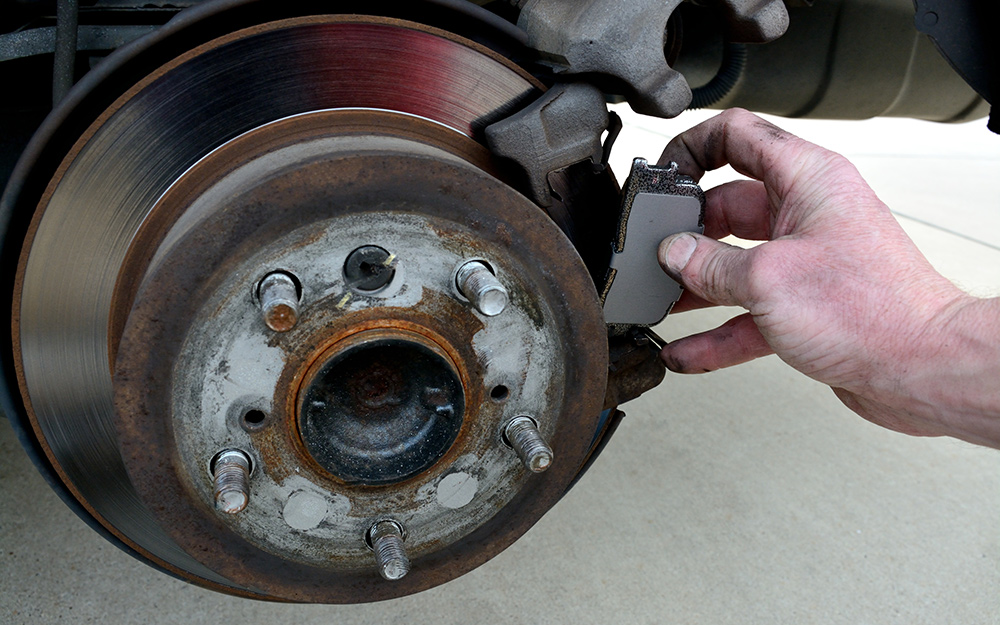
Install new pads and reassemble
- Fit new shims and pads into the bracket.
- Slide the caliper back over the rotor and pads.
- Reinstall caliper bolts and torque to manufacturer specs.
- Reinstall wheel, torque lug nuts to spec, then lower the car.
Final checks before driving
- Pump the brake pedal several times to seat pads and restore pedal firmness.
- Check brake fluid level and top off as needed.
- Test slowly in a safe area before normal driving.
When you replace brake pads yourself, take your time with piston retraction and hardware placement—those small steps matter most for safe braking.
Bedding in and testing after you replace brake pads yourself
Bedding in new pads is critical. Proper bedding helps the pads and rotors mate, reducing noise and maximizing stopping power.
- Basic bed-in method
- Perform 10 to 15 moderate stops from 30 to 35 mph down to 5–10 mph. Use gentle to medium pressure, not full emergency braking.
- Allow brakes to cool for a few minutes by driving without heavy braking after the sequence.
- Avoid heavy towing or high-speed stops for the first 100 miles.
After you replace brake pads yourself, this bed-in helps prevent glazing and uneven transfer layers. If you hear squeal or feel vibration, re-check hardware and torque.

Troubleshooting common issues after you replace brake pads yourself
If you replace brake pads yourself and notice problems, here are common causes and fixes.
Squeaking or squealing
- Cause: Missing shims, hardened grease on pad edges, or glazed pads.
- Fix: Clean contact points, apply anti-squeal compound correctly, and ensure shims are installed.
Soft brake pedal after installation
- Cause: Air in the brake lines or piston not fully seated.
- Fix: Bleed the brakes and pump the pedal until it firms. Confirm piston retraction.
Vibration during braking
- Cause: Warped rotors or uneven pad transfer.
- Fix: Resurface or replace rotors. Re-bed the pads after correction.
Uneven pad wear
- Cause: Sticking caliper slide pins or seized piston.
- Fix: Clean and lubricate slide pins or rebuild/replace the caliper.
When you replace brake pads yourself, inspect the entire caliper and bracket. Often the pad is fine but hardware failure causes issues.
Maintenance tips to extend life after you replace brake pads yourself
Keep brakes working well with these simple tips.
- Check pads and rotors every 6,000 miles or during oil changes.
- Clean and lubricate slide pins annually to prevent sticking.
- Replace brake fluid every 2 years or per your car manual to avoid moisture buildup.
- Use quality parts and match pad compound to your driving style and vehicle.
From my experience, a quick check each month saves surprises. Routine care reduces how often you need to replace brake pads yourself and improves safety.
Frequently Asked Questions of How to replace brake pads yourself
What tools are essential when I replace brake pads yourself?
A floor jack, jack stands, lug wrench, socket set, C-clamp or piston tool, torque wrench, and brake cleaner are essential for a safe and proper job.
How long does it take to replace brake pads yourself?
Most single-axle jobs take 1 to 2 hours for beginners; experienced DIYers often finish in 30–60 minutes per axle.
Can I replace brake pads yourself without special training?
Yes, many car owners can safely replace brake pads yourself if they follow the correct steps, use jack stands, and consult the vehicle manual for specifics.
Do I need to replace rotors when I replace brake pads yourself?
Not always; rotors can be resurfaced if within thickness limits and not warped. Replace rotors if they are below minimum thickness or heavily scored.
How should I bed in new pads after I replace brake pads yourself?
Perform 10–15 moderate stops from 30–35 mph to 5–10 mph, allow cooling, and avoid heavy braking for the first 100 miles for best results.
Is bleeding brakes necessary after I replace brake pads yourself?
If you did not open the hydraulic line, bleeding usually isn’t required. If the pedal feels spongy or you opened the line, bleed the system to remove air.
Conclusion
Replacing brake pads yourself is a practical DIY task that saves money and boosts your confidence when done safely and methodically. Follow the checklist for tools, safety steps, the step-by-step replacement process, and the proper bed-in routine to ensure reliable brakes. If you’re unsure at any step, consult your vehicle manual or a professional mechanic; small mistakes can affect safety.
Try a single axle first to build experience, then consider replacing the other side. If this guide helped, leave a comment, share your experience, or subscribe for more hands-on car repair tips.