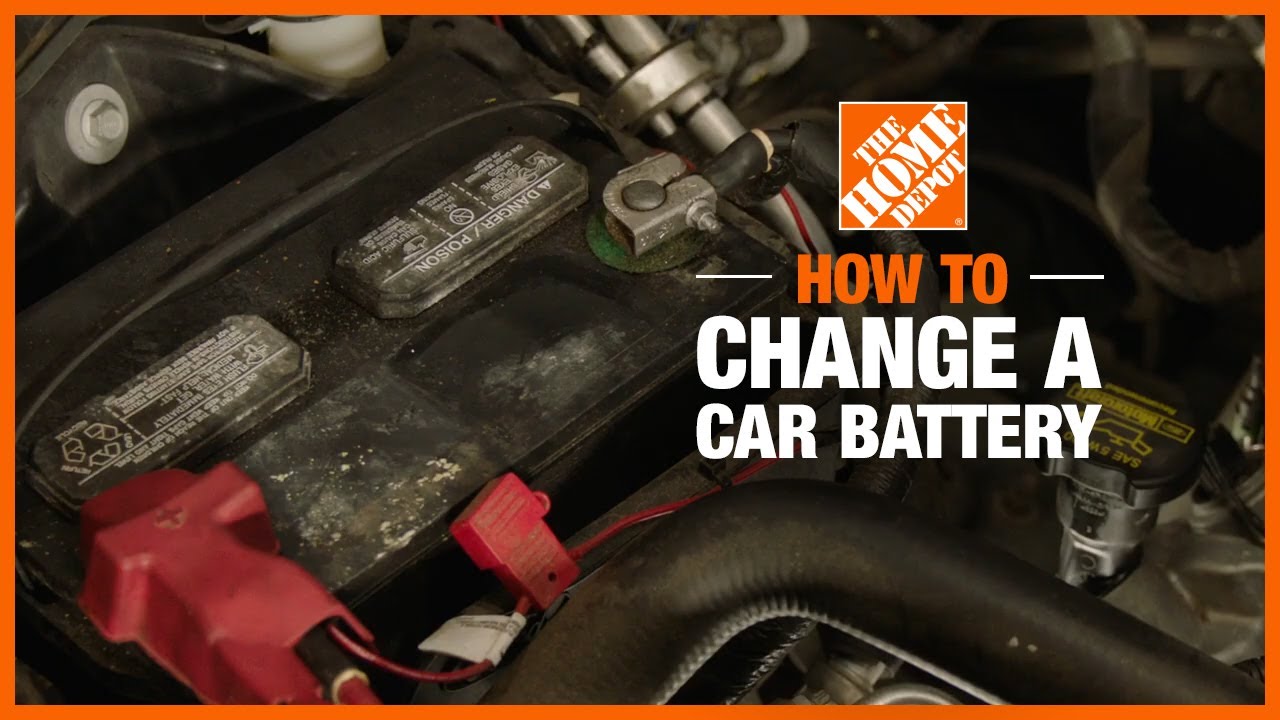
To change a car battery, turn off the engine, disconnect the negative cable first, remove the old battery, install the new one, and reconnect the positive cable before the negative.
Learning how to change a car battery is a useful skill for any driver. A standard 12-volt battery replacement can often take about 15 to 30 minutes when the battery is easy to reach.
The key is to follow the correct order.
You need to choose the right replacement battery, remove the old battery safely, clean the connections, secure the new battery, and check the car after installation.
This guide explains how to change a car battery step by step, including battery selection, tools, safety, terminal order, battery registration, testing, common mistakes, and when to call a mechanic.

Before You Change a Car Battery
Before learning how to change a car battery, make sure the replacement battery is correct for your vehicle.
A battery can look almost identical to the old one and still have the wrong size, terminal position, or power rating.
Check the following information on your old battery or in the vehicle owner’s manual:
- Battery group size, such as 24F, 35, 48, or 65
- Cold cranking amps (CCA)
- Reserve capacity
- Terminal position
- Battery type
- Battery voltage
- Battery dimensions
Most regular cars use a 12-volt battery, but the exact battery type and size depend on the vehicle.
The battery group size controls how the battery fits in the tray. CCA tells you how much starting power the battery can provide.
Do not assume that a battery with a higher CCA or a larger case is always better. It still needs to fit the tray, hold-down bracket, and cable connections correctly.
Modern vehicles may also use AGM or EFB batteries, especially when they have start-stop systems. The replacement battery should match the vehicle manufacturer’s requirements.
If you are unsure which battery to buy, check the owner’s manual or have the battery matched by a qualified parts specialist.
A useful step before replacement
If your car has starting problems but you are not sure whether the battery is actually bad, test it first.
Our guide on how to check car battery health explains how to check voltage, corrosion, and battery condition before you replace it.
Tools You Need to Change a Car Battery
Gather your tools before starting the job.
You may need:
- Safety glasses
- Work gloves
- Socket wrench or ratchet
- Correct socket, often 10 mm or 13 mm
- Extension bar
- Battery terminal brush
- Flashlight
- Memory saver, if required by your vehicle
- Battery terminal protectant
- Battery-safe cleaner
Having everything ready makes the battery change faster and reduces the chance of leaving the car partly disassembled.
Do not smoke or work near open flames while handling a lead-acid battery. Batteries can release flammable gas, so keep sparks away and work in a well-ventilated area.
For additional battery safety guidance, Interstate Batteries explains the correct procedure for disconnecting and reconnecting battery cables.
Car Battery Safety Rules
Safety should come before speed when you change a car battery.
Park the vehicle on a flat surface. Turn off the engine and all electrical accessories. Set the parking brake and remove the key.
If your vehicle uses a push-button start, keep the key fob away from the vehicle while you work.
Wear safety glasses and gloves. Battery acid can hurt your skin and eyes.
Keep metal tools away from both battery terminals. Never allow a wrench to touch the positive terminal and the metal body of the car at the same time.
That can create a short circuit with very high current.
Most importantly, disconnect the negative terminal first when removing the old battery. When installing the new battery, reconnect the positive terminal first and the negative terminal last. This is also the sequence recommended by Kia and other automotive battery guides.
Never disconnect the battery while the engine is running.
What about hybrid and electric cars?
Be careful with hybrid and electric vehicles.
Many hybrids and EVs still have a small 12-volt battery, but they also contain high-voltage systems. Do not attempt to work on the high-voltage battery unless you are properly trained.
If your vehicle has a high-voltage system and you are unsure which battery you need to replace, follow the owner’s manual or use a qualified technician.
How to Change a Car Battery Step by Step
The actual battery replacement is simple when you follow the correct order.
Here is the complete process.
Step 1: Turn Off the Car
Park on a flat surface and switch off the engine.
Turn off the headlights, radio, climate control, and other electrical accessories.
Set the parking brake and remove the key.
Give the engine a little time to cool if it has been running.
Before you touch the battery, confirm that you have the correct replacement battery.
Step 2: Locate the Battery
Open the hood and find the battery.
In many vehicles, it sits in the engine bay. However, some cars place the battery in the trunk, under a seat, or behind a protective cover.
If you cannot find it, check your owner’s manual.
Before removing anything, take a quick photo of the battery and cable positions.
This gives you a simple reference when installing the new battery.
Step 3: Disconnect the Negative Battery Cable First
This is the most important part of the battery removal process.
Look for the terminal marked with a minus (-) sign.
It is normally the negative terminal and is often connected to a black cable.
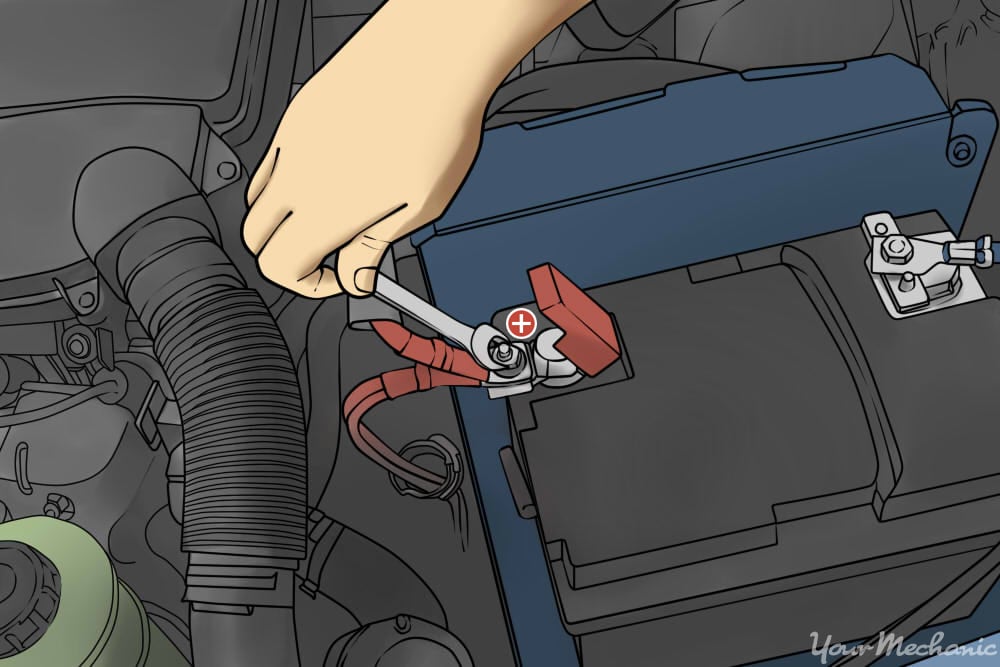
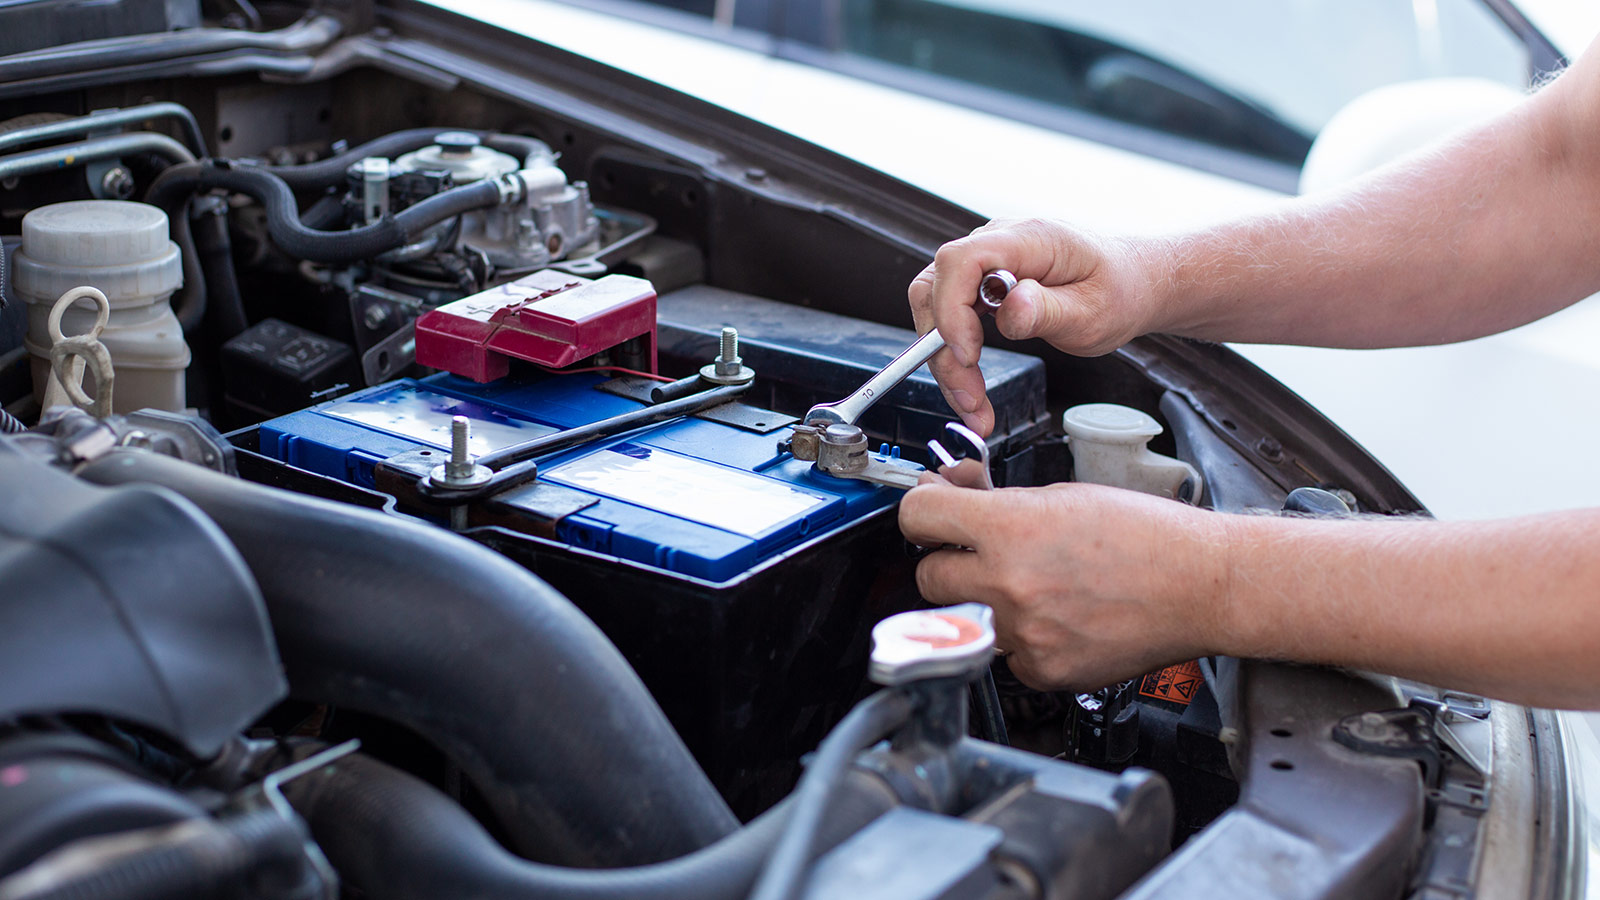
Loosen the terminal nut with the correct socket or wrench.
Lift the negative cable off the battery post and move it away so it cannot fall back onto the terminal.
Do not disconnect the positive cable first.
Removing the negative cable first reduces the chance of creating a short circuit if your metal tool accidentally touches the vehicle body.
Step 4: Disconnect the Positive Cable
Now find the terminal marked with a plus (+) sign.
It may have a red cover.
Remove the positive cable from the battery.
Keep the cable away from the battery terminal while you continue.
At this point, both electrical connections should be disconnected.
Step 5: Remove the Battery Hold-Down
Most vehicles have a bracket or clamp that holds the battery in place.
Remove the bolts or nuts carefully.
Keep the hardware somewhere safe.
Do not try to lift the battery before removing the hold-down bracket.
A loose battery can move, fall, or damage nearby parts.
Step 6: Remove the Old Battery
Lift the battery straight up and out of the tray.
Car batteries can be heavy. Many passenger-car batteries weigh around 30 to 50 pounds, so use both hands and keep the battery upright.
If the battery is leaking, cracked, swollen, or unusually hot, do not continue handling it normally. Get professional help.
Place the old battery on a stable surface away from children and pets.
Inspect the Battery Tray and Cables
Before you install the new battery, inspect the area.
Look for:
- Corrosion
- Dirt
- Rust
- Broken cables
- Damaged insulation
- Loose connectors
- Acid residue
- A damaged hold-down bracket
Clean light corrosion from the battery tray and cable ends with an appropriate battery cleaner or terminal brush.
A small amount of corrosion can often be cleaned. Severely damaged cables or heavy rust should be repaired before installing the new battery.
Also inspect the ground cable where it connects to the vehicle body or engine.
A poor ground connection can cause slow cranking and other electrical problems.
How to Install the New Car Battery
Now you are ready to install the replacement battery.
Step 1: Place the New Battery in the Tray
Lower the new battery into the tray.
Make sure it sits in the same direction as the old battery.
The positive and negative terminals must line up with the correct cables.
The battery should sit flat.
Do not force it into place.
Step 2: Install the Hold-Down Bracket
Put the battery hold-down bracket back in place.
Tighten it firmly enough to stop the battery from moving.
Do not overtighten it.
The battery should not move when you gently try to rock it by hand.
A loose battery can move during braking, turning, or driving over rough roads.
Battery installation guidance from Interstate also recommends securing the replacement battery with the proper hold-down assembly.
Step 3: Connect the Positive Terminal First
Now reconnect the positive cable.
Look for the + marking and make sure the positive cable goes to the positive battery post.
Push the connector fully onto the post.
Tighten the terminal nut until the connection is secure.
Do not hammer the connector onto the battery post.
Do not overtighten it either.
Step 4: Connect the Negative Terminal Last
Now connect the negative cable to the terminal marked –.
Tighten it securely.
Try to move the connector gently by hand.
It should not twist around the battery post.
The correct installation order is:
Positive (+) first → Negative (-) second
This is the reverse of the removal order. Kia’s battery guidance gives the same sequence: negative first when disconnecting, then positive first when reconnecting.
Step 5: Replace Covers and Shields
Put the positive terminal cover, battery shield, insulation, and other protective parts back in place.
Check the area one more time.
Make sure:
- Both terminals are tight
- The battery is secure
- No cable is trapped
- No tool is left near the battery
- The positive terminal is protected
- The hold-down bracket is tight
Clean and Protect the Battery Terminals
Clean battery terminals help maintain a good electrical connection.
Look for white, blue, or green corrosion around the posts and cable ends.
Light corrosion can often be removed with a battery terminal brush.
Do not simply cover dirty terminals with grease.
The metal connection should be clean and tight first.
After the connection is secure, a thin layer of battery terminal protectant can help reduce future corrosion.
Also inspect the negative ground connection.
If the ground cable is loose or badly corroded, replacing the battery alone may not solve a starting problem.
What to Do After Changing the Car Battery
You are not finished as soon as the battery is installed.
Start the engine and check the vehicle.
Look for:
- Normal engine cranking
- Battery warning light
- Dashboard warning messages
- Headlight operation
- Interior lights
- Radio
- Clock
- Power windows
- Door locks
- Engine idle
Some vehicles may lose saved settings after the battery is disconnected.
The clock, radio presets, window memory, or other electronic settings may need to be restored.
If the battery warning light stays on after the engine starts, do not assume the new battery is bad.
The alternator or charging system may have a problem.
A new battery cannot repair a failing alternator.
If your car still won’t start
If the car does not start after you change the battery, check the simple things first.
Make sure:
- The positive cable is connected to the positive terminal.
- The negative cable is connected to the negative terminal.
- Both connections are tight.
- The battery hold-down is secure.
- The ground cable is connected.
- The battery has enough charge.
If your vehicle recently sat for a long time, our guide on why a car won’t start after sitting can help you check other possible causes.
Does Your Car Need Battery Registration?
Some newer vehicles need battery registration after replacement.
Battery registration is more common on vehicles with:
- Battery monitoring systems
- Start-stop technology
- Smart charging systems
- Energy management modules
- AGM batteries
The exact process depends on the vehicle.
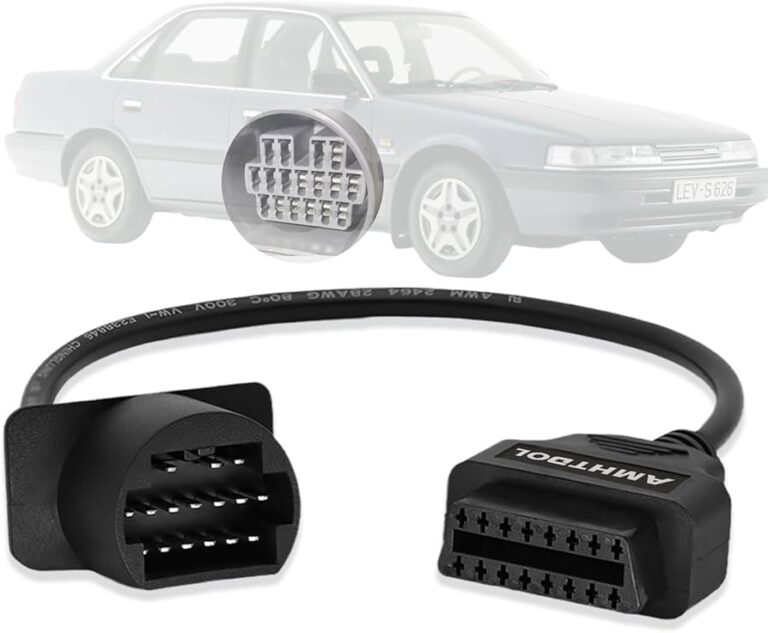
A scan tool may be needed to tell the vehicle that a new battery has been installed.
The procedure may include:
- Entering the new battery capacity
- Selecting the battery type
- Resetting battery age information
- Resetting or calibrating the battery monitoring system
Do not assume every car needs registration.
Check the owner’s manual or manufacturer service information for your specific vehicle.
Some battery manufacturers also warn that disconnecting power can affect vehicle electronics and that certain vehicles may require coding or saved settings before battery replacement.
Common Mistakes When Changing a Car Battery
Learning how to change a car battery also means knowing what mistakes to avoid.
Connecting the cables backward
Reverse polarity can damage fuses and electronic components.
Always check the + and – markings before connecting a cable.
Removing the positive cable first
This increases the chance of a short circuit if your wrench touches the vehicle body.
Disconnect the negative cable first.
Leaving the battery loose
A battery that moves around can suffer damage from vibration.
Always reinstall the hold-down bracket.
Using the wrong battery type
Some vehicles require AGM or EFB batteries.
Follow the vehicle manufacturer’s battery specification.
Ignoring corrosion
Corroded connections can increase electrical resistance and cause starting problems.
Clean the connections before installing the replacement battery.
Overtightening the terminals
Too much force can damage the battery post or terminal connector.
Tighten the connection securely without excessive force.
Forgetting the terminal covers
Protective covers help prevent accidental contact and should be replaced after installation.
Working without eye protection
Battery acid can cause serious eye injury.
Wear safety glasses whenever you work around the battery.
Skipping the charging-system check
A bad alternator can drain a new battery.
If the new battery repeatedly loses charge, test the charging system.
Assuming every no-start problem is the battery
A bad starter, poor ground, damaged cable, or charging-system problem can create similar symptoms.
If you replace the battery and the problem remains, diagnose the complete starting and charging system.
How to Test the New Battery
A multimeter can give you a basic idea of the battery’s charge level.
With the engine off and the battery rested, a fully charged conventional 12-volt battery often measures around 12.6 volts.
A reading around 12.4 volts suggests the battery is not fully charged.
A much lower reading may mean the battery needs charging or further testing.
However, voltage alone does not prove that a battery is healthy.
A battery can show normal voltage and still fail when the starter demands high current.
A professional load or conductance test can provide more useful information about starting performance.
For a complete testing process, see our guide on how to check car battery health.
Test the Charging System
With the engine running, measure the voltage at the battery if your vehicle and owner’s manual allow this test.
Many conventional charging systems show a voltage above the battery’s resting voltage while the engine runs.
However, modern smart charging systems can change their output depending on temperature, battery condition, electrical load, and other factors.
For that reason, do not judge a modern charging system from one voltage reading alone.
If the battery repeatedly goes flat, have the battery and charging system tested together.
When to Get Professional Help
Changing a standard 12-volt battery is manageable for many DIY owners.
However, professional help is the safer choice when:
- The battery is under a seat or in a difficult location
- The battery is leaking
- The battery case is swollen or cracked
- Battery cables are damaged
- The terminal is badly corroded
- The vehicle has a high-voltage hybrid or EV system
- Battery registration is required
- The correct replacement battery is unclear
- The car still will not start after replacement
- Multiple dashboard warning lights appear
A technician can test the battery, starter, alternator, cables, and parasitic electrical drain.
That can prevent you from replacing a good battery when another part is actually causing the problem.
How to Dispose of an Old Car Battery
Do not throw an old car battery into normal household garbage.
Automotive batteries contain lead and corrosive materials and should be handled through an appropriate recycling or collection program.
Many auto parts stores and recycling centers accept used automotive batteries.
Check the rules in your area before disposing of the old battery.

Frequently Asked Questions About Changing a Car Battery
Which battery terminal do I disconnect first?
Disconnect the negative (-) terminal first when removing the old battery. Then disconnect the positive (+) terminal.
When installing the replacement, connect the positive terminal first and the negative terminal last.
Can I change a car battery without a memory saver?
Yes, many vehicles can be changed without a memory saver.
However, disconnecting the battery may reset the clock, radio presets, window memory, or other electronic settings.
Some vehicles have special procedures, so check the owner’s manual before disconnecting the battery.
How long does it take to change a car battery?
A standard battery replacement often takes about 15 to 30 minutes when the battery is easy to reach.
It can take longer if the battery is hidden, the terminals are corroded, or the vehicle requires battery registration.
How do I know if I installed the car battery correctly?
The battery should sit flat and remain secure.
The positive cable should be connected to the positive terminal, and the negative cable should be connected to the negative terminal.
Both connections should be tight.
After starting the engine, check for warning lights and unusual electrical problems.
Can I touch the battery terminals?
Avoid touching or bridging the terminals with metal tools.
A 12-volt battery normally does not create the same shock risk as household AC power, but it can deliver very high current during a short circuit.
Wear gloves and eye protection and keep metal objects away from the terminals.
Should I charge a new car battery before installing it?
Many new batteries are ready to install, but a battery that has been stored for a long time may not be fully charged.
If the battery has low voltage, follow the battery manufacturer’s charging instructions before use.
Do modern cars need battery registration?
Some do.
Battery registration is more common on vehicles with smart charging, battery monitoring systems, and start-stop technology.
Check your owner’s manual or manufacturer service information for the exact procedure.
What if my car won’t start after I change the battery?
First, check the battery terminal connections.
Make sure the positive and negative cables are connected correctly and tightly.
Then check the ground connection and battery charge.
If the engine still will not start, the problem may be the starter, alternator, wiring, or another electrical component.
Can a bad alternator ruin a new car battery?
Yes.
If the charging system is not working correctly, the new battery may become discharged repeatedly.
If a new battery goes flat soon after installation, test the alternator and charging system instead of replacing the battery again.
Final Thoughts
Learning how to change a car battery is easier when you follow a simple order.
Choose the correct replacement battery first. Turn the vehicle off, disconnect the negative cable first, remove the old battery, and secure the new one in the tray.
During installation, connect the positive cable first and the negative cable last.
Then check the battery connections, start the vehicle, and look for warning lights or unusual electrical problems.
Do not rush the job.
If the battery is damaged, the cables are badly corroded, your vehicle uses a high-voltage system, or the car still will not start, get professional help.
A few careful steps can make a battery change safer and help you avoid unnecessary electrical damage.