Use the Ryobi tire inflator by attaching the chuck, setting PSI, and letting it auto-stop.
I have used Ryobi inflators for cars, bikes, and lawn gear. I wrote this guide to show clear steps on how to use ryobi tire inflator with safety tips, real mistakes I made, and easy fixes. Read on to learn step-by-step directions, maintenance tips, and quick troubleshooting so you can use your Ryobi tool with confidence.

What is the Ryobi tire inflator and how it works
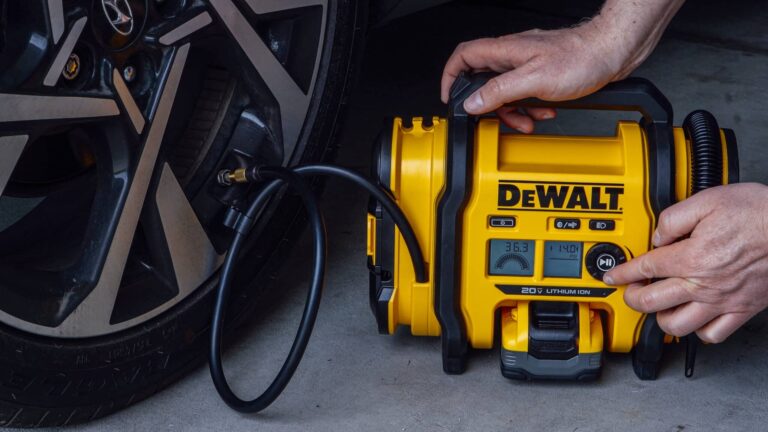
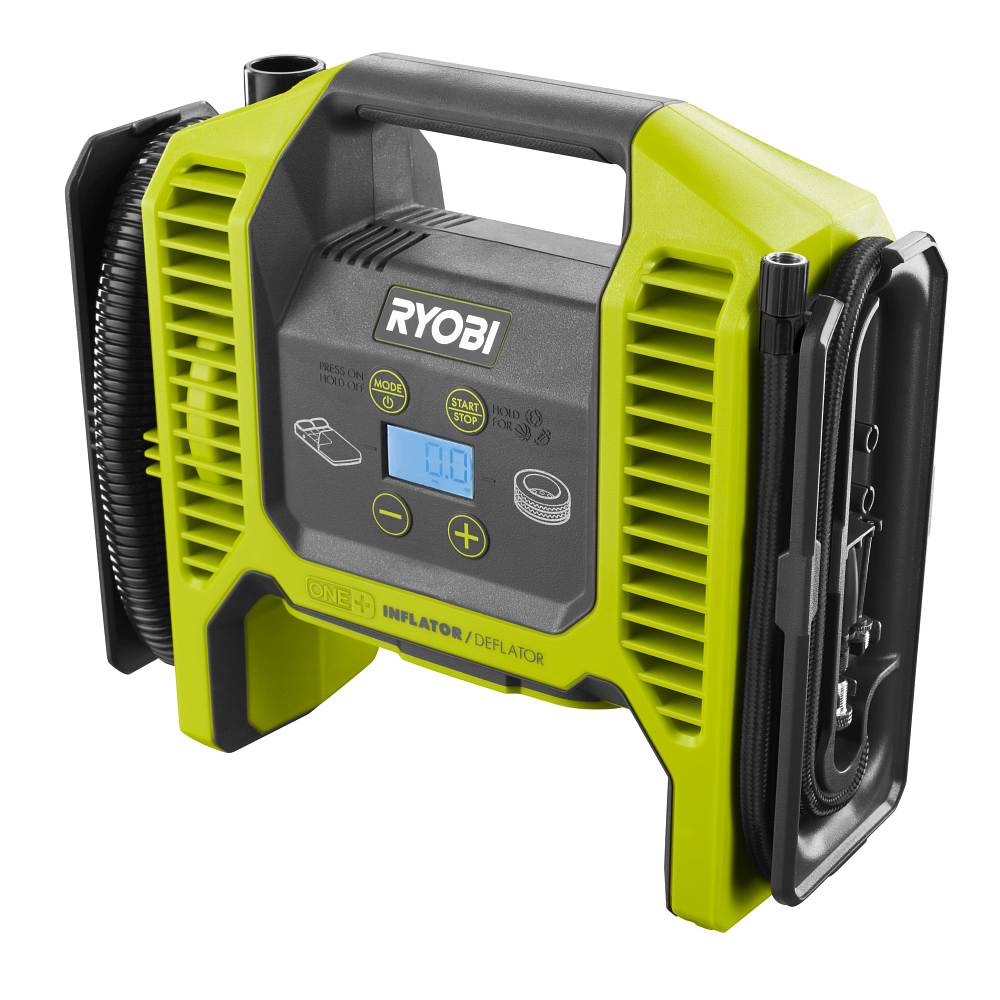
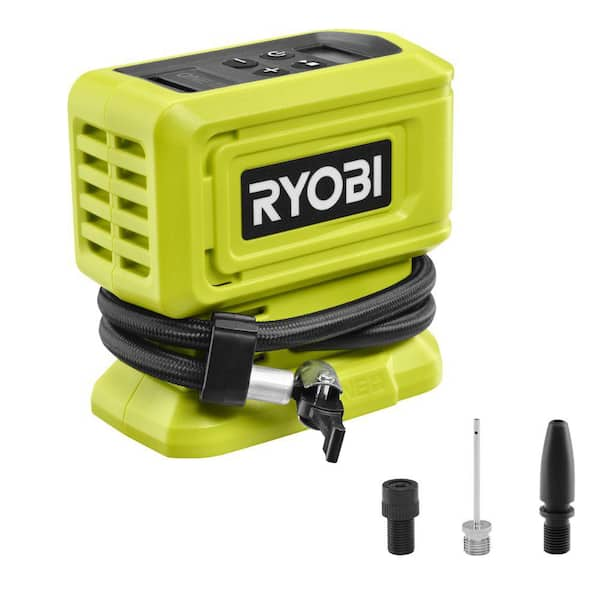
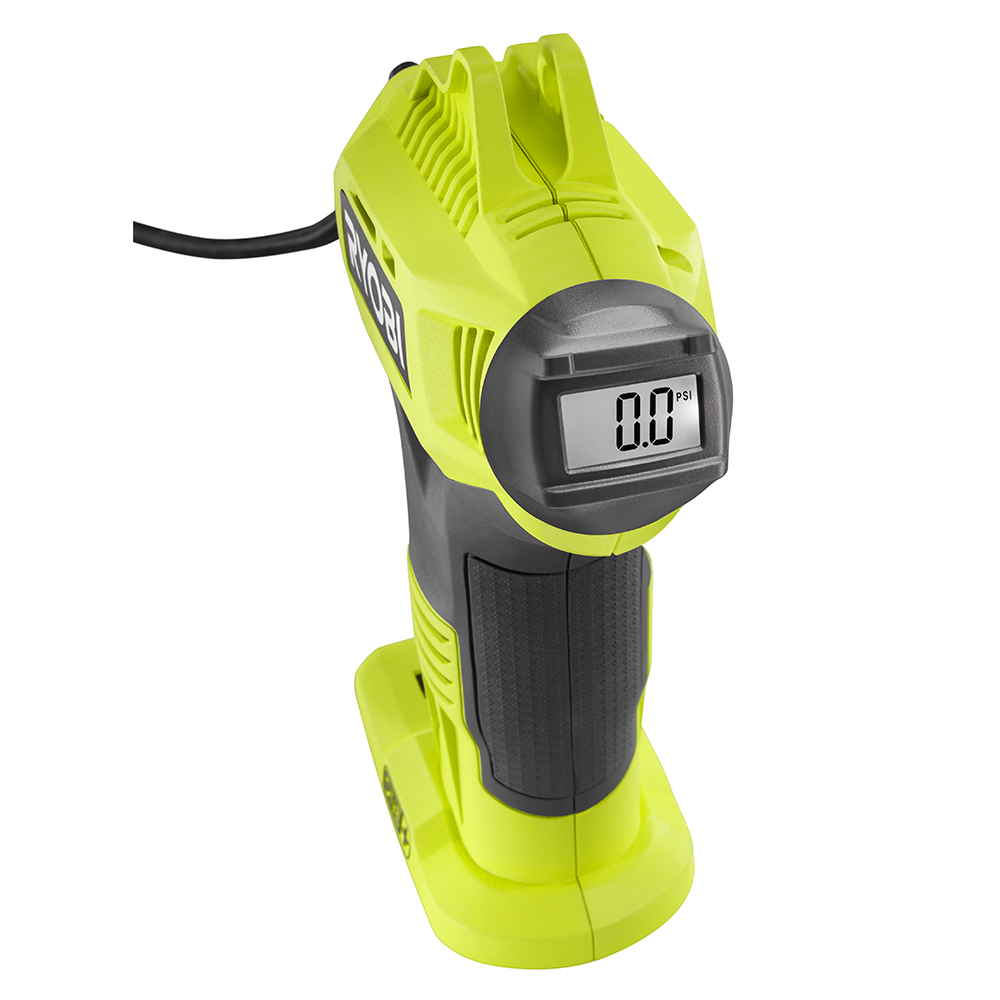
The Ryobi tire inflator is a portable air pump. It runs on battery power or AC power depending on the model. Most units have a digital gauge, an auto-stop feature, and a quick-connect chuck. The tool is useful for tires, inflatable toys, and sports gear. Knowing how to use ryobi tire inflator helps you save time and stay safe.
Safety and preparation before use
Always read the product manual first. Check the tire sidewall or vehicle placard for the correct PSI. Inspect the inflator hose and chuck for cracks or debris. Have a charged battery or plug the unit into AC power. Keep the inflator away from water and hot engine parts. Wear eye protection if you work near traffic.

Step-by-step: how to use ryobi tire inflator
I break this into clear steps you can follow. I used short tasks the first time and it helped me avoid mistakes.
-
Check the target pressure
- Find the correct PSI on the tire sidewall or door sticker.
- Note the value before you start.
-
Prepare the inflator
- Insert a charged battery or plug in the unit.
- Turn the unit on if it has a power switch.
-
Set the target pressure
- Use the digital buttons to set PSI if your model has that option.
- If there is no preset, you will monitor the gauge manually.
-
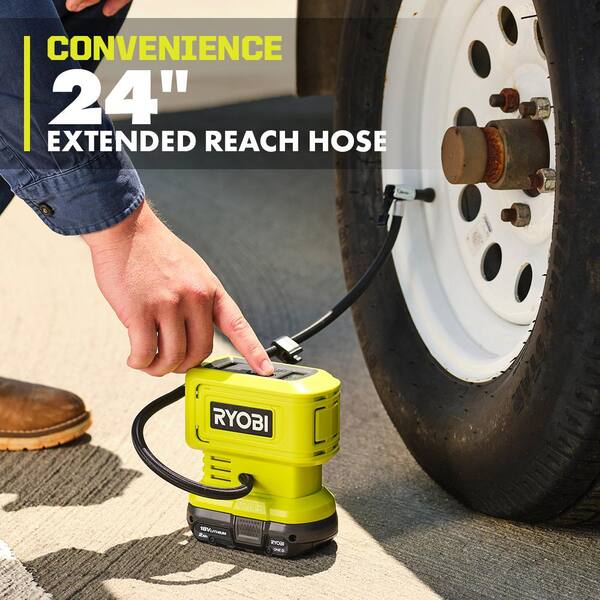
Attach the chuck to the valve stem
- Remove the valve cap.
- Press the chuck onto the stem and lock it if the chuck has a lock.
- A firm seal is key. A loose chuck leaks air.
-
Start the inflator
- Press the start button or trigger.
- Watch the pressure rise on the digital gauge or analog dial.
-
Auto-stop or manual stop
- Allow the inflator to auto-stop at the preset PSI.
- If manual, stop when the gauge reaches the target pressure.
-
Detach and check
- Remove the chuck carefully to avoid air loss.
- Replace the valve cap and re-check pressure with a gauge if needed.
-
Repeat for other tires
- Inflate all tires to match the recommended PSI.
I once forgot to fully seat the chuck. The result was a long slow fill and wasted battery time. Now I always test the seal by pressing the chuck firmly and feeling for hissing.
Tips, best practices, and real-life lessons
Use these tips to get reliable results every time. These are from my real use of the tool.
- Keep the battery charged
- A weak battery slows inflation and can fail mid-cycle.
- Use a separate gauge for accuracy
- Digital inflator gauges can drift. A hand gauge helps confirm pressure.
- Inflate when tires are cold
- Check pressure after the car sits for a few hours.
- Don’t over-inflate
- Over-inflation hurts handling and tire life.
- Carry spare valve caps and a small rag
- Dirt in the valve can cause leaks.
- Be patient with slow fills
- Small inflators take longer on large tires. Plan ahead.

Maintenance and storage for long life
Clean the chuck and hose after use. Store the inflator in a dry, cool place. Remove the battery for long storage. Inspect seals and O-rings for wear. Replace worn parts to avoid leaks. Calibrate the unit if you detect persistent gauge errors. These steps help your inflator work well for years.
Troubleshooting common problems
Here are quick fixes for the issues I saw while testing the tool.
- Inflator does not start
- Check battery charge and battery seating. Try a different battery or AC power.
- Pressure won't rise
- Ensure the chuck is sealed. Look for leaks at the valve or hose.
- Unit stops early
- Clean the valve and check the gauge. A faulty gauge can misread pressure.
- Inflator runs but slow
- Battery may be weak. Use a fresh or fully charged battery.
- Gauge reads wrong
- Compare with a reliable hand gauge and recalibrate if needed.
People also ask
How long does it take to fill a car tire?
A full car tire can take 5 to 15 minutes depending on battery and tire size. Larger tires and weak batteries take longer.
Can I leave the inflator on auto mode?
Yes. The auto-stop feature stops the inflator when it reaches the preset PSI. Still check pressure after a few minutes.
Is the Ryobi inflator safe for bike tires?
Yes. Use the correct chuck or adapter and set a lower PSI for bike tires to avoid over-inflation.

Frequently Asked Questions of how to use ryobi tire inflator
How do I set the PSI on a Ryobi inflator?
Most Ryobi inflators have digital buttons to set PSI. Press the up or down button until the desired PSI shows, then start the inflator.
What if my Ryobi inflator won't reach the set pressure?
Check for air leaks at the chuck and valve stem. Also make sure the battery is fully charged or use AC power.
Can I use the Ryobi inflator on a truck tire?
You can use it on many truck tires, but it may take longer. For large truck tires, a higher-volume compressor is faster.
How often should I check tire pressure?
Check tire pressure at least once a month and before long trips. Temperature swings can change pressure quickly.
Do I need to remove the battery for storage?
Yes. Remove the battery for long storage to prevent slow discharge and extend battery life.
Will auto-stop always be accurate?
Auto-stop is accurate but not perfect. Confirm with a separate gauge if you need exact pressure for safety or load reasons.
Conclusion
This guide showed clear steps for how to use ryobi tire inflator safely and well. Follow the prep steps, set the right PSI, and use the auto-stop feature for easy fills. Keep the inflator clean, charged, and checked with a second gauge for best results. Try these steps the next time your tires need air, and leave a comment if you want help with a model or issue.