Connect red to positive, red to donor positive, black to donor negative, then ground the dead car.
Learning how to put jumper cables on a car battery is simple, but the order matters. A wrong connection can damage electronics, cause sparks, or create a battery explosion risk. This guide explains the safe cable sequence, what to check first, common mistakes, and what to do after the car starts.
What You Need Before You Start
To put jumper cables on a car battery, you need a few basic items and the right conditions. Take a moment to prepare instead of rushing. Most jump-start problems happen because someone skips the safety check.
You will need:
- A working vehicle with a charged 12-volt battery
- A vehicle with a weak or dead 12-volt battery
- A set of good-quality jumper cables
- Safety glasses, if available
- Gloves, if available
- The owner’s manual for both vehicles
Park the vehicles close enough for the cables to reach, but do not let them touch. Put both vehicles in Park, or in Neutral with the parking brake set if the vehicle requires it. Turn off the ignition, lights, radio, climate control, and other electrical devices in both cars.
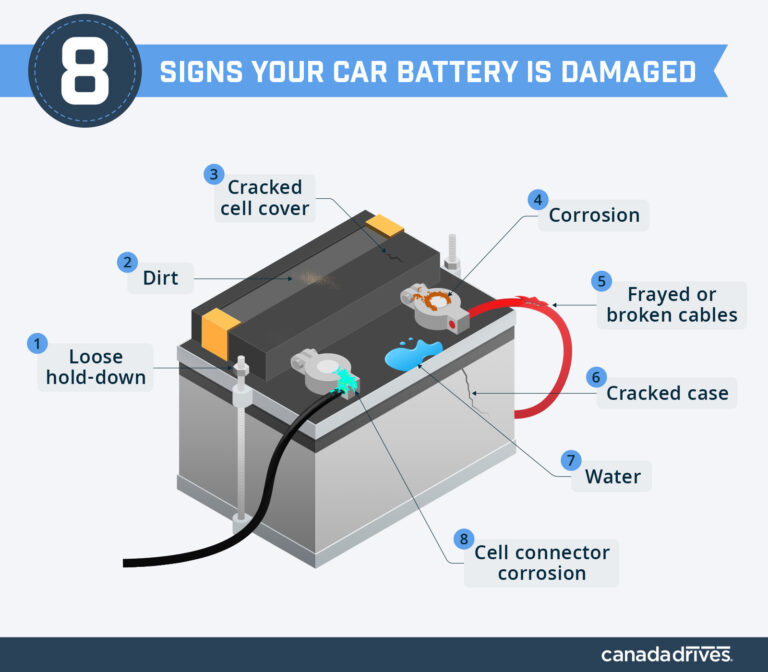
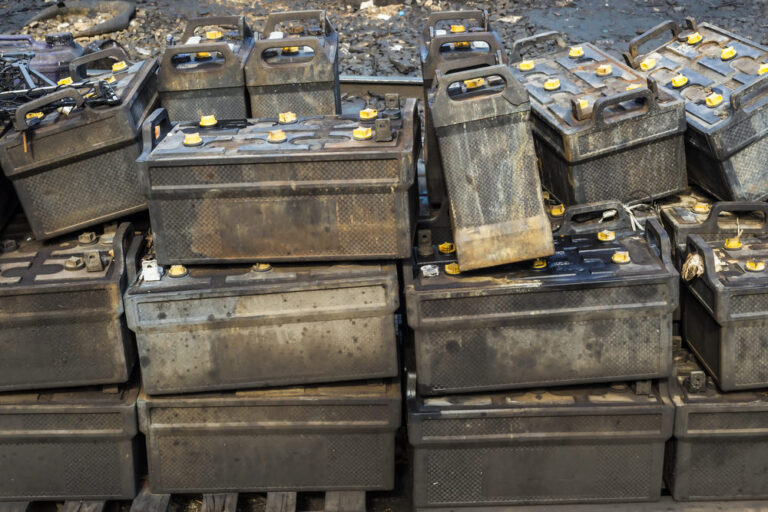
Check the battery before connecting anything. Do not use jumper cables if the battery is cracked, leaking, badly swollen, or frozen. A damaged battery may release acid or explode when exposed to a spark.
Some vehicles have a battery in the trunk, under a seat, or behind a cover. Many newer vehicles also provide special jump-start posts under the hood. Always follow the vehicle owner’s manual when those posts are present.

How to Put Jumper Cables on a Car Battery
The safest way to put jumper cables on a car battery is to connect the cables in a set order. Think of the cables as a temporary bridge between the two electrical systems. Each clamp must make firm contact with the correct terminal or grounding point.
Follow these steps:
- Turn off both vehicles and open their hoods.
- Find the positive and negative battery terminals. The positive terminal usually has a plus sign (+) and a red cover. The negative terminal has a minus sign (−) and is often black.
- Connect the red clamp to the positive terminal of the dead battery.
- Connect the other red clamp to the positive terminal of the donor battery.
- Connect the black clamp to the negative terminal of the donor battery.
- Connect the other black clamp to a clean, unpainted metal ground on the engine block or chassis of the vehicle with the dead battery.
- Keep the clamps away from moving belts, fans, and hot engine parts.
- Start the donor vehicle and let it run for a few minutes.
- Try to start the vehicle with the dead battery.
- Once it starts, let both vehicles run for several minutes before removing the cables.
The final black connection goes to metal on the car with the dead battery rather than directly to its negative terminal. This helps keep any spark away from the battery, where hydrogen gas may be present. Use a sturdy metal point, such as a clean engine bracket, rather than a painted surface or a thin metal part.
When learning how to put jumper cables on a car battery, remember this connection pattern:
- Red clamp to the dead battery positive terminal
- Red clamp to the donor battery positive terminal
- Black clamp to the donor battery negative terminal
- Black clamp to a clean metal ground on the dead vehicle
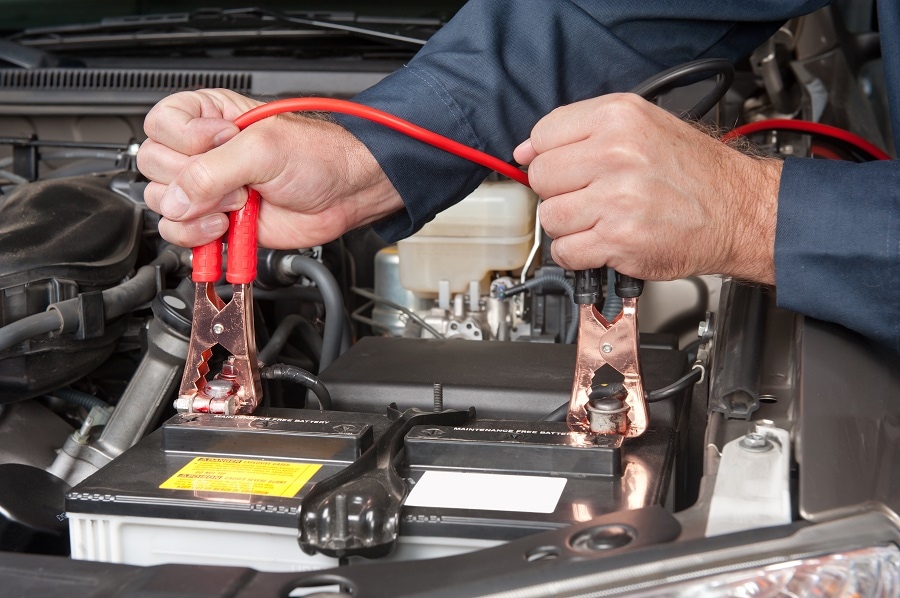
Jumper Cable Connection Order
Cable order is important because it controls where sparks may occur. Connecting the positive side first and the ground side last reduces the chance of an accidental short circuit.
The removal order is the reverse of the connection order:
- Remove the black clamp from the grounded metal point on the vehicle that was dead.
- Remove the black clamp from the donor battery negative terminal.
- Remove the red clamp from the donor battery positive terminal.
- Remove the red clamp from the formerly dead battery positive terminal.
Do not allow the metal ends of the jumper cables to touch each other while they are connected. Keep each loose clamp away from battery terminals, body panels, and other metal parts.
A useful memory aid is “positive first, ground last.” When removing the cables, remove the ground first and the positive connection last. This simple habit makes it easier to avoid sparks and accidental contact.
Some vehicle manufacturers provide a different procedure. If your owner’s manual says to use a specific grounding post or connection order, follow that instruction. The manual takes priority because modern cars can have sensitive computers, battery sensors, and special charging systems.

How to Start the Cars Safely
Once the jumper cables are connected, start the donor vehicle first. Let it run for two to five minutes. This gives the weak battery a small amount of charge and may reduce the load placed on the donor vehicle.
Next, try to start the vehicle with the dead battery. Do not crank the engine for more than about 10 seconds at a time. If it does not start, wait for a minute before trying again. Repeated long cranking can overheat the starter and jumper cables.
If the engine starts, do not immediately switch it off. Let both vehicles run for several minutes. Then remove the cables in reverse order while keeping the clamps from touching each other.
If the engine does not start after two or three careful attempts, stop and inspect the setup. Check for loose clamps, dirty terminals, a poor ground point, or the wrong terminal. If the connections are correct, the problem may be a failed battery, starter, alternator, fuel system, or another mechanical issue.
A common roadside lesson is that rushing creates more trouble than a dead battery itself. Take a flashlight, identify every terminal, and say the connection order out loud if you feel unsure. That small pause can prevent an expensive mistake.

What to Do After a Successful Jump Start
A jump start gets the engine running, but it does not always fully recharge the battery. The alternator may restore some charge while you drive, yet a badly discharged or aging battery may still need a proper battery charger or replacement.
After removing the jumper cables:
- Keep the engine running for at least 20 to 30 minutes if traffic and safety allow.
- Drive normally instead of making several short stops.
- Turn off unnecessary electrical accessories.
- Avoid shutting the engine off until you reach a safe place.
- Have the battery and charging system tested soon.
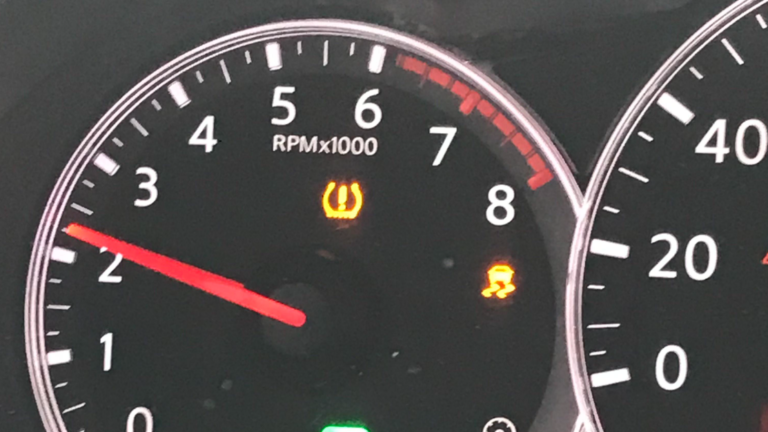
If the battery light remains on, the headlights become dim, or the engine stalls again, the alternator may not be charging correctly. If the vehicle needs frequent jump starts, the battery may be near the end of its service life or there may be an electrical drain.
A healthy charging system should keep the battery supplied during normal driving. However, driving is not a guaranteed replacement for charging a deeply drained battery. A battery charger can restore it more completely and with less stress.

Common Mistakes to Avoid
Knowing what not to do is just as important as knowing how to put jumper cables on a car battery. These mistakes are common, especially in rain, darkness, or stressful roadside situations.
- Connecting red to negative can cause a short circuit and serious damage.
- Connecting black to the dead battery negative terminal may create a spark near battery gas.
- Letting the vehicles touch can create an unwanted electrical path.
- Using cables with damaged insulation or loose clamps can cause heat and poor contact.
- Placing cables near belts, pulleys, fans, or hot exhaust parts can damage the cables.
- Reversing the cable removal order can cause sparks or accidental contact.
- Trying to jump a cracked, leaking, or frozen battery is dangerous.
- Repeatedly cranking a vehicle with no pause can overheat the starter.
- Using a small vehicle to jump a much larger vehicle may overload the donor system.
- Assuming every vehicle uses the same jump points can lead to a wrong connection.
Do not depend only on cable color. Look for the plus and minus symbols on the battery or check the owner’s manual. Colors can fade, covers can be missing, and some battery layouts place the terminals in unusual positions.

Special Cases and Vehicle Compatibility
Most gasoline and diesel cars use a 12-volt electrical system, but not every vehicle should be jump-started in the same way. Hybrid vehicles often have a 12-volt auxiliary battery that starts the vehicle’s computers and activates the high-voltage system. The high-voltage battery should never be handled like a normal car battery.
Fully electric vehicles also have a 12-volt system, but the jump-start points and procedures vary. A jump start may power the vehicle’s electronics, but it will not charge the main traction battery. Read the manual before connecting cables to a hybrid or electric vehicle.
Be careful with:
- Hybrid and electric vehicles
- Luxury vehicles with complex electronics
- Vehicles with a battery monitoring sensor
- Cars with batteries located away from the engine bay
- Vehicles with stop-start systems
- Large trucks and diesel vehicles
- Vehicles with aftermarket alarms or electrical equipment
For a diesel truck or large vehicle, use cables rated for the required current. A small passenger-car cable may become hot or fail to deliver enough power. When in doubt, use a roadside service provider rather than guessing.
Vehicles with lithium starter batteries may also have special requirements. Their manufacturers may specify a particular charger, jump pack, or connection point. Always follow the battery and vehicle instructions.

Using a Portable Jump Starter
A portable jump starter can replace a second vehicle in many situations. It must have enough power for the engine size and battery type. Check the device rating before using it.
To use a portable jump starter:
- Turn off the vehicle and all accessories.
- Connect the red clamp to the positive battery terminal or approved positive post.
- Connect the black clamp to a clean metal ground, unless the manual says otherwise.
- Turn on the jump starter.
- Start the vehicle with short cranking attempts.
- Turn off the jump starter before removing the clamps.
- Remove the black clamp first, then the red clamp.
Keep the jump starter charged and store it according to its instructions. Many devices cannot deliver their full power when nearly empty or exposed to extreme cold.
A portable jump pack is useful, but it does not remove the need for safety. Incorrect polarity can still damage the vehicle or the jump pack. Check the indicator lights before cranking.
How to Tell What Caused the Dead Battery
A dead battery can result from a simple mistake or a deeper problem. If you left the headlights on overnight, a jump start may solve the issue. If the battery dies again the next morning, more testing is needed.
Common causes include:
- Interior or exterior lights left on
- An old or weak battery
- A failing alternator
- A loose or corroded battery connection
- A parasitic electrical drain
- Very cold weather
- A vehicle that sits unused for long periods
- A starter motor that draws too much current
Look at the battery terminals after the car starts. White, blue, or green buildup can block electrical flow. Clean corrosion only with the proper tools and safety protection, and do not allow the cleaning solution to enter the battery.
Most automotive batteries last several years, but climate, driving habits, and maintenance affect battery life. Extreme heat can speed up battery wear, while very cold weather makes a weak battery harder to start.
A battery test can show its condition, while a charging-system test can show whether the alternator is working. Testing both is wise when a jump start becomes a repeated event.
Safety Tips for Jump-Starting a Car
Safety should come before speed. A dead battery is inconvenient, but standing in traffic or working around moving engines can create greater risks.
Keep these tips in mind:
- Pull as far away from traffic as possible.
- Turn on hazard lights when appropriate.
- Wear eye protection when available.
- Keep children and pets away from the vehicles.
- Never smoke or use an open flame near a battery.
- Remove loose clothing and jewelry before working near the engine.
- Keep hands away from fans and belts.
- Stop if you smell strong sulfur or rotten eggs.
- Call roadside assistance if the location is unsafe.
- Never work beneath a vehicle during a jump start.
If the cables become hot, smoke, or smell like burning plastic, turn off both vehicles and disconnect the cables in reverse order. The cables may be too small, damaged, or connected incorrectly.
Frequently Asked Questions
Can I connect the black jumper cable to the dead battery’s negative terminal?
Many vehicles are safer when the black cable connects to clean, unpainted metal on the dead vehicle’s engine or chassis. Follow the owner’s manual, because some vehicles specify a direct negative terminal or a special grounding post.
Which jumper cable goes on first?
Connect the red positive cable first. Connect the black cable to the donor negative terminal next, then attach the final black clamp to a metal ground on the vehicle with the dead battery.
How long should I leave jumper cables connected?
Let the donor vehicle run for about two to five minutes before trying to start the dead vehicle. After it starts, leave both vehicles running for several minutes before removing the cables.
Why will my car not start even with jumper cables?
The battery may be badly damaged, the clamps may not have a firm connection, or the problem may involve the starter, alternator, fuel system, or ignition. Stop after a few careful attempts and have the vehicle inspected.
Can jumper cables damage a car?
Yes, incorrect connections can damage fuses, computers, sensors, batteries, or alternators. Using the correct cable order and following the vehicle manual greatly reduces the risk.
Can I jump-start a hybrid or electric vehicle?
Some hybrids and electric vehicles can provide or receive a 12-volt jump start, but procedures vary. Use only the approved 12-volt jump points and never connect to the high-voltage battery system.
Should I replace my battery after a jump start?
Not always. A battery may only be drained because lights were left on, but repeated jump starts, slow cranking, swelling, leaks, or an older battery are signs that testing or replacement may be needed.
Conclusion
Learning how to put jumper cables on a car battery comes down to safe preparation, correct polarity, and a careful connection order. Connect red to the dead battery positive terminal, red to the donor positive terminal, black to the donor negative terminal, and the final black clamp to a safe metal ground on the dead vehicle.
Never rush around a damaged battery, moving engine parts, or busy traffic. Follow the owner’s manual for hybrids, electric vehicles, and cars with special jump points. Save this guide, keep a good set of jumper cables or a charged jump starter in your vehicle, and share your own roadside tips in the comments.