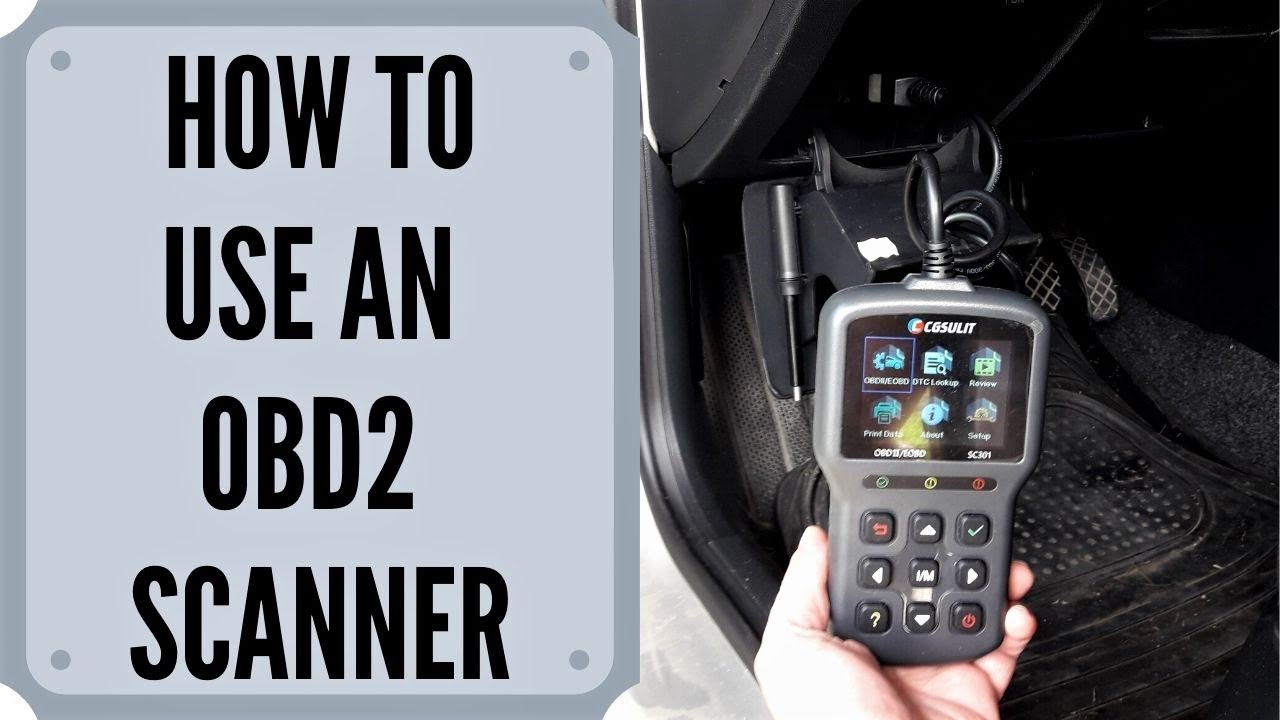
Use an OBD-II scanner: plug it into the port, read trouble codes, diagnose, then clear if fixed.
I’ve spent years diagnosing vehicles and teaching others how to use a scanner on a car. This guide walks you through picking the right tool, connecting it safely, reading and interpreting codes, and taking practical steps to fix issues. I’ll share hands-on tips, common mistakes, and real examples so you feel confident the first time you plug a scanner into a car.
Why use a scanner on a car
A scanner saves time and money by revealing why warning lights appear. Modern cars use onboard computers to track systems. Reading those messages with a scanner gives a clear starting point for repairs.
Using a scanner on a car helps you decide if you can fix the issue yourself or need a mechanic. It reduces guesswork and prevents unnecessary part changes. I’ve recovered many cars from “mystery” warnings with a quick scan.
Types of scanners and which to pick
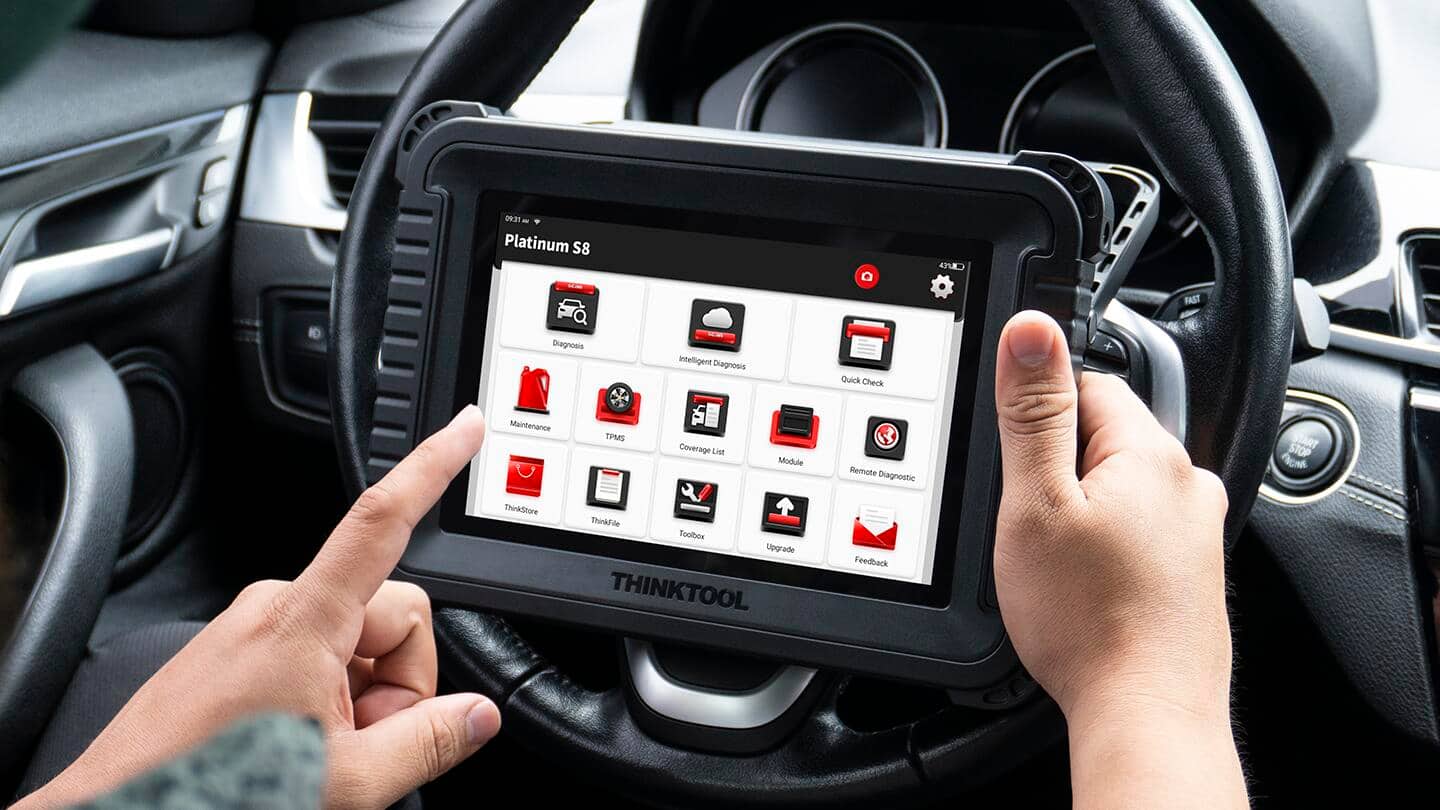
There are three main scanner types to know when learning how to use a scanner on a car. Basic code readers show engine codes and clear them. Mid-range OBD-II scanners add live data, freezes, and basic diagnostics. Advanced scan tools offer manufacturer-specific tests, bi-directional control, and module programming.
Use a basic reader for simple checks and used cars. Choose a mid-range unit for DIY repairs and systematic troubleshooting. Get an advanced scanner if you work on many makes or need deep diagnostics.
Prepare your car and scanner before scanning
Park on level ground and set the parking brake. Turn off accessories like the radio and A/C to avoid power variations. Have the car warmed up to normal operating temperature when possible for accurate live data.
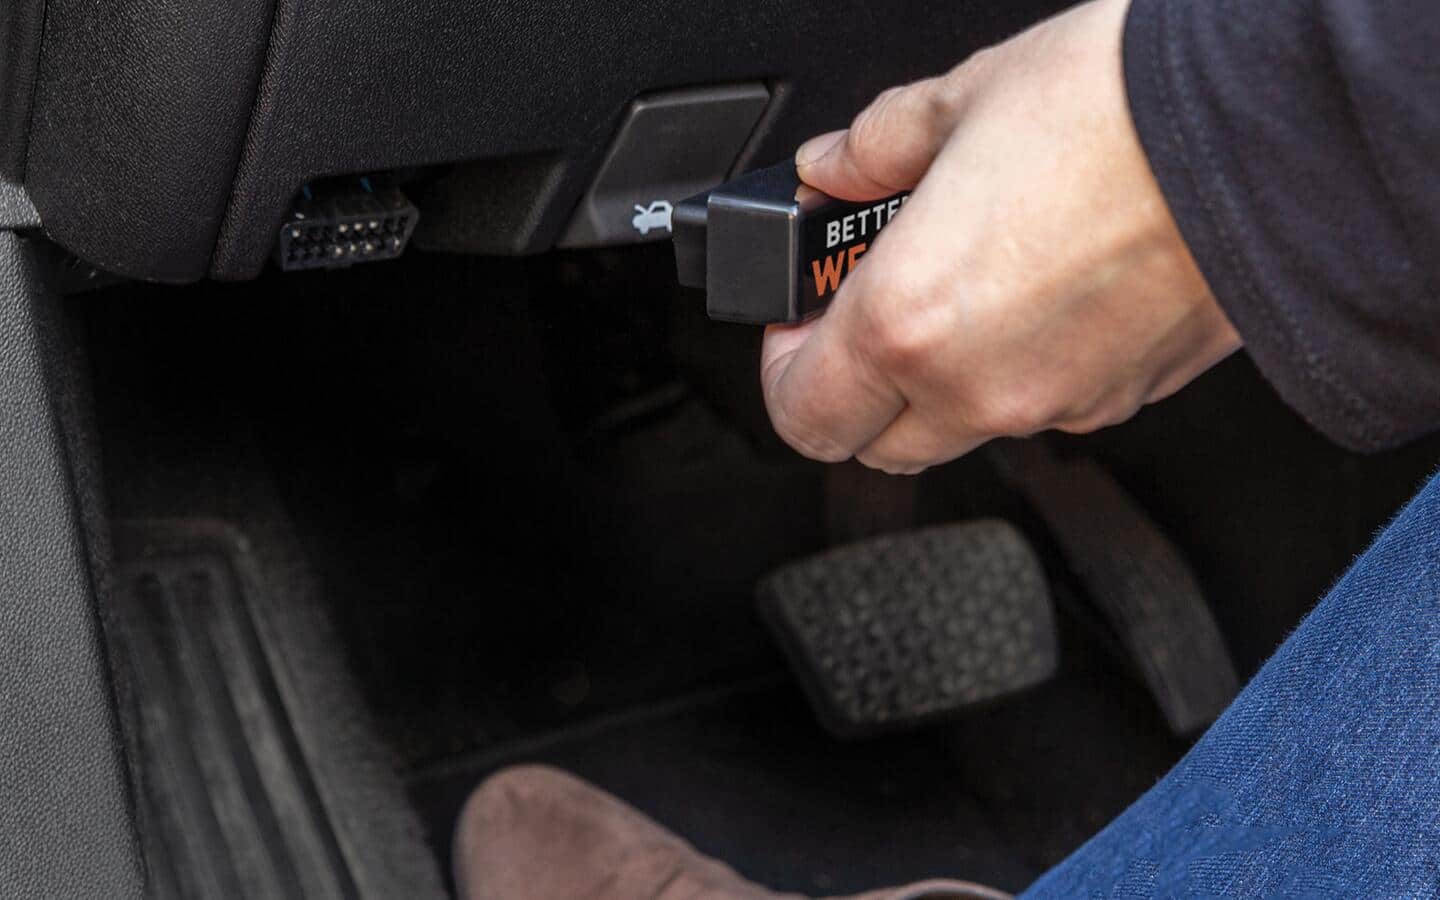
Locate the OBD-II port, usually under the dash near the steering column. Read the scanner manual and verify compatibility with your car model year. Charge handheld units or ensure your phone app has battery and Wi-Fi or Bluetooth active.
Step-by-step: How to use a scanner on a car
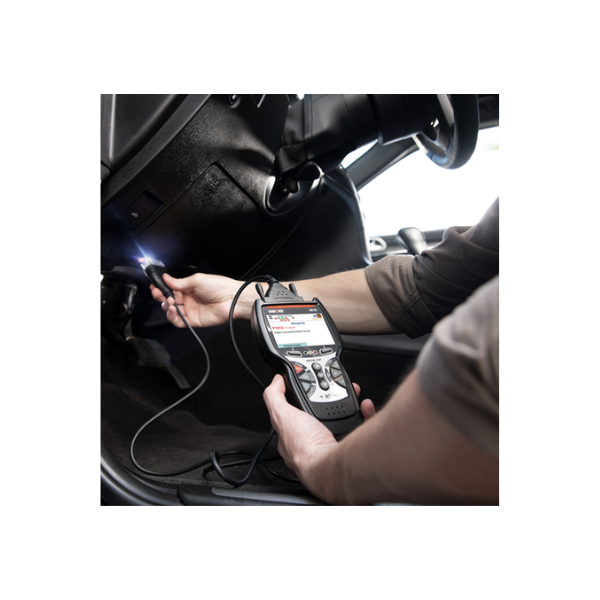
- Find the OBD-II port and plug the scanner into it.
- Turn the car key to the ON position or start the engine if required.
- Power on the scanner and let it establish communication with the vehicle.
- Select the vehicle protocol or let the scanner auto-detect.
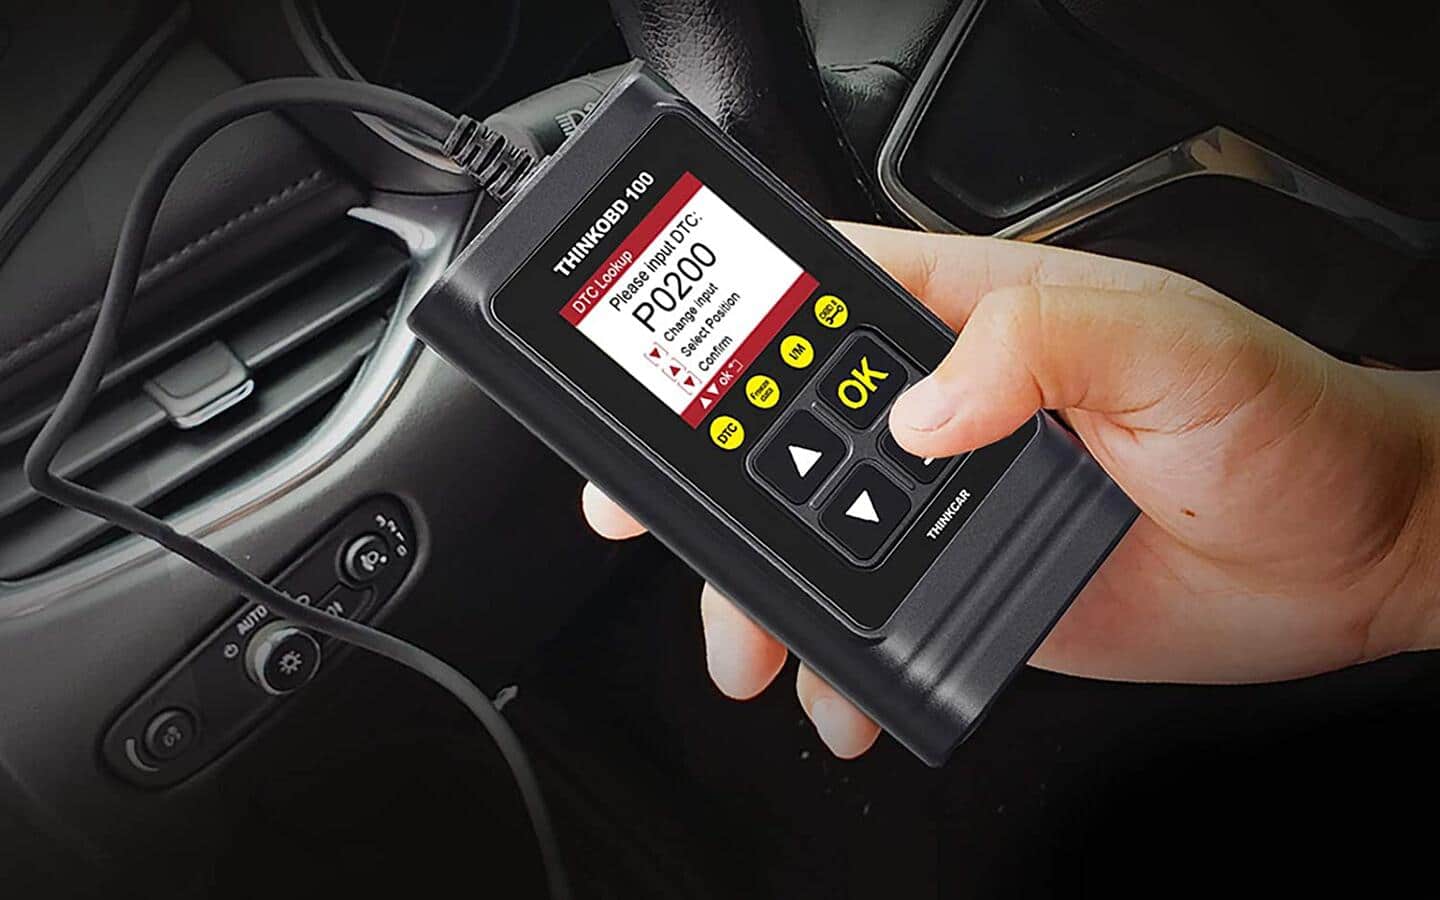
- Read stored and pending codes, then record them verbatim.
- View live data (RPM, fuel trim, coolant temp) to confirm symptoms.
- Use freeze frame data to see conditions when a fault was logged.
- Look up code definitions and scan for related systems or components.
- Decide if you can fix the issue: simple fixes first, complex ones to a pro.
- Clear codes only after repairing the cause and verifying the issue is fixed.
Following these steps shows you how to use a scanner on a car reliably and safely. When I teach newcomers, I stress recording codes before clearing so you always have a reference.

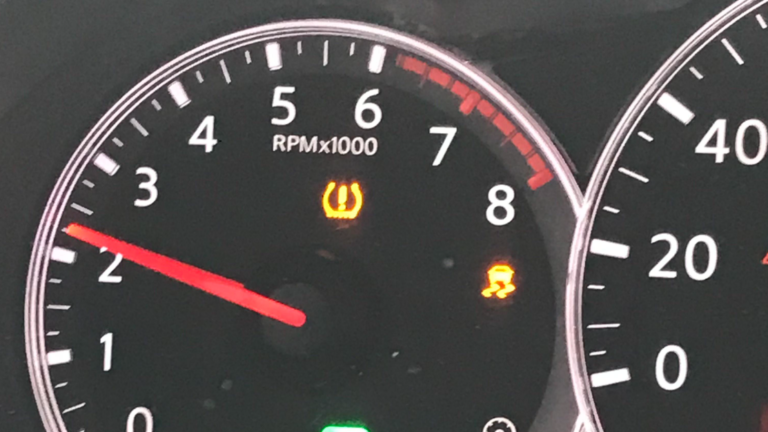
Understanding diagnostic trouble codes and live data
Diagnostic Trouble Codes (DTCs) point to systems, not always specific parts. A P0301 code means a misfire in cylinder 1, but causes can include ignition, fuel, or compression. Using live data helps isolate the true cause.
Look for trends in live data. For example, high short-term fuel trim suggests a vacuum leak or lean condition. Freeze frame data shows what the engine saw when the fault happened, which I’ve used many times to reproduce intermittent faults.

Clearing codes and verifying repairs
Clear codes after you fix the root cause, not before. Clearing too soon hides the problem and can erase useful diagnostic info. After repairs, drive the car through varied conditions and re-scan to confirm the code does not return.
Some codes need readiness monitors to complete before the car passes emissions checks. If a code returns quickly, re-check repairs and use live data to watch system behavior in real time.

Common mistakes to avoid when you use a scanner on a car
- Plugging in with the wrong adapter and forcing a fit can damage connectors.
- Clearing codes without diagnosing can waste time and hide intermittent faults.
- Ignoring freeze frame and live data leads to wrong part swaps.
- Using outdated scanner software can give incorrect readings.
- Relying solely on code definitions without hands-on checks misses root causes.
I once replaced an expensive sensor based only on a code, then learned the wiring harness had a pinched wire. Scanning and inspecting the harness first would have saved time and money.
Maintenance, updates, and best practices
Keep scanner firmware and mobile apps up to date for accurate diagnostics. Clean connectors and keep the OBD-II port free of debris. Store the scanner in a padded case to protect delicate pins and screens.
Build a quick checklist for every scan: VIN confirmation, code record, freeze frame capture, live data snapshot, and final verification. This habit speeds diagnosis and improves reliability.
Frequently Asked Questions of How to use a scanner on a car
What is the difference between OBD-I and OBD-II scanners?
OBD-II is the modern standard used on cars from the mid-1990s onward and offers standardized codes and live data. OBD-I is older and proprietary, often requiring special tools for certain makes.
Can I use a phone app instead of a handheld scanner?
Yes, a phone app with an OBD-II Bluetooth or Wi‑Fi adapter works well for many tasks. Ensure the app and adapter are compatible with your car and support the functions you need.
Will clearing codes fix the check engine light?
Clearing codes only removes the light temporarily; the underlying issue must be fixed or the light will return. Clearing too early can also erase useful diagnostics.
What if the scanner can’t communicate with the car?
Check the port connection, the vehicle ignition state, and scanner compatibility. Some cars require the engine running or specific key positions to allow full communication.
How often should I scan my car?
Scan anytime a warning light appears and during routine checks before long trips. Periodic scans help catch issues early and keep maintenance on schedule.
Conclusion
Scanning your car gives clarity, saves money, and guides effective repairs. Use the right scanner, follow the step-by-step process, and verify fixes with live data before clearing codes. Start scanning with confidence today and you’ll spot problems earlier and make better repair decisions.
Try scanning your car after reading this guide, leave a comment with your experience, or subscribe for more hands-on automotive tips.