Attach the chuck, set the PSI, start the inflator, and stop at the target pressure.
I’ve used Milwaukee inflators for years on cars, bikes, and job-site tires. This guide shows exactly how to use Milwaukee tire inflator safely and effectively. I’ll share clear steps, real-world tips, and mistakes I learned from so you can inflate tires fast and without stress. Read on for detailed, reliable advice on how to use Milwaukee tire inflator like a pro.
Why choose a Milwaukee tire inflator?
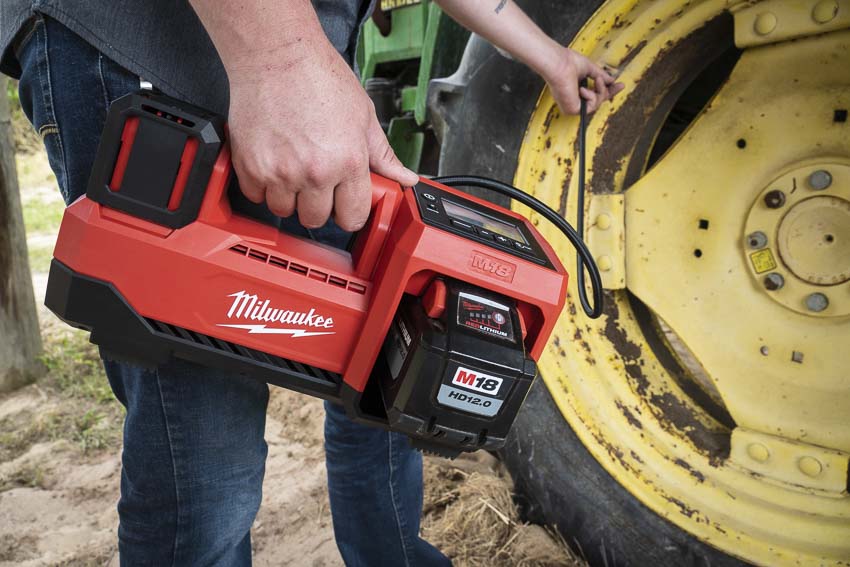
Milwaukee makes rugged, reliable inflators for pros and DIYers. Their units are compact, fast, and often battery-powered. They work well in a garage, on the roadside, or at a job site. I prefer Milwaukee for its build and clear pressure readouts.
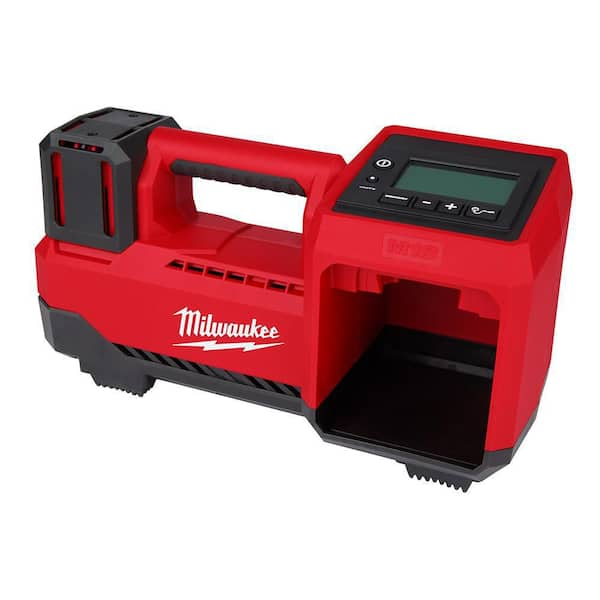
Milwaukee models vary by flow rate and features. Pick one that matches your needs. If you need portability, choose a battery model. If you need high flow, choose a larger compressor-style unit.
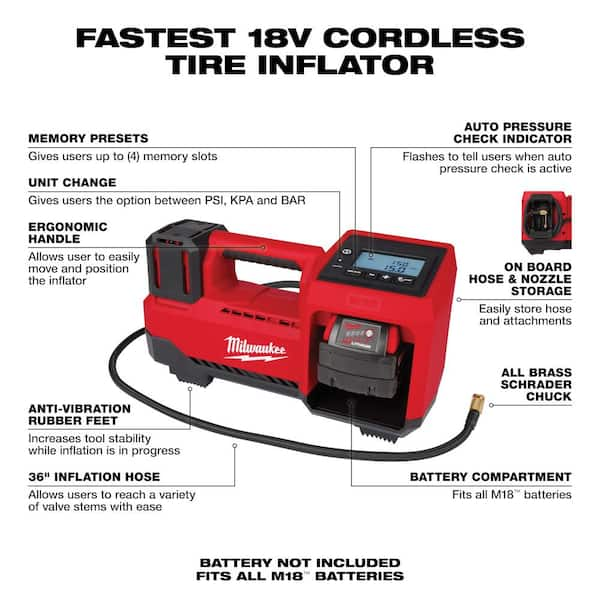
Key parts and features to know
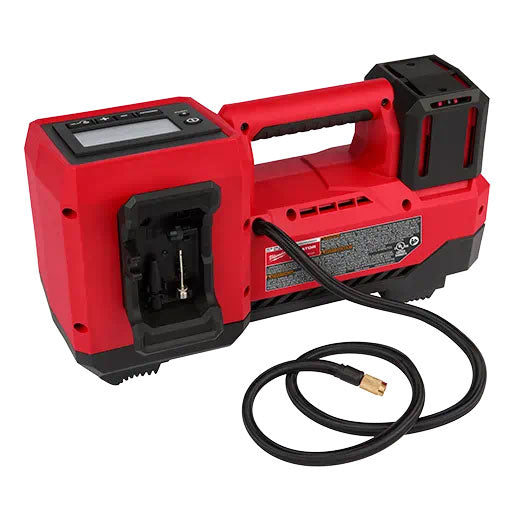
Knowing parts helps you use the tool right. Typical parts include the air hose, chuck, pressure gauge, power source, and mode buttons. Most Milwaukee inflators have an auto-stop feature and a digital PSI readout.
Here are the common parts:
- Air hose: Connects to the valve stem.
- Chuck: Seals the valve; can be locking or push-on.
- Pressure gauge or digital display: Shows current pressure.
- Power source: Battery, 12V adapter, or AC.
- Mode buttons: Set PSI, switch units, or choose inflation/deflation.
Understanding these parts makes how to use Milwaukee tire inflator much easier. Read the owner’s manual for your exact model to learn unique features.

Step-by-step guide: how to use Milwaukee tire inflator
Follow these simple steps for a safe, clean inflation. I use the same four-step routine every time. It saves time and avoids overinflation.
- Prepare the tire and inflator
- Park on level ground and engage the parking brake.
- Remove the valve cap from the tire.
- Inspect the tire for damage or nails.
- Turn your Milwaukee inflator on and select the power source.
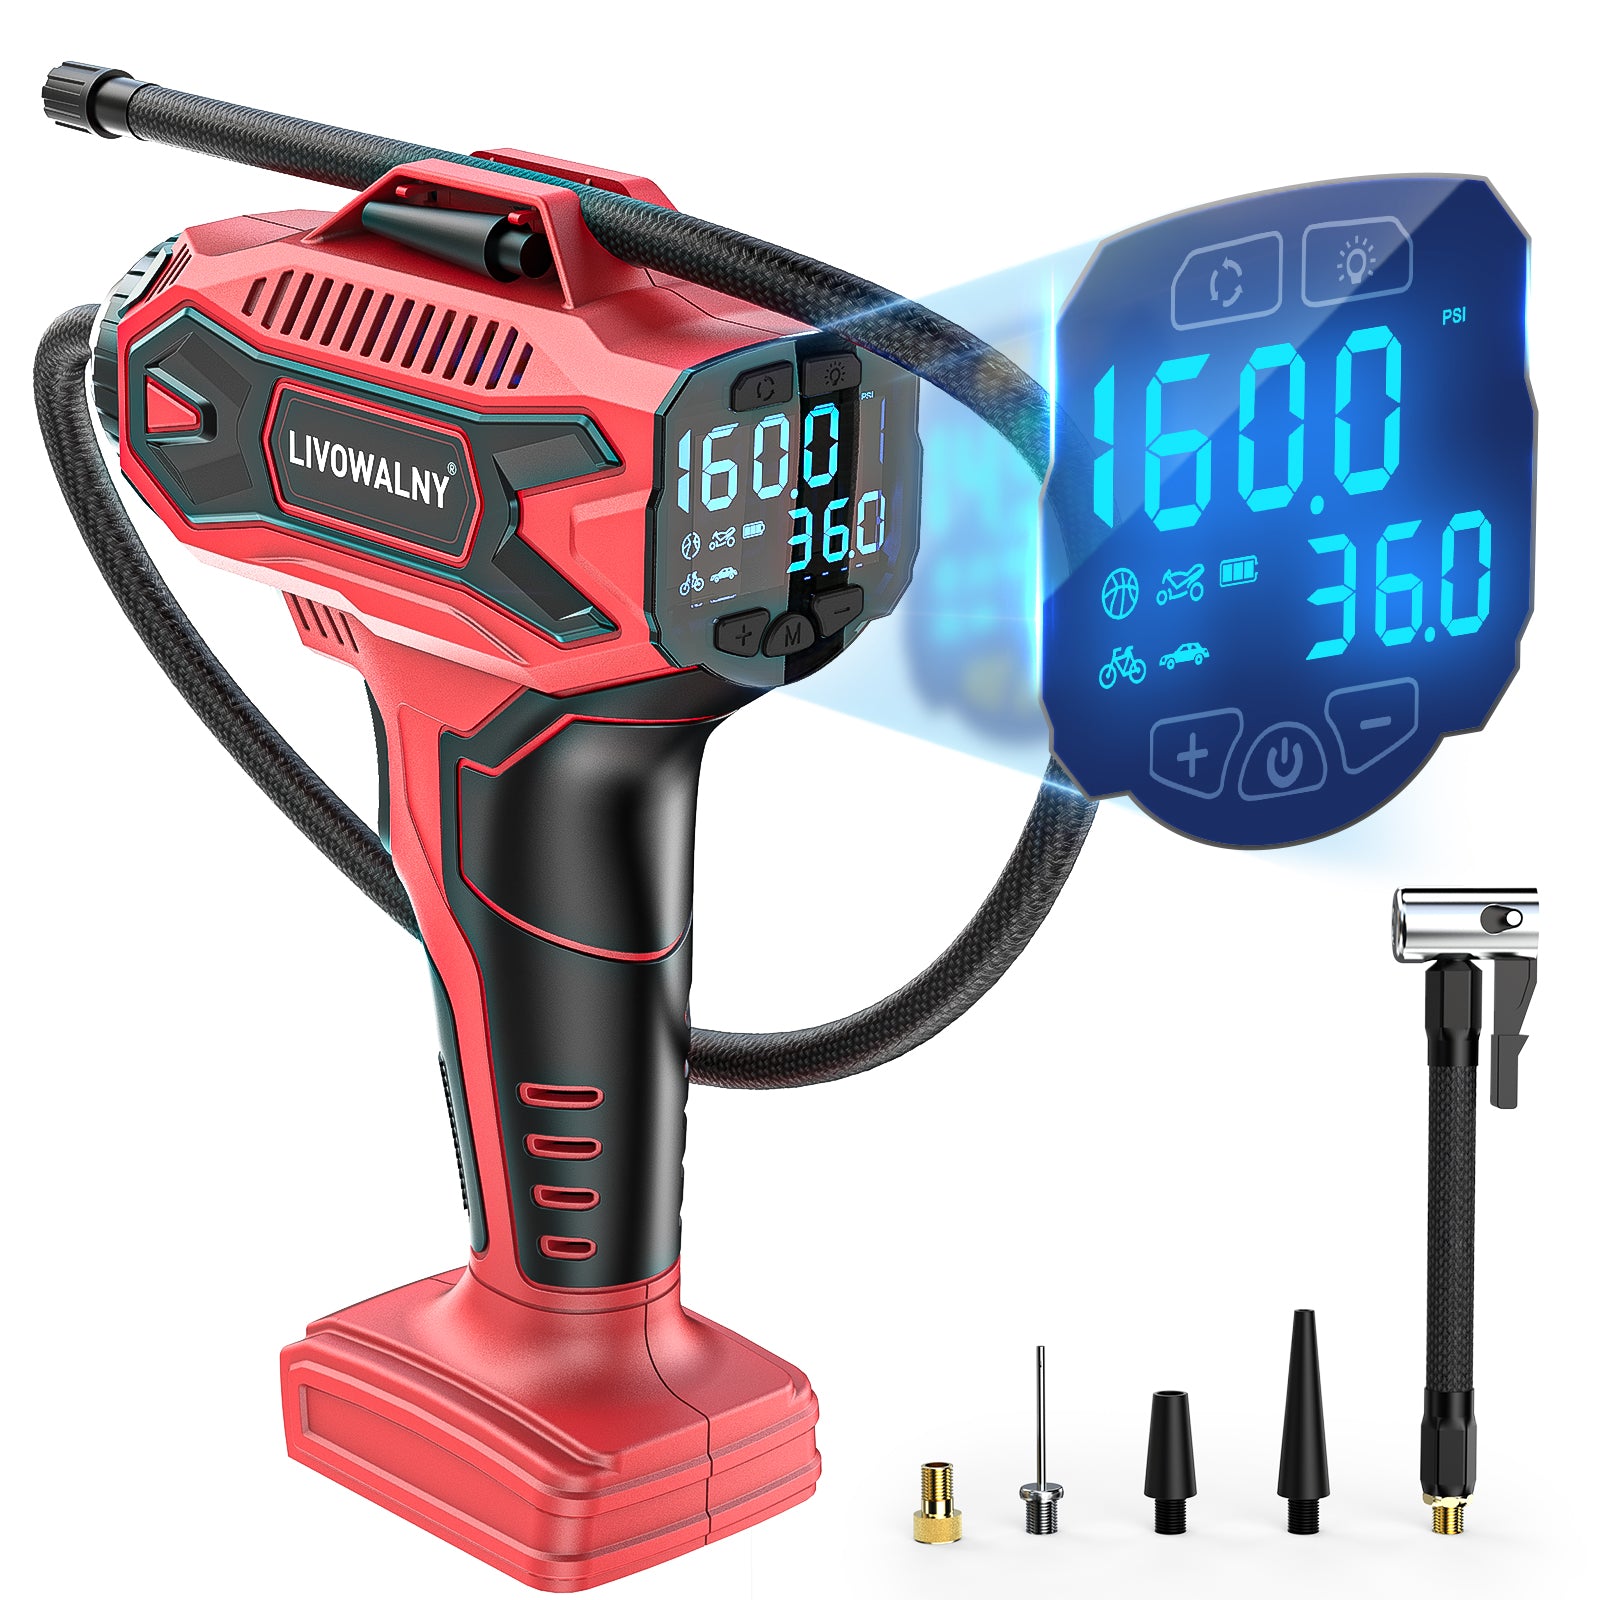
- Set the target PSI
- Look at the vehicle placard or tire sidewall for the correct PSI.
- On the inflator, enter the target PSI using the buttons or dial.
- Confirm units (PSI vs kPa) match your target.
- Attach the chuck and start
- Push the chuck onto the valve stem. If it’s a locking chuck, twist to lock.
- Start the inflator. Most Milwaukee models auto-stop when target PSI is reached.
- Watch the gauge for a few seconds after stop to confirm pressure.
- Fine-tune and finish
- If needed, add small bursts of air for accuracy.
- Remove the chuck carefully to avoid air loss.
- Replace the valve cap and store the inflator and hose.
I learned to always set the precise PSI first. That small step prevents overinflation and keeps the tire in the sweet spot.
Safety tips and best practices when using a Milwaukee tire inflator
Safety keeps you and your tires safe. Follow these tips every time.
- Check tire condition before inflating. Do not inflate damaged tires.
- Use eye protection if you’re on a job site.
- Do not exceed the tire’s maximum PSI.
- Avoid long continuous runs on battery models to prevent overheating.
- Let the tire cool down before rechecking pressure after a drive.
These simple habits improve the life of the tire and the inflator. I once overheated a compact inflator by running it too long; now I give it rest breaks.

Maintenance and storage
Good care extends tool life. Clean and store your inflator properly.
- Wipe the unit and hose after use to remove dirt.
- Check the chuck and hose for cracks or leaks.
- Store in a cool, dry place away from direct sun.
- For battery units, remove the battery for long-term storage.
Regular checks helped me avoid a failing gauge right before a trip. Maintenance is quick and worth it.

Troubleshooting and common mistakes
If things go wrong, try these quick fixes. They cover the usual problems users face when learning how to use Milwaukee tire inflator.
- Inflator won’t start: Check battery charge, connection, or power adapter.
- Air leaks at the valve: Re-seat the chuck or try a locking chuck.
- Gauge reads wrong: Calibrate if possible, or compare with a known good gauge.
- Inflator stops too soon: Confirm target PSI was set properly.
Mistakes to avoid:
- Rushing attachment and causing leaks.
- Setting max PSI instead of recommended PSI.
- Using the wrong power source for the model.
People also ask
Q: Can I use my Milwaukee inflator for bicycle tires?
A: Yes. Use the correct chuck or adapter and set a lower PSI as bikes often need higher pressure but different volumes.
Q: How long to inflate a car tire with a Milwaukee inflator?
A: Most compact Milwaukee inflators take 2–5 minutes per tire, depending on starting pressure and model flow rate.
Q: Will the inflator damage tire sensors (TPMS)?
A: No. Standard inflators do not affect TPMS sensors. Use gentle attachment and avoid striking the valve stem.
Frequently Asked Questions of how to use milwaukee tire inflator
How do I set the PSI on a Milwaukee tire inflator?
Press the mode or set button and use the up/down controls to enter the target PSI. Confirm the unit shows PSI and not kPa.
Can I use a Milwaukee inflator on truck tires?
Yes, if the model has enough flow and rated pressure. For large truck tires, pick a heavy-duty or compressor model.
What power options do Milwaukee inflators have?
Many models use M12 or M18 batteries, and some include 12V or AC adapters. Check your model for compatible power sources.
How accurate is the digital gauge on Milwaukee inflators?
Digital gauges are generally accurate within a few PSI. For exact needs, double-check with a calibrated gauge.
How do I prevent overinflation?
Set the target PSI before starting. Use auto-stop features and recheck pressure after inflation to ensure accuracy.
Conclusion
Using a Milwaukee tire inflator is straightforward when you know the steps: prepare, set PSI, attach, and monitor. Follow safety tips, maintain the tool, and learn from small mistakes. My practical advice: always pre-set the PSI and use short bursts for fine control. Try the steps today on one tire and you’ll gain confidence quickly. Share your experience below, subscribe for more gear guides, or ask a question if you need model-specific help.